
 magine looking through the pages of this magazine and seeing photos of smiling grooming contest winners with their flawless-looking dogs. Or, watching a dog show and seeing stunning dogs, one after another, stride around the ring. You know that these are well-bred dogs and the people who groom them have lots of experience and training, but what is the trick to getting those dogs to look so fabulous?
I asked a few of the groomers whose work I admire most if they would share some of the techniques they use to achieve the finishes they do. I can hear you now, “But I just groom pets, and many of them have crummy coats, and I’m busy and don’t have time.” I get it. But what if you could improve how those dogs you groom look with a few simple steps? And what if those dogs could stay looking good longer and return for their next groom in better condition? If this sounds interesting, read on.
Veronica Frosh agrees, saying, “If the dog you are washing doesn’t seem clean with a single wash, wash it again. Use a clarifying shampoo. If it has areas such as its face or ears that don’t seem clean, wash them once more. I personally like a citrus-based shampoo for grimey areas.”
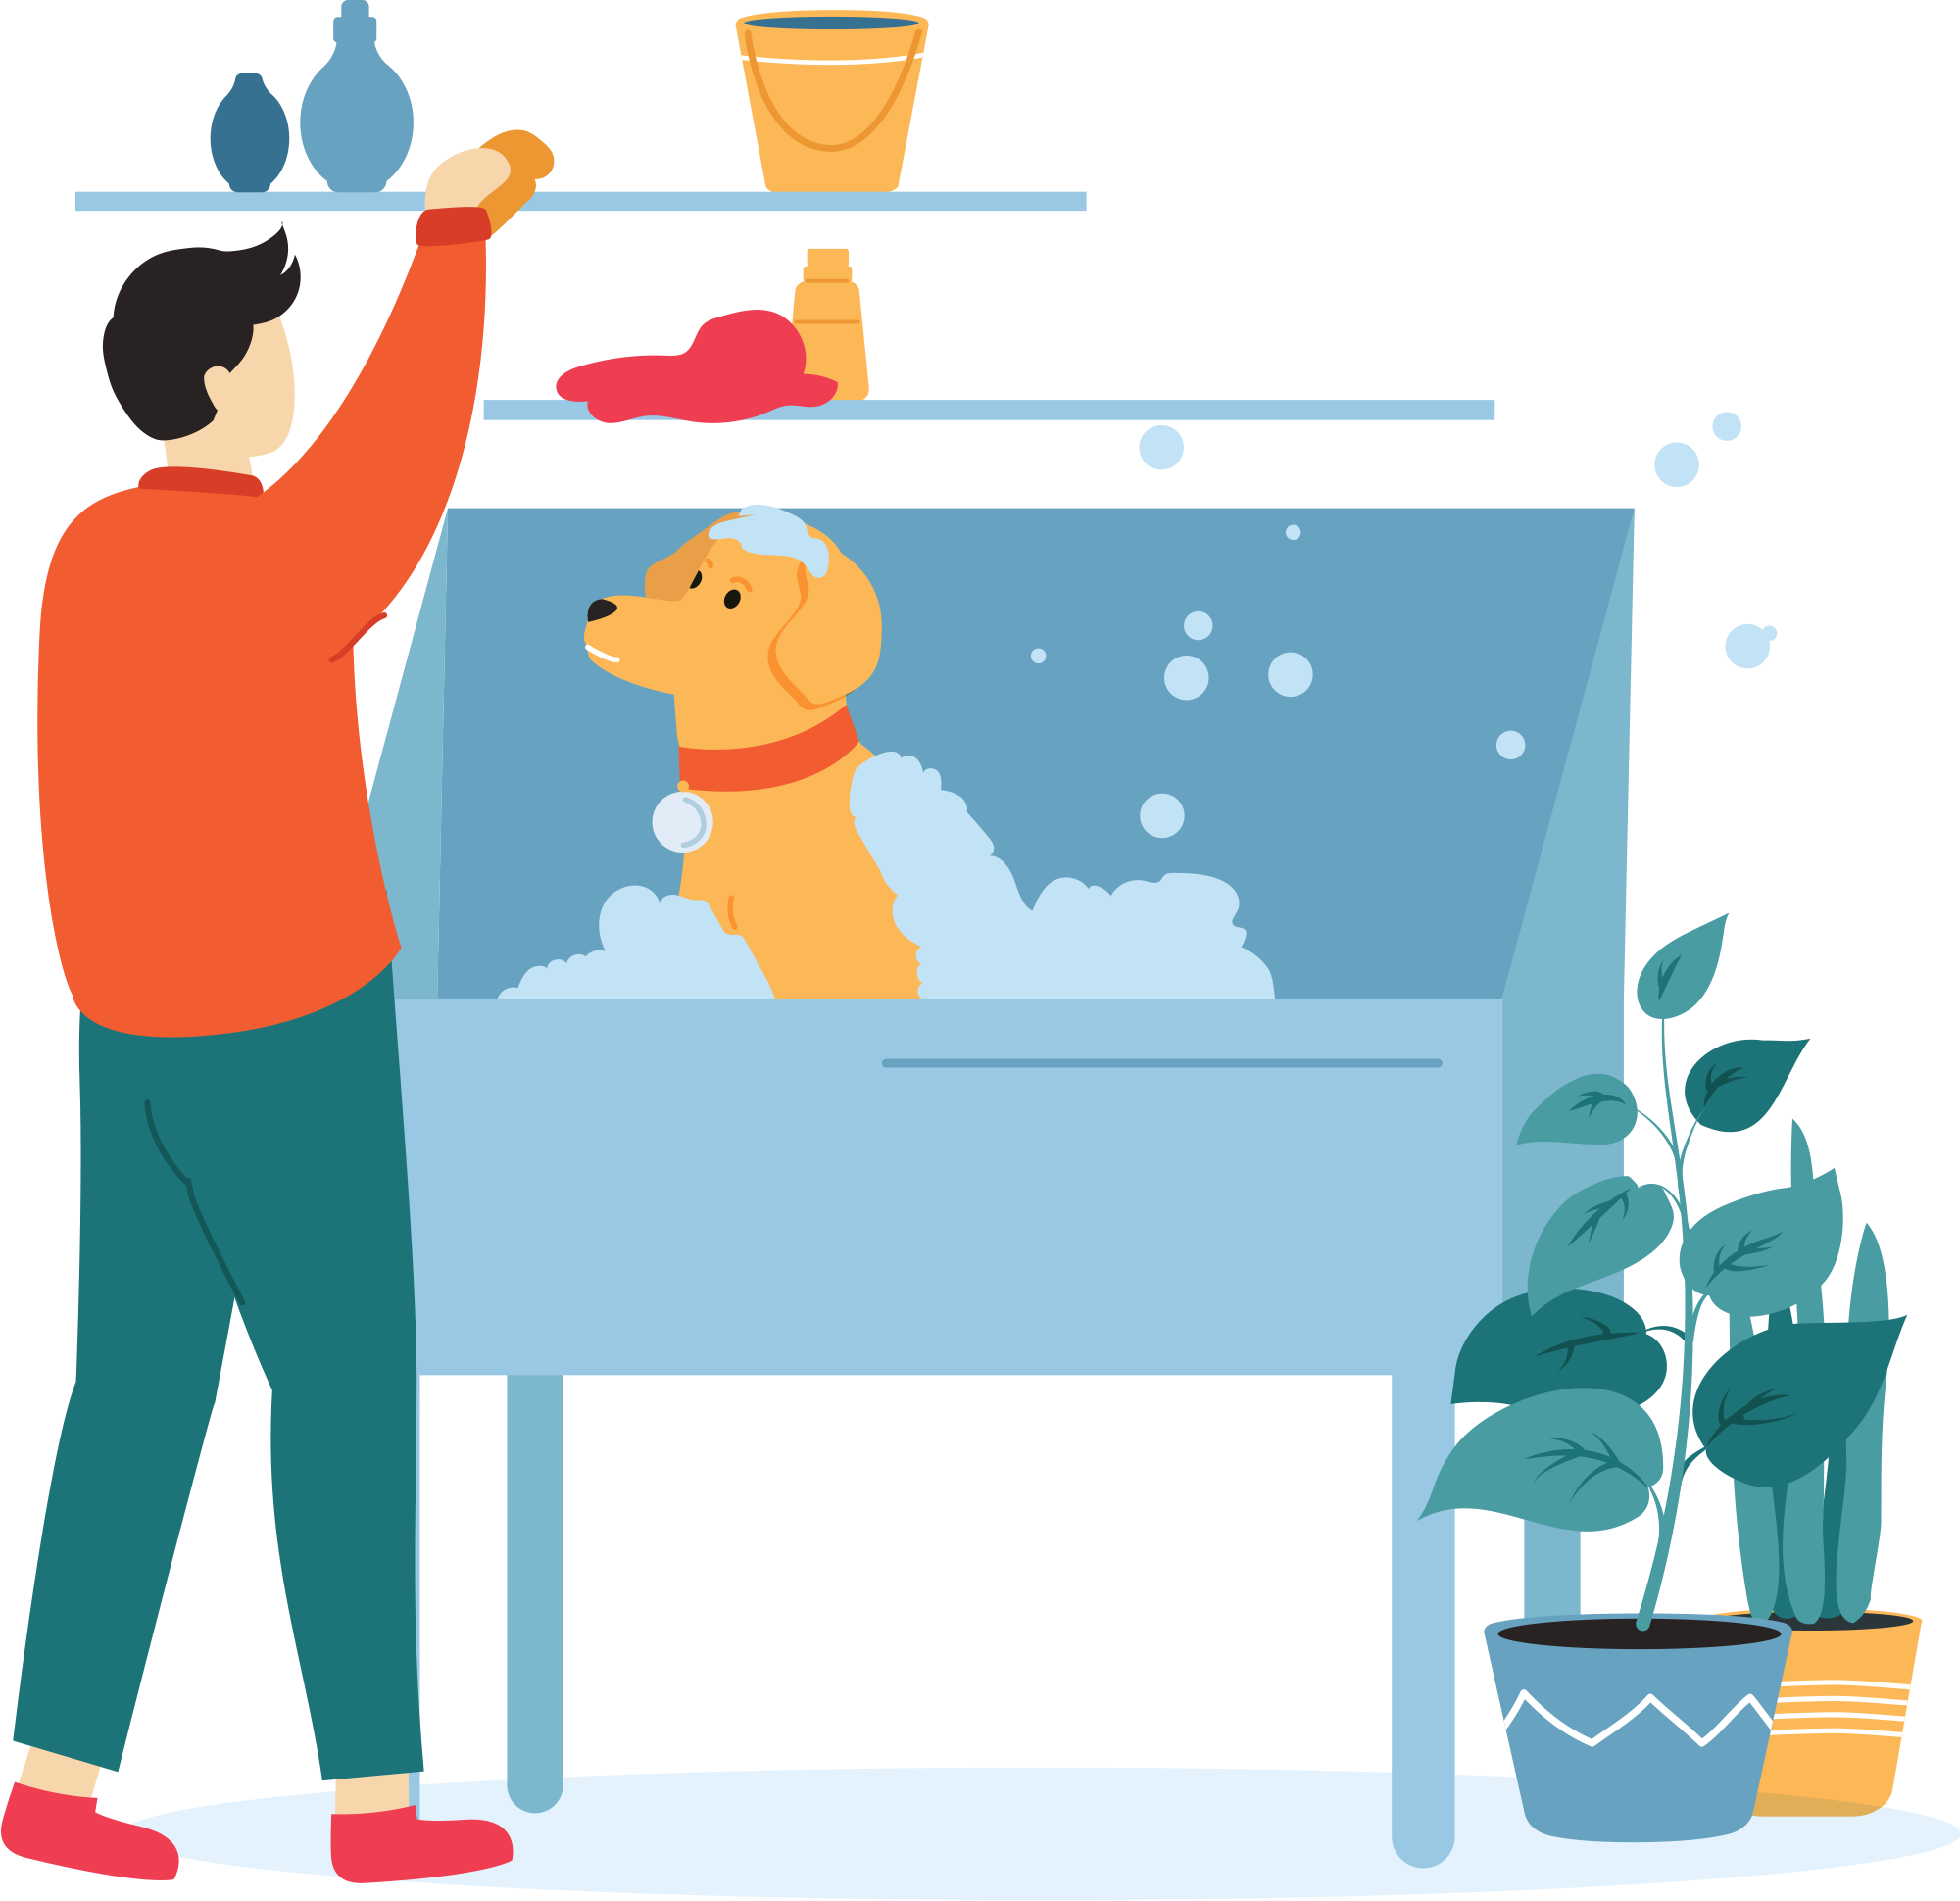
A lot of groomers struggle with getting pets completely dry. Drying takes time, and time is such a precious commodity in a busy grooming shop that we commonly cut corners by popping a dog in a cage to dry for a while or turning the dryer off while they are still a little damp. The key to a fabulous finish is properly drying thoroughly clean fur. To have a coat that will scissor nicely and look good for days or weeks after the groom, we also need to straighten any curls or waves out of the fur as we dry.
Julie Wilkins explains how: “I always force-dry until they are slightly damp. Then I mist them down with a conditioner spray and give them a good brush-down all over with the grain. Next, I take the concentrator nozzle off the dryer and go over them with the force dryer and a slicker brush. A stronger one similar to a universal slicker for harsh coats and a softer one for finer coats.
Lindsey Dicken also shares the drying technique she uses to achieve her award-winning work: “You can accomplish a lot with slow, methodical, high-velocity drying, but I don’t consider a coat to be ‘done’ until it has been brushed out with heat. I prefer a slicker brush with short, dense pins for most curly coats. I like a pin brush for poodles with show top knots and long drop coats.
“I can’t live without coat spray,” continues Lindsey. “After I towel the dog thoroughly, I spritz it all over the dog. Then, while brushing, I’ll spot-spray as needed in extra thick or tangled areas. You can tell a coat is dry when you turn a high-velocity dryer on low and see that the hair is completely straight at the root and free-flowing.”
Veronica Frosh adds this advice: “Use your brush to stretch the coat from the base of the skin out. Dry one area at a time. Use a conditioning spray, and make sure your coat is 150% dry before you start your finish work.”
To work more quickly and efficiently, Lori Craig shares her suggestions: “I always keep two towels when drying. One for under the dog, the second behind the area I am drying to capture flying moisture. I start at my shortest coat first, for instance, the neckline. I work in the same manner, generally from back feet and legs to front legs and jacket, and then I knock the majority of the water off the head. Then, I use a stand dryer, following my original path and line brushing. When correctly dried, the grooms stay looking lovely for weeks.
“Proper drying on double-coated dogs is also crucial,” Lori adds. “If done incorrectly, you can leave humidity on the skin, leading to disastrous results. Not to mention, trying to remove undercoat from an incorrectly dried dog is just not truly doable.”
The cornerstone of achieving fabulous finishes begins with the basics: The pet must be beautifully clean and carefully, completely dried. Even if your scissoring skills can’t hold a candle to the superstars who shared their techniques here, the dogs you groom will look better, and their grooms will last longer if you follow these basic steps for perfect prep work.