
by Blake Hernandez
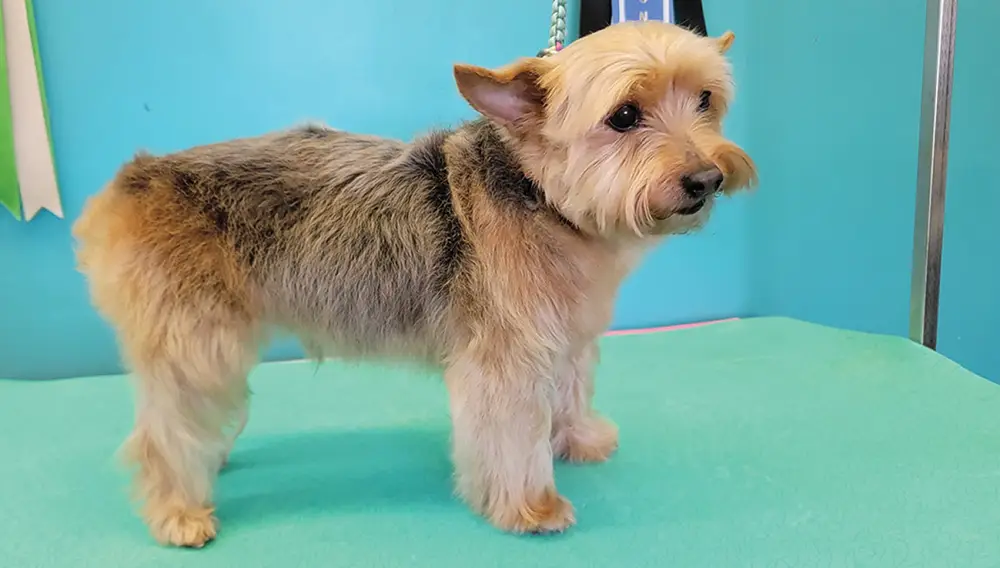
 oat carving is a fun and easy way to elevate even the most basic styles. Braxton here is an older Yorkie that needs a no-fuss haircut, but in a house amongst Poodles, he wants a fancy pattern all his own!
Before you start the groom, it’s important that the coat is prepped perfectly straight and laying down smoothly with the grain.
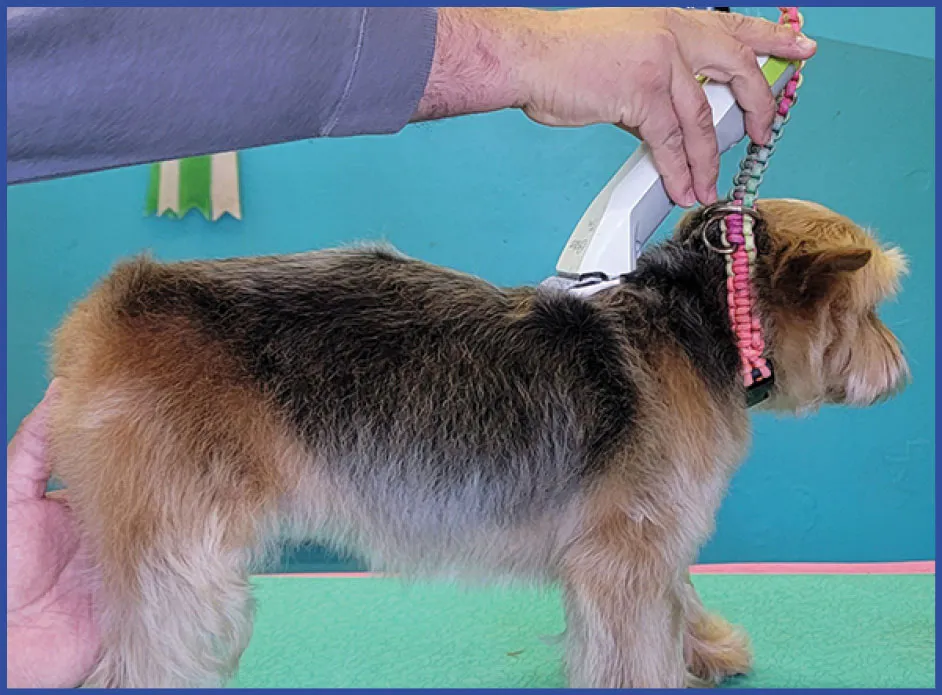
Fig 1) Begin with setting the desired body length. For Braxton, I used a #4F blade going with the grain.
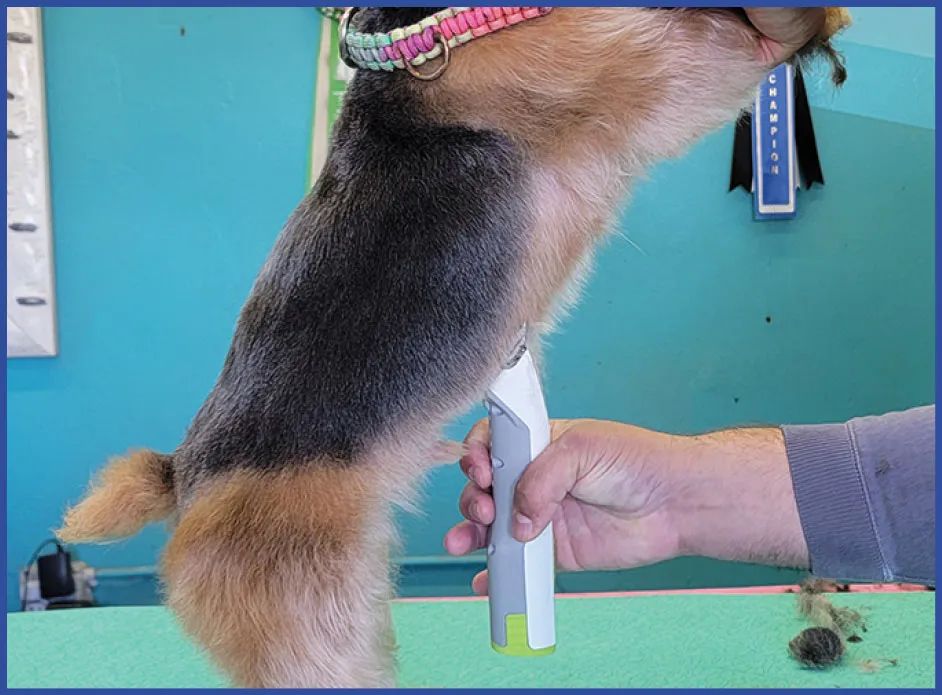
Fig 2) By clipping with the same blade in reverse, take the deepest part of the dog’s brisket tighter than the rest of the torso.

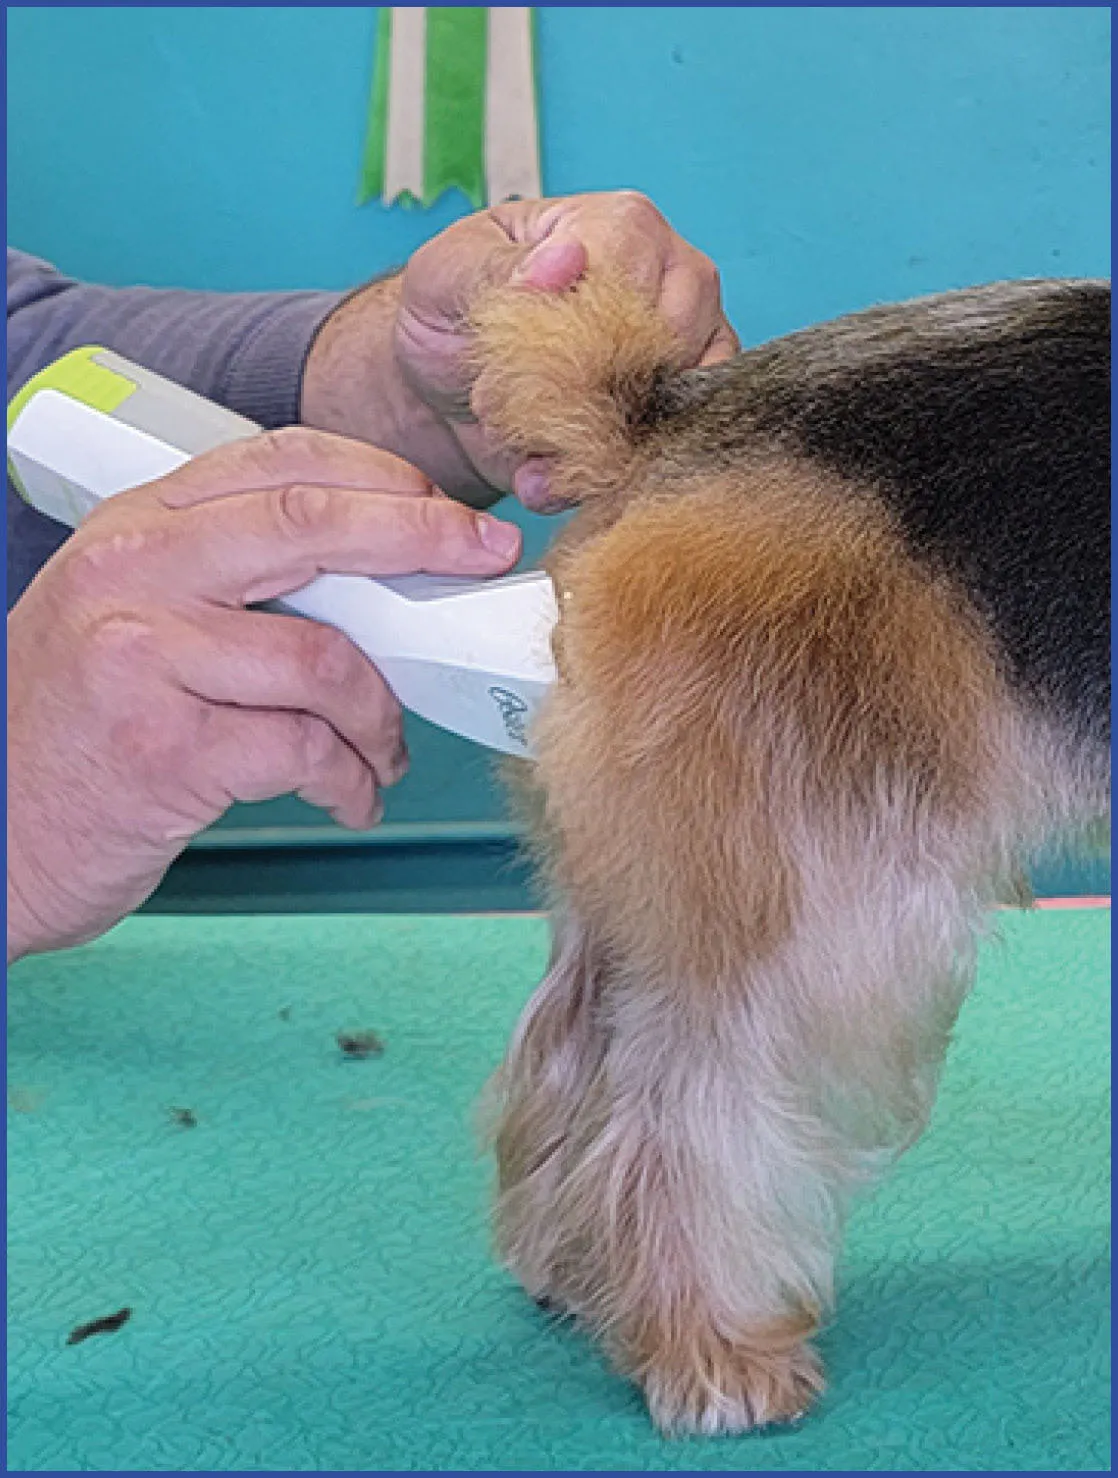
Fig 3) In order to show off the angles of the dog you are working on, it’s best to take the back of the legs slightly tighter. In this case, I used a #5F.
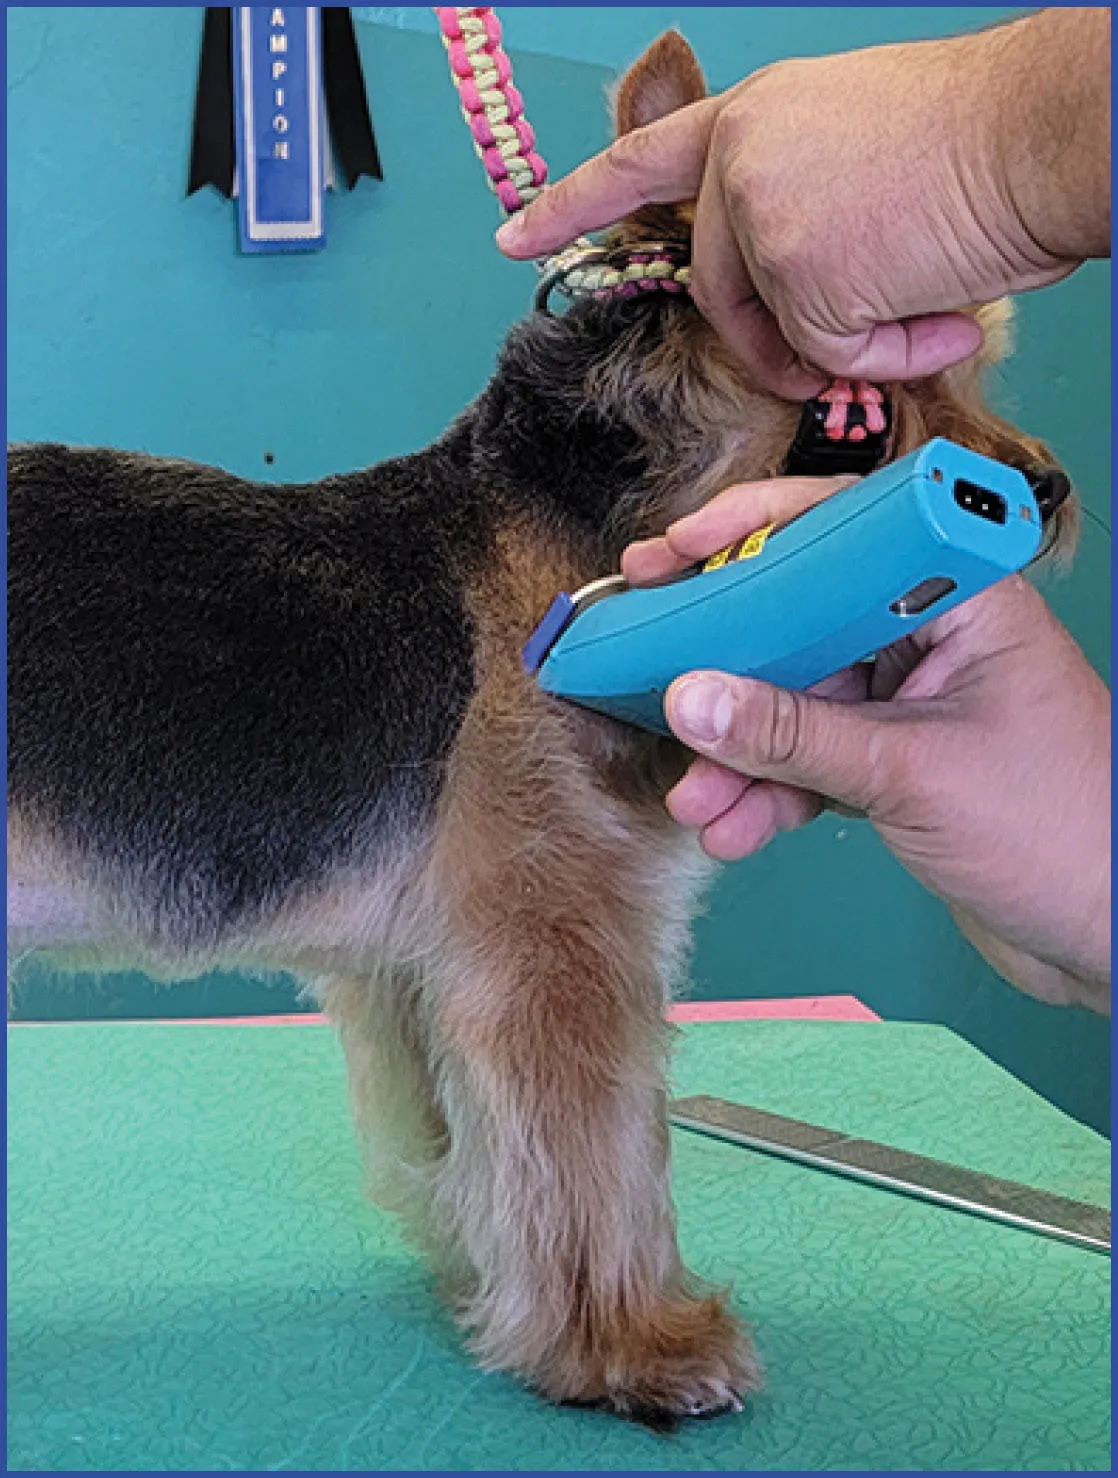
Fig 4) To blend the muscle groups, use a #1 guard comb and skim off the thickest part of the shoulders and thighs.
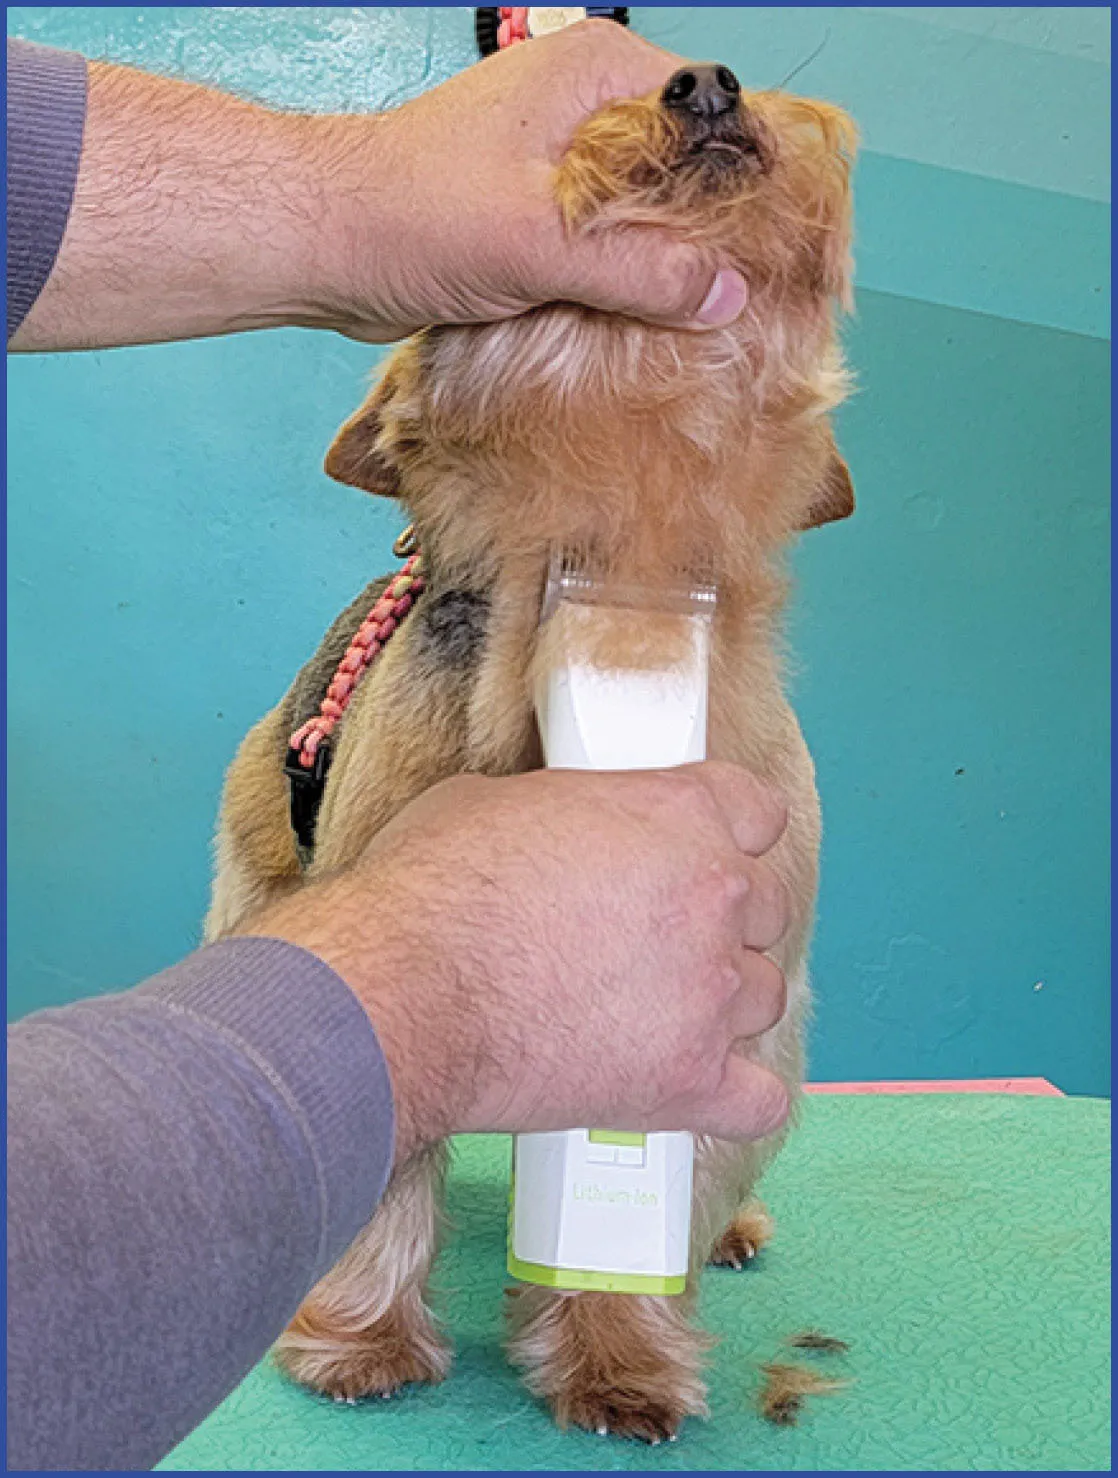
Fig 5) Similar to the rear, take the throat latch much shorter to show off any length of neck the dog has.

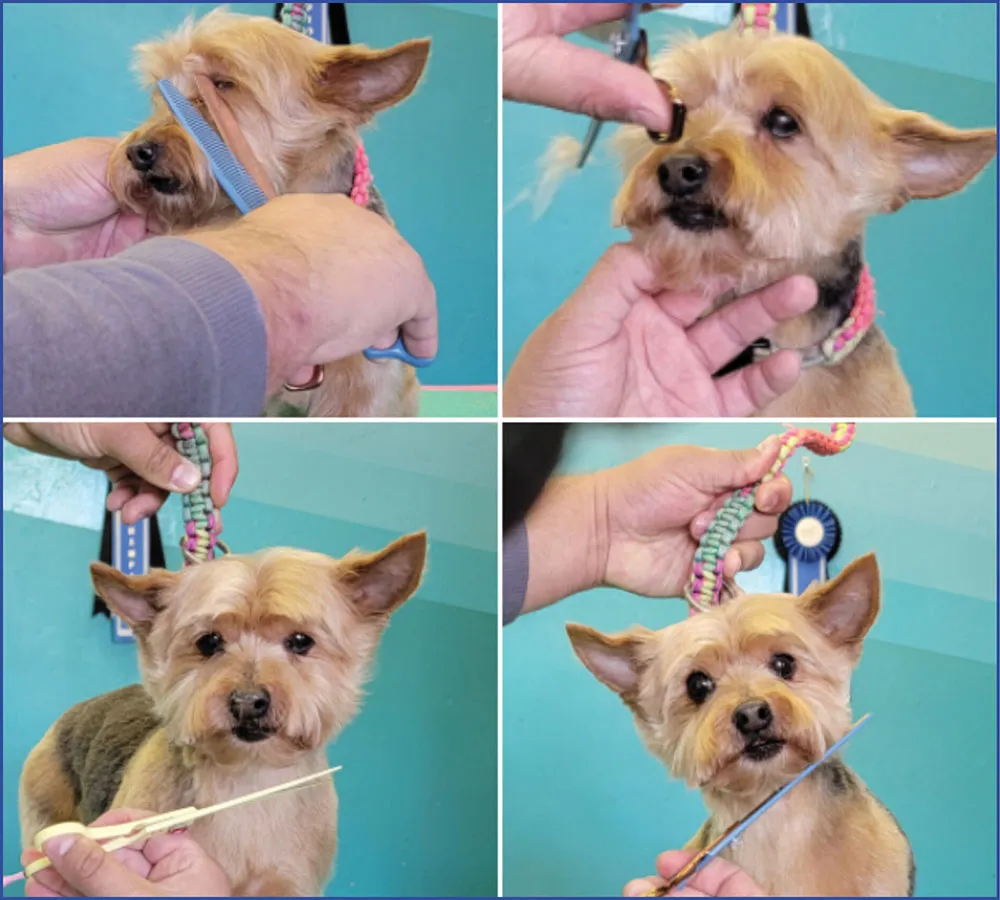
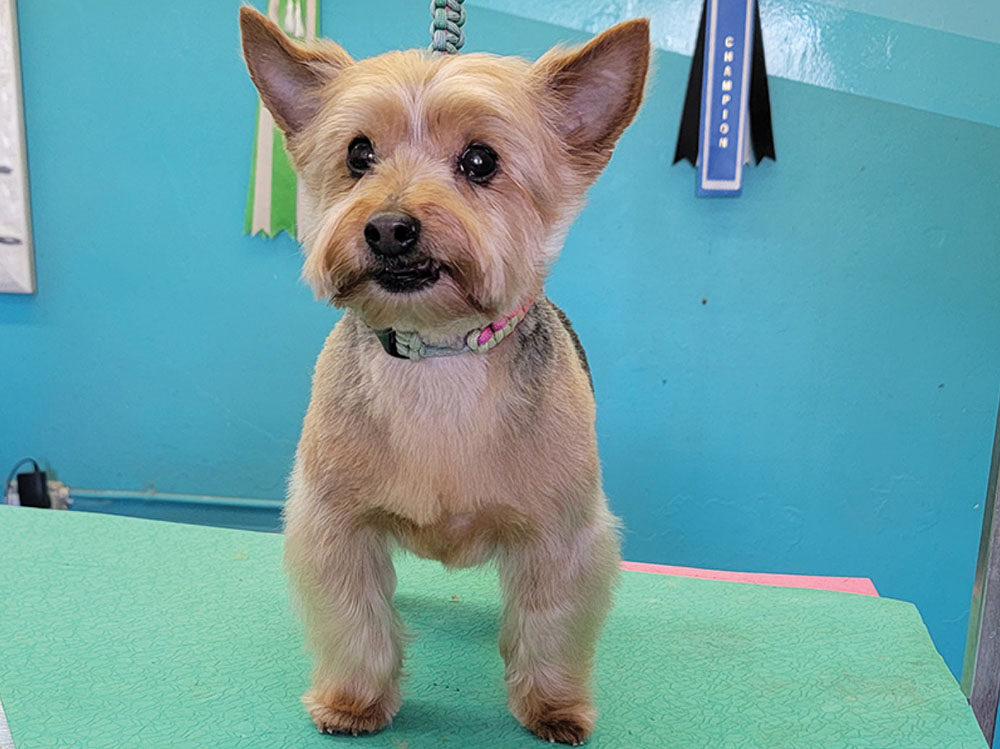
Fig 6) Trim the face however you would like. We are letting this dog’s face grow out, so I just cleared between the eyes and gave a finish back to the face by trimming the ends.

Fig 7) Trim the feet, starting with trimming any hair that passes the bottom of the foot.

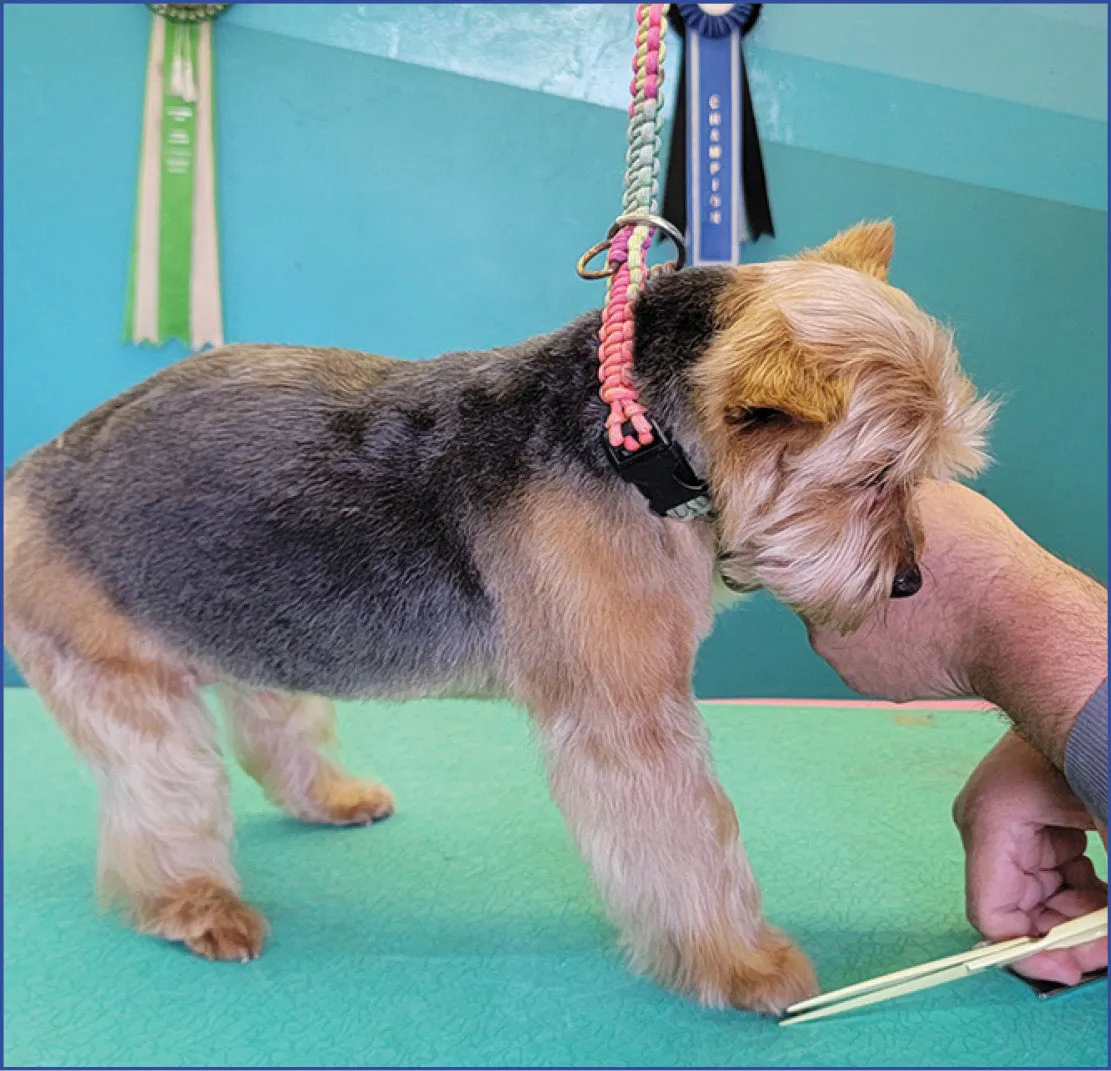
Fig 8) Next, you’ll round the feet while the dog is putting weight into the foot, as this will make the hairs shift.
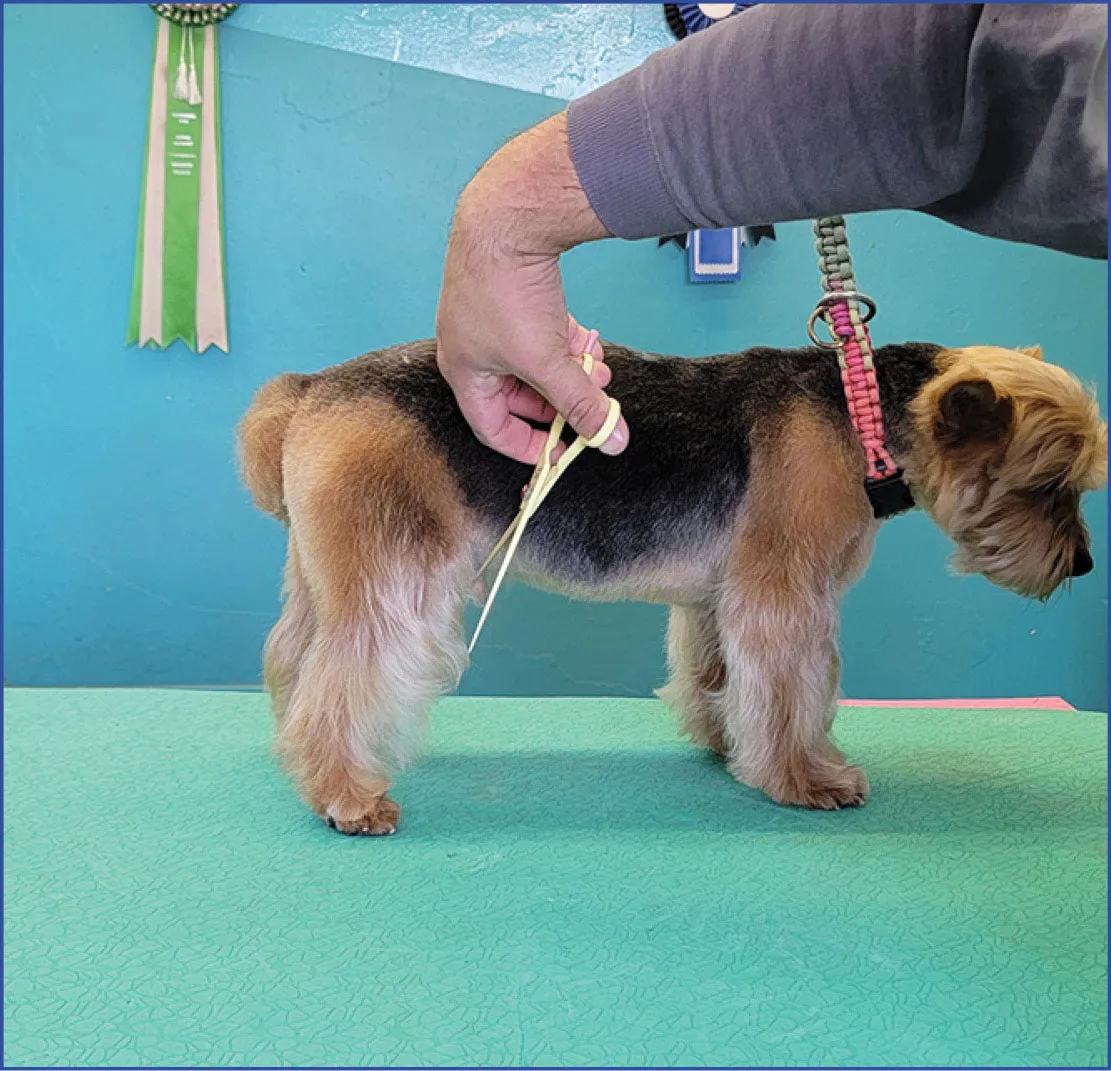
Fig 9) Trim and shape the back leg in balance with the dog by using the rear angulation and turn of stifle as your points of reference.
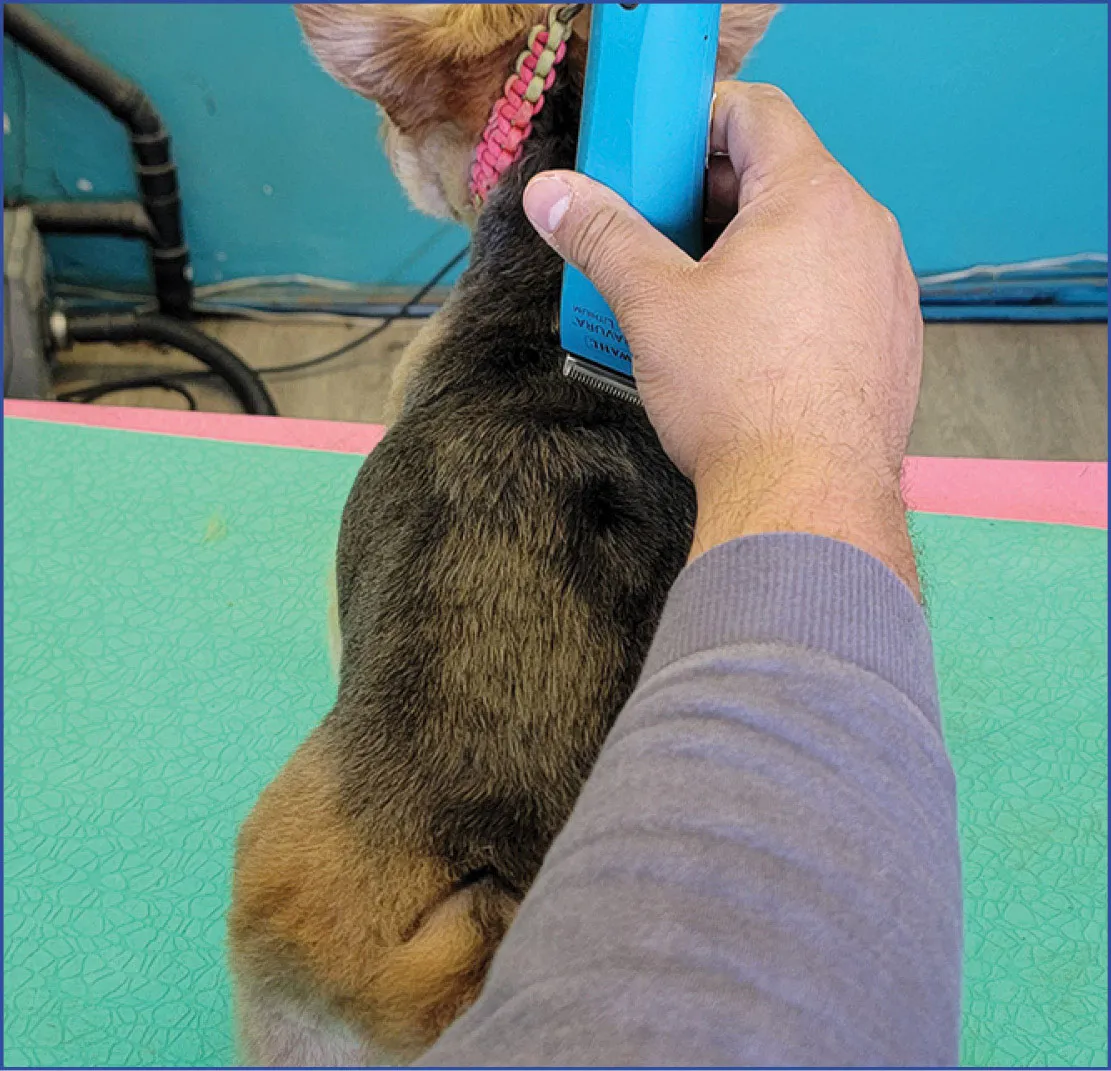
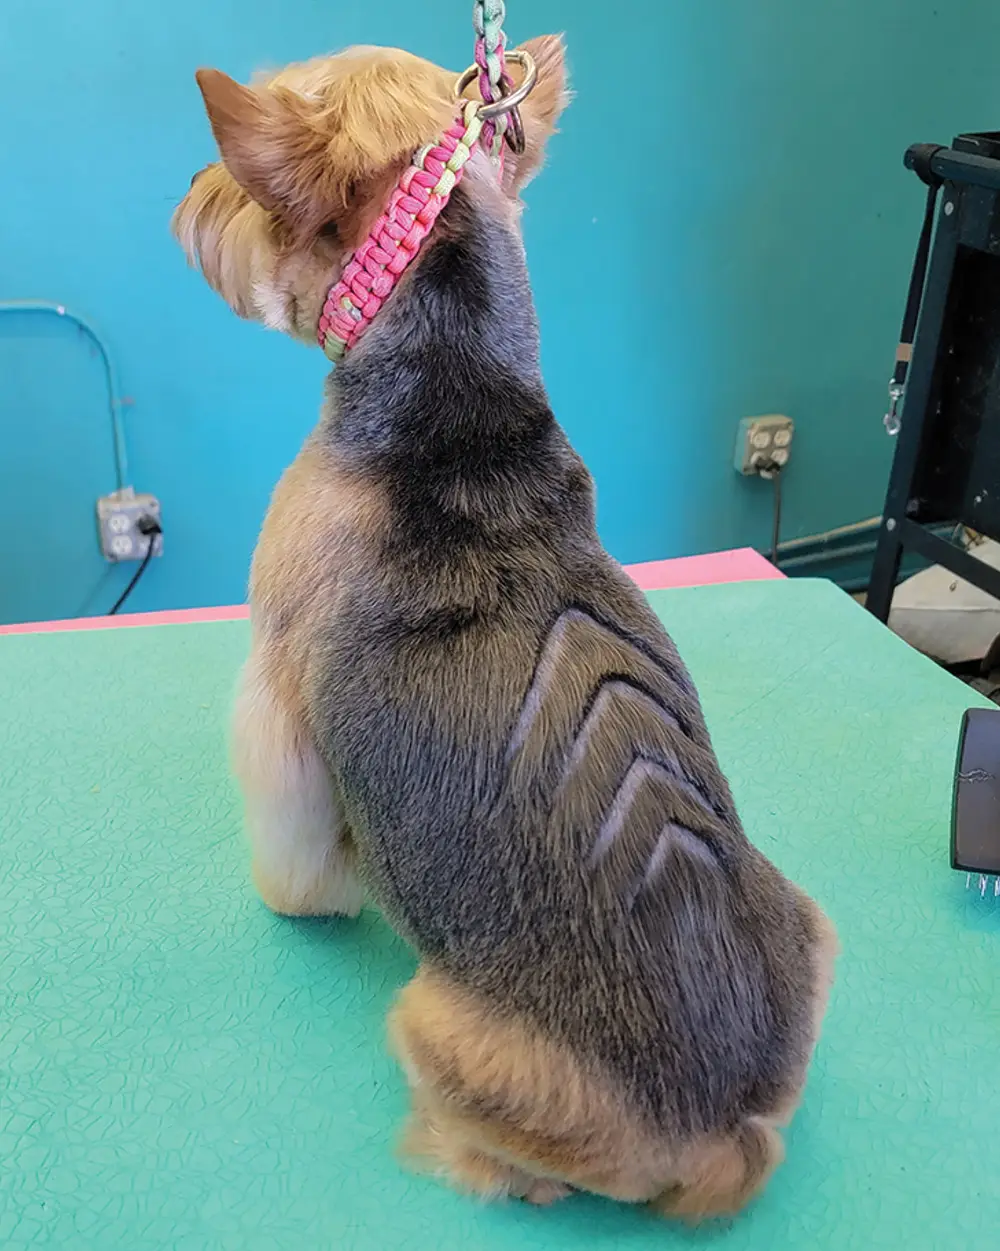
Fig 10) To begin the carving, find a place to start and commit. While the hair is combed smoothly with the grain of coat, use a #30 blade to etch in at a 90-degree angle.
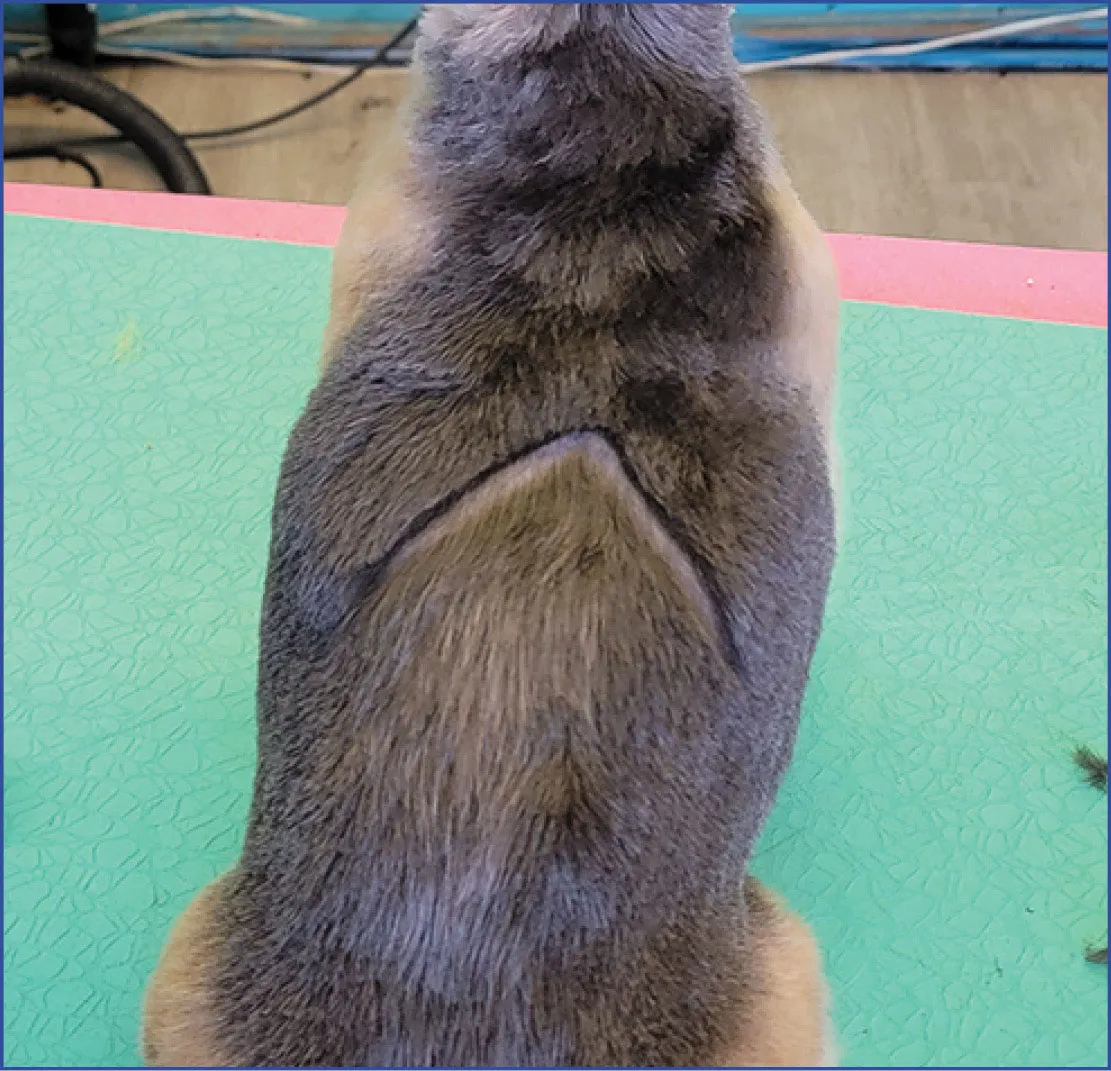
Fig 11) This is how your first line should look.


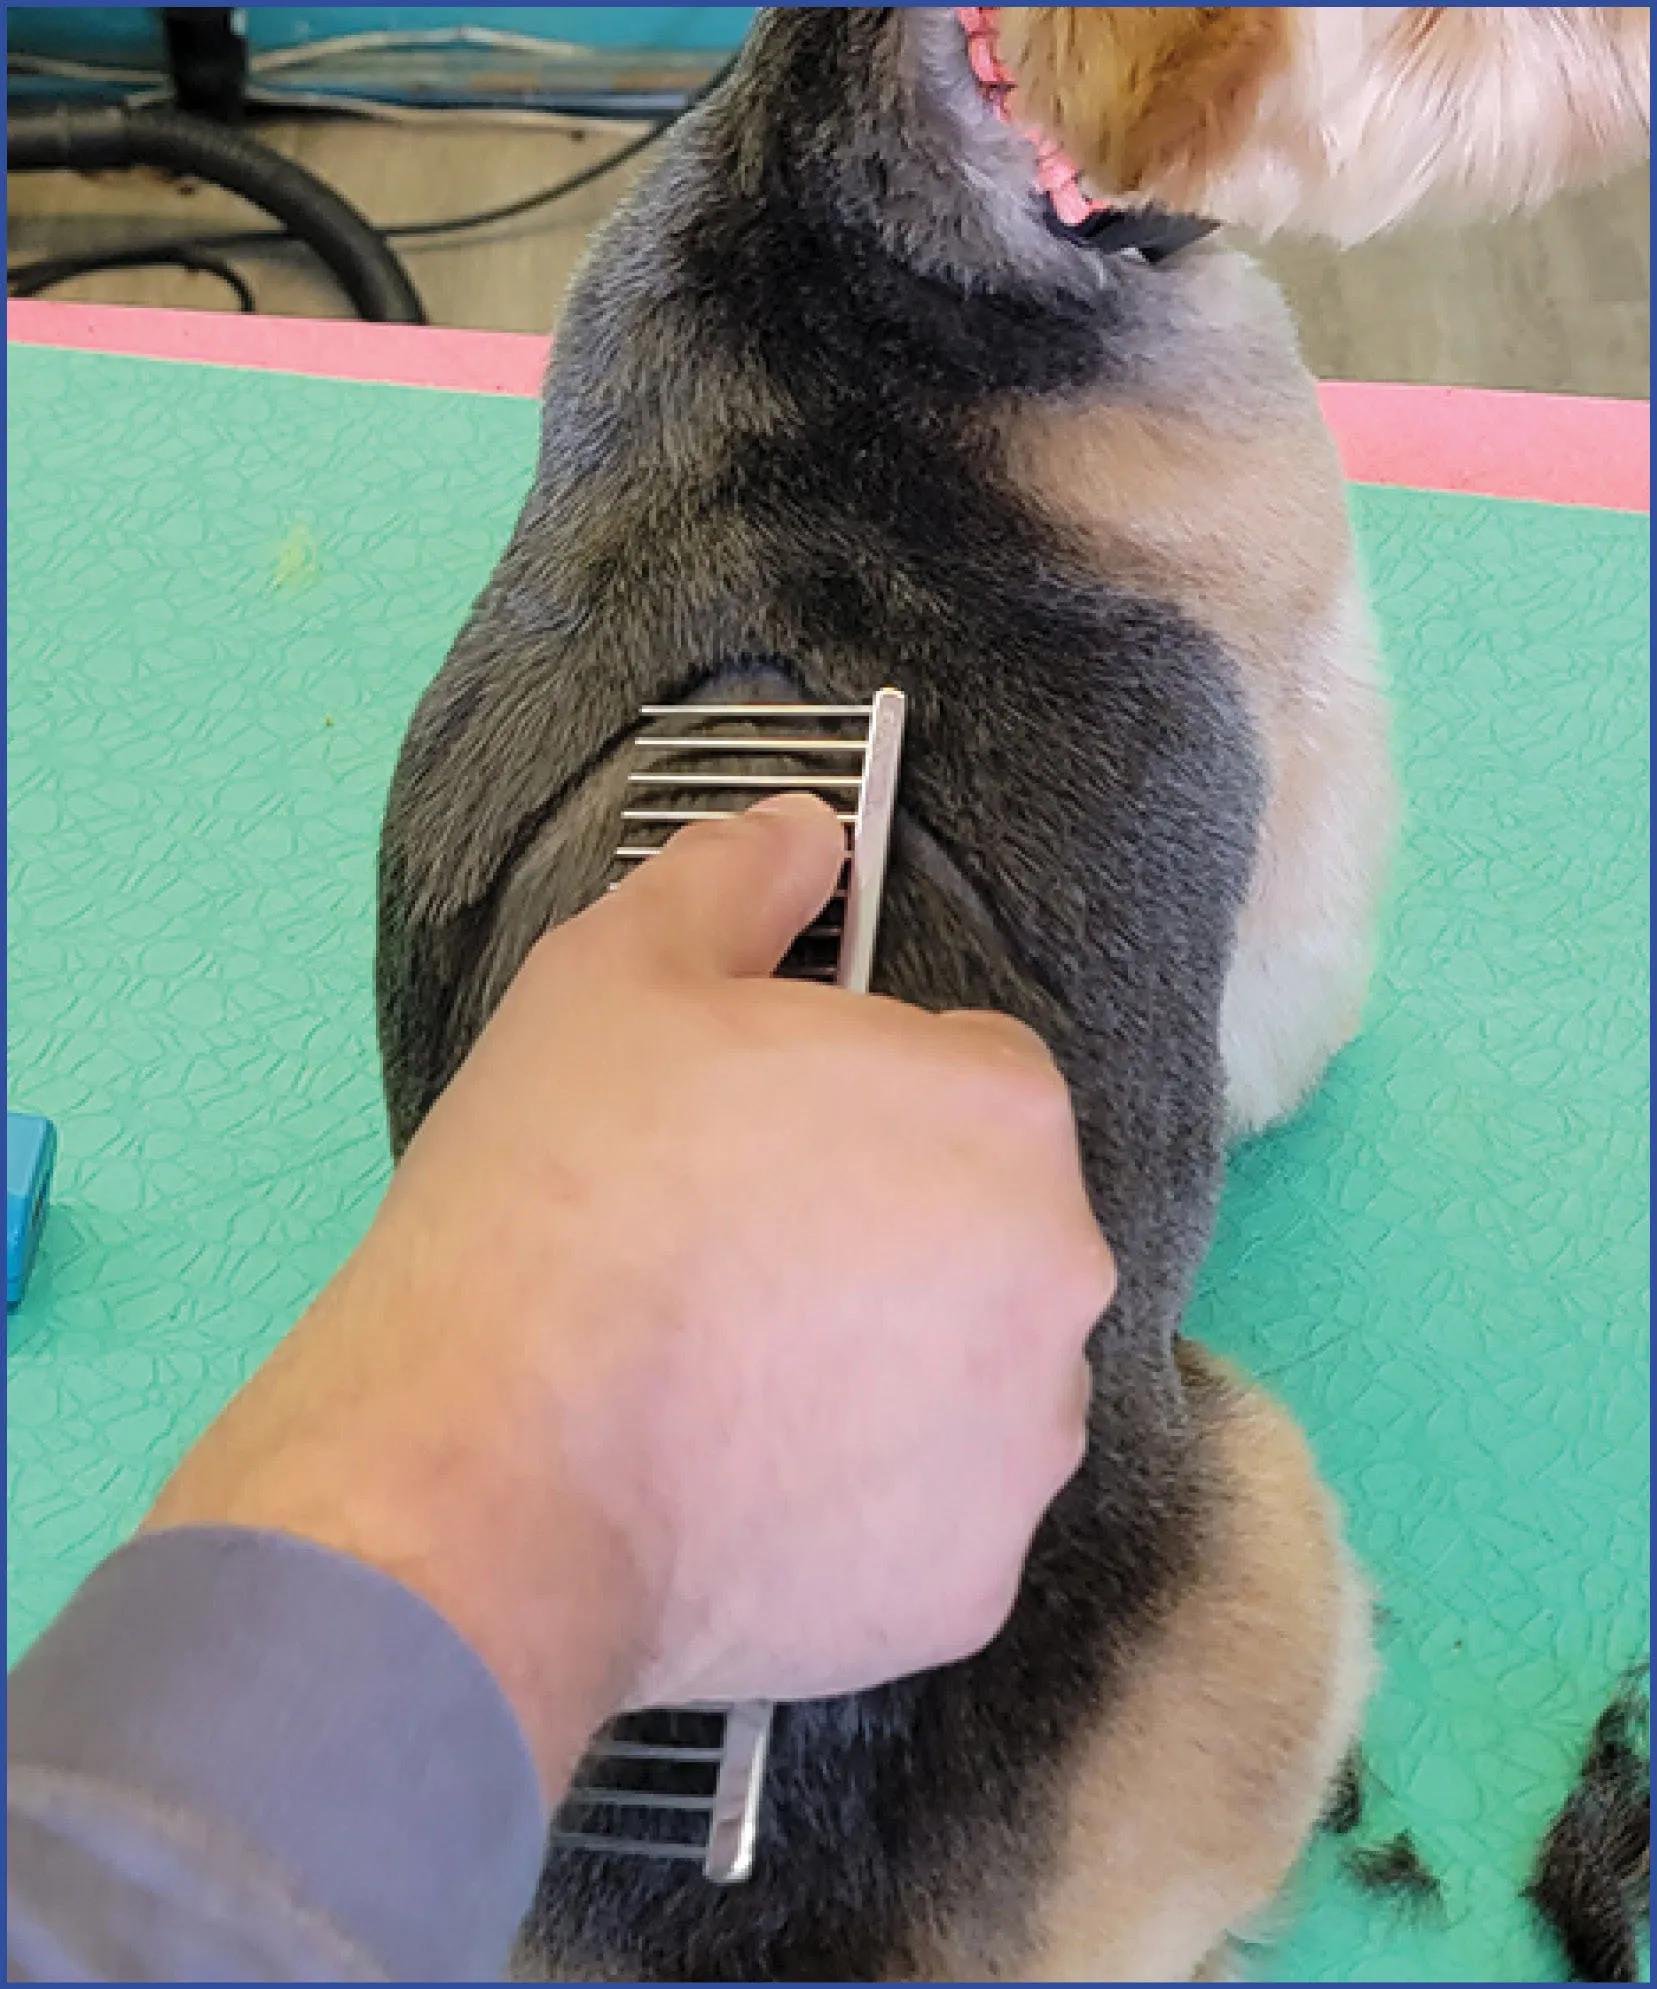
Fig 12) To measure equal distance between each line, use a wide-toothed comb.
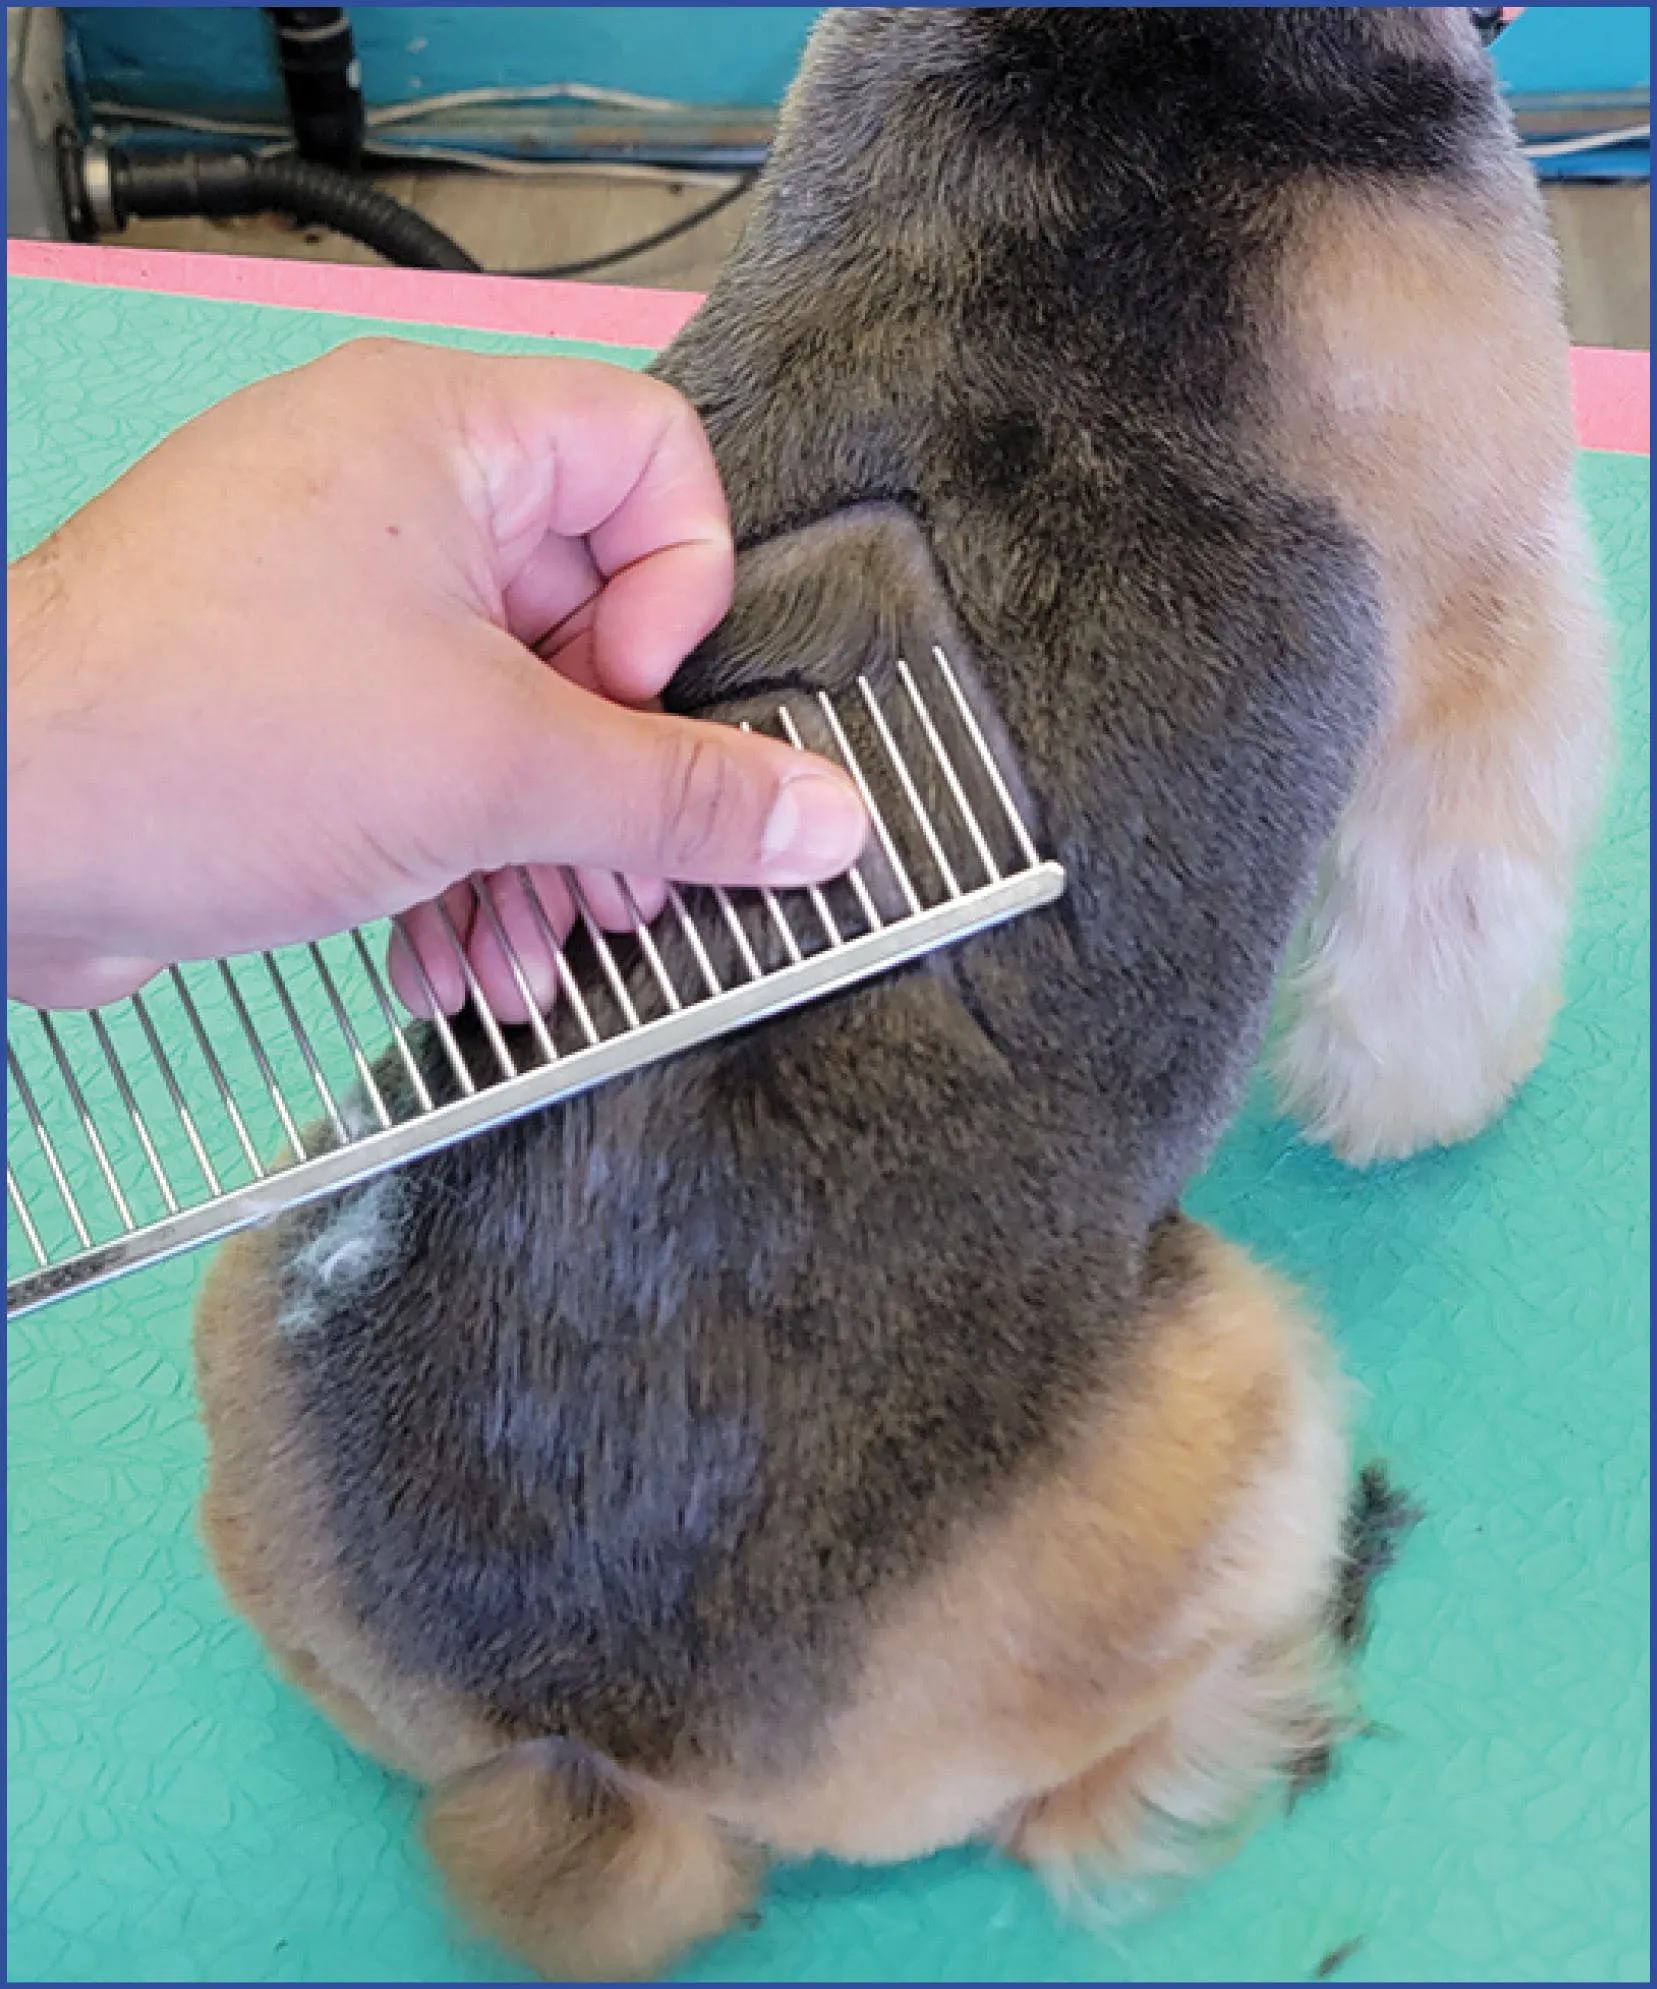
Fig 13) I spaced my next carving line exactly three tines below the bottom of the first line. You’ll then repeat this until it fills the dog’s torso appropriately for your design choice.
This design, or really any others, can be achieved if you remember these basic rules of carving a drop-coat. Have fun with it and even create a signature cut all your own!