

by Kelsey Ann Sexton
 n the ever-evolving world of pet grooming, staying ahead means offering not only a service, but an experience. One way to create an experience is by adding seasonal spa packages with photos to help increase add-on sales and create cherished memories for pet parents. You can go as extravagant as you’d like, creating add-on packages for every season—a Cozy Autumn Cider Facial, a Winter Magic Soothing Soak, a Refreshing Summer Conditioning Coconut Massage or Floral Spring Relieving Facial—but adding a photo set to market your seasonal packages takes it up a notch!
Online there’s an array of photo backdrops and apps to assist you as your creative juices flow. But here is a fairly simple DIY holiday photo set you can create that is sure to make it on the front of your clients’ Christmas cards this season.
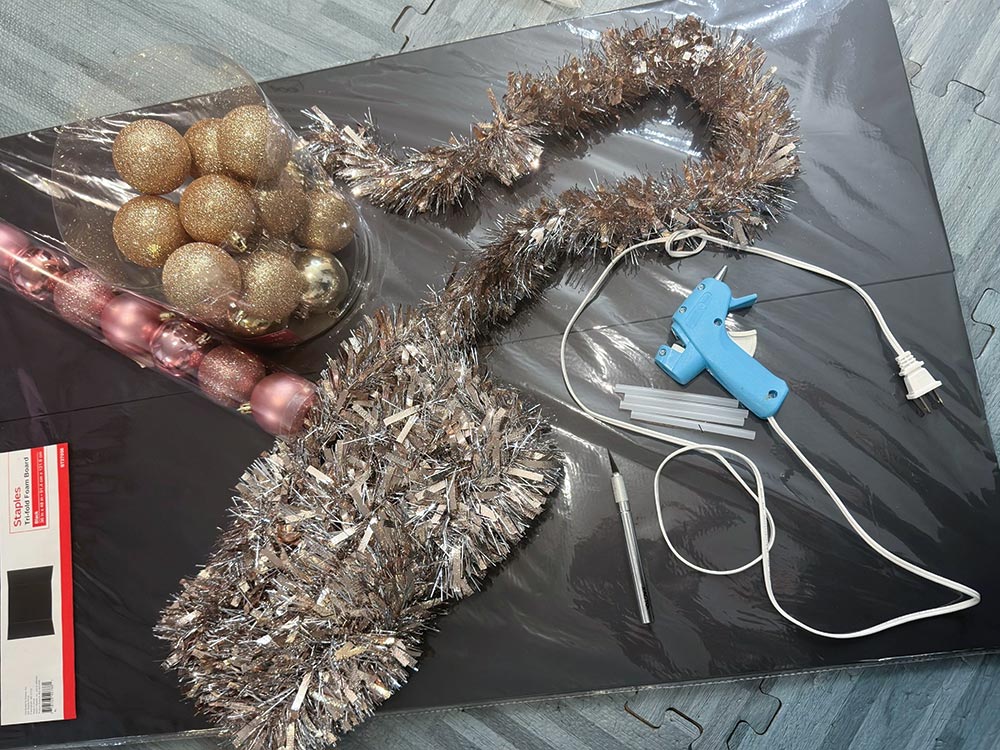
Supplies you’ll need:
- Black Tri-fold Foam Presentation Board
- Ornaments
- Garland/Tinsel
- Hot Glue Gun with Glue sticks
- Scissors or X-Acto Knife
- Treats
- Camera (phone will do!)
Let’s get creating:
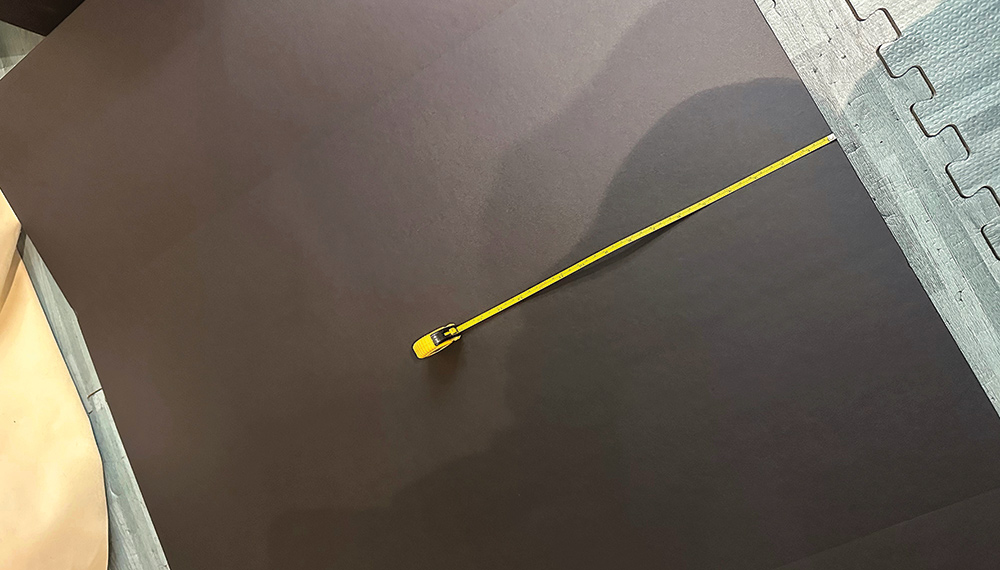
Step 1: Measure approximately how tall your model/s will be at the withers and mark it on the board. You can use a stool or steps for smaller dogs to sit on.
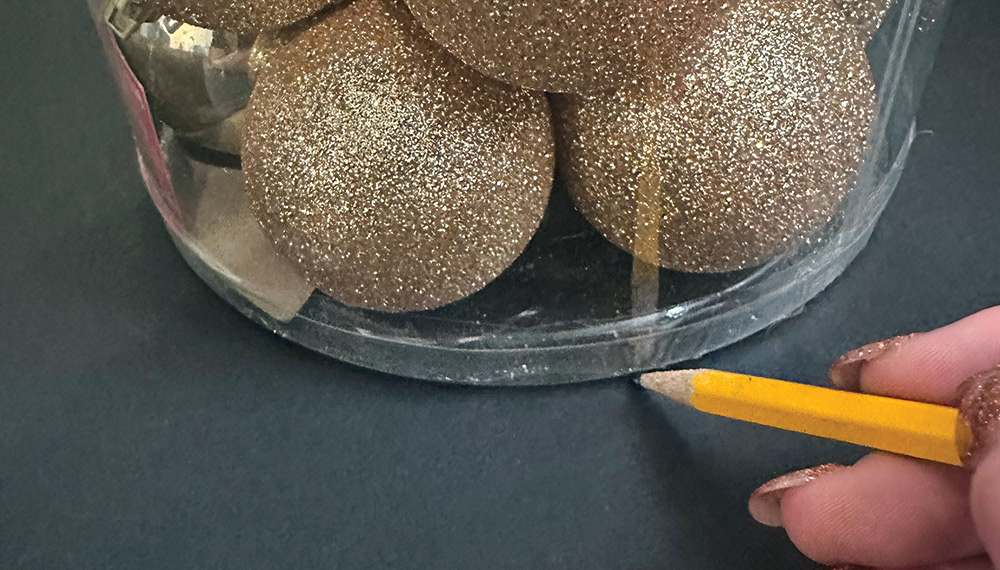
Step 2: Place a circular object at the halfway mark of your measurement and trace around it. This will be for the pet to place its head through, so keep that in mind when choosing the size. If you do large and small pets, you may need to make two boards.
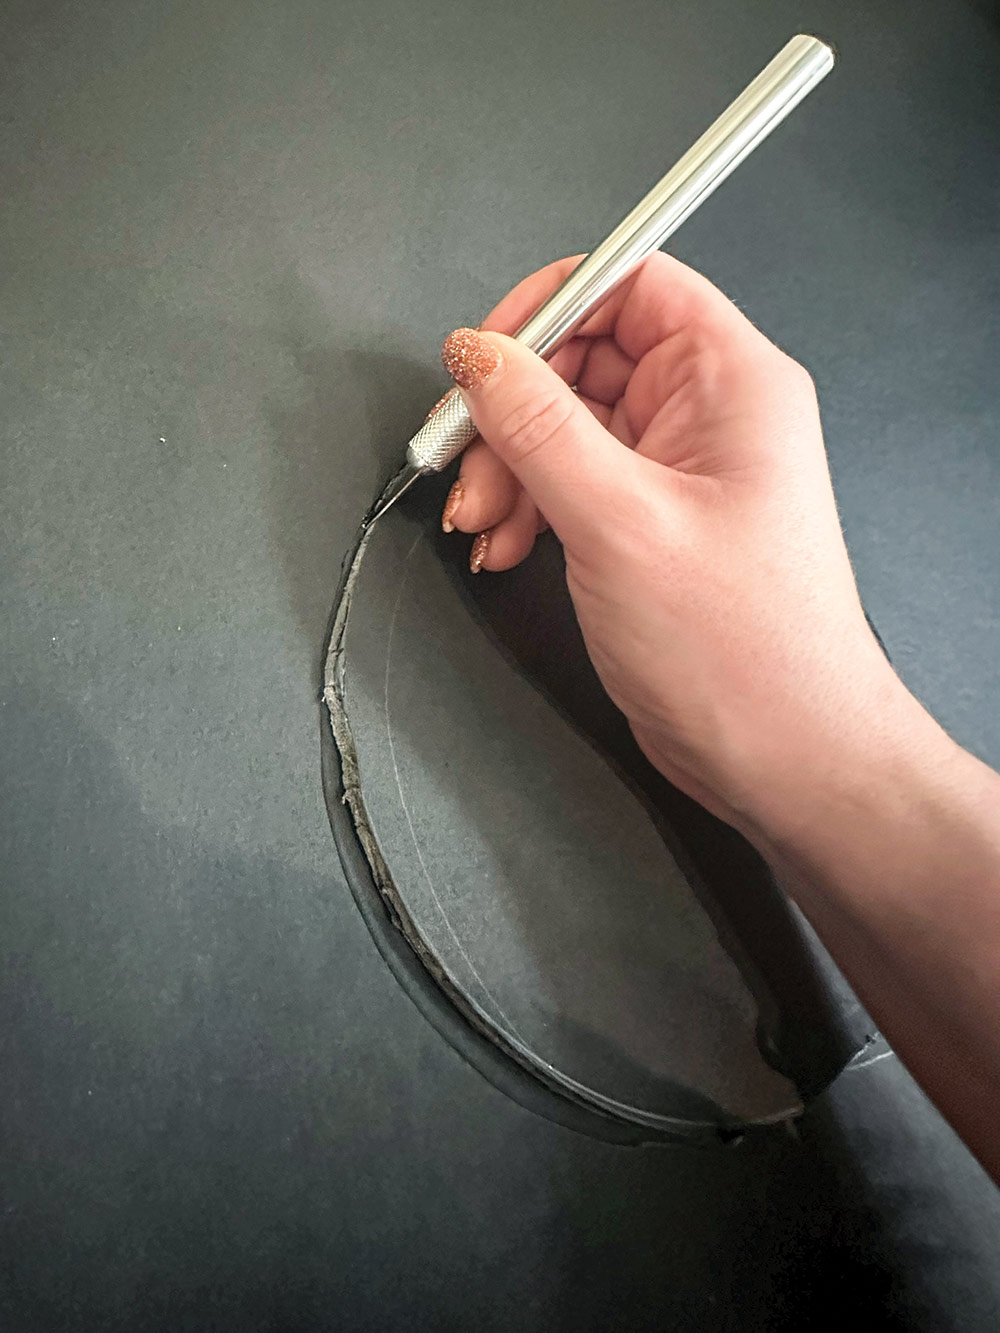
Step 3: Cut out the circle with scissors or X-Acto knife. Be careful not to make it too big, you can always cut more if it’s too small!
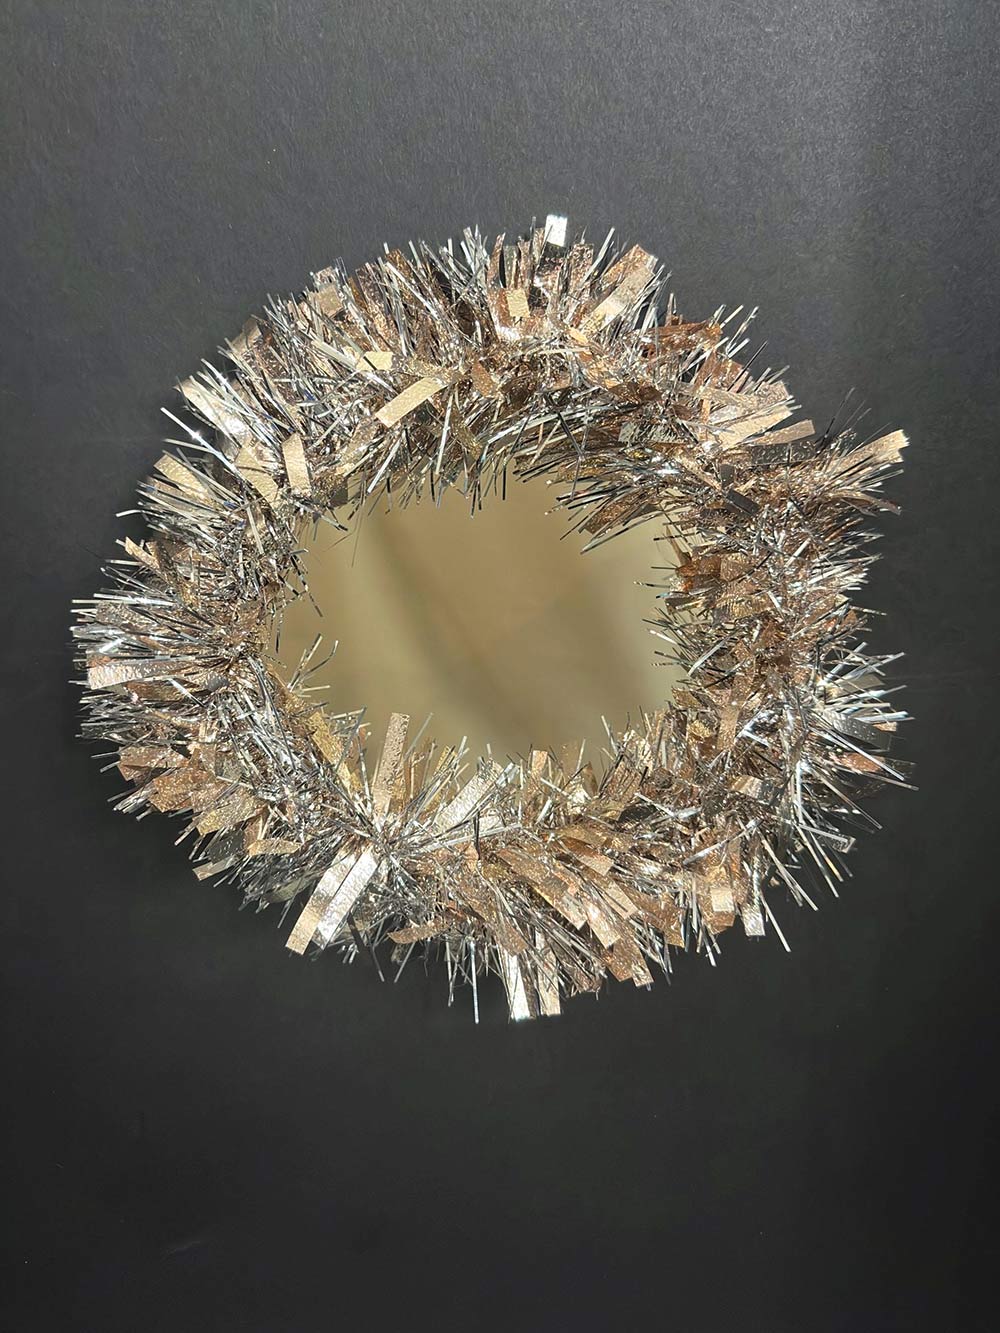
Step 4: Measure the tinsel/garland to frame the hole, then use hot glue to attach the tinsel/garland, making sure to fill any gaps that show your cut marks.
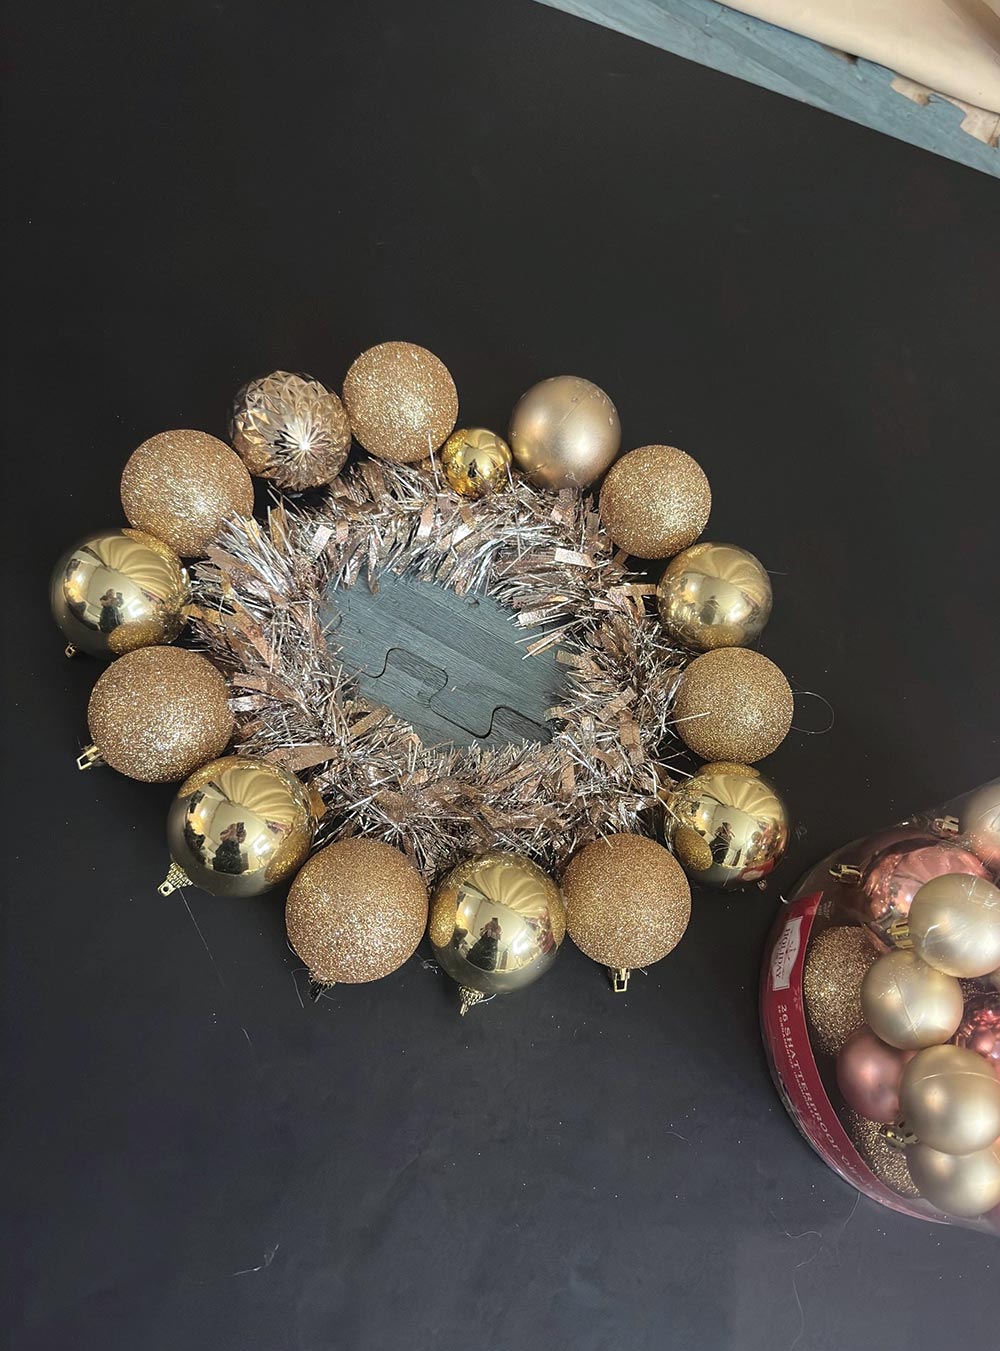
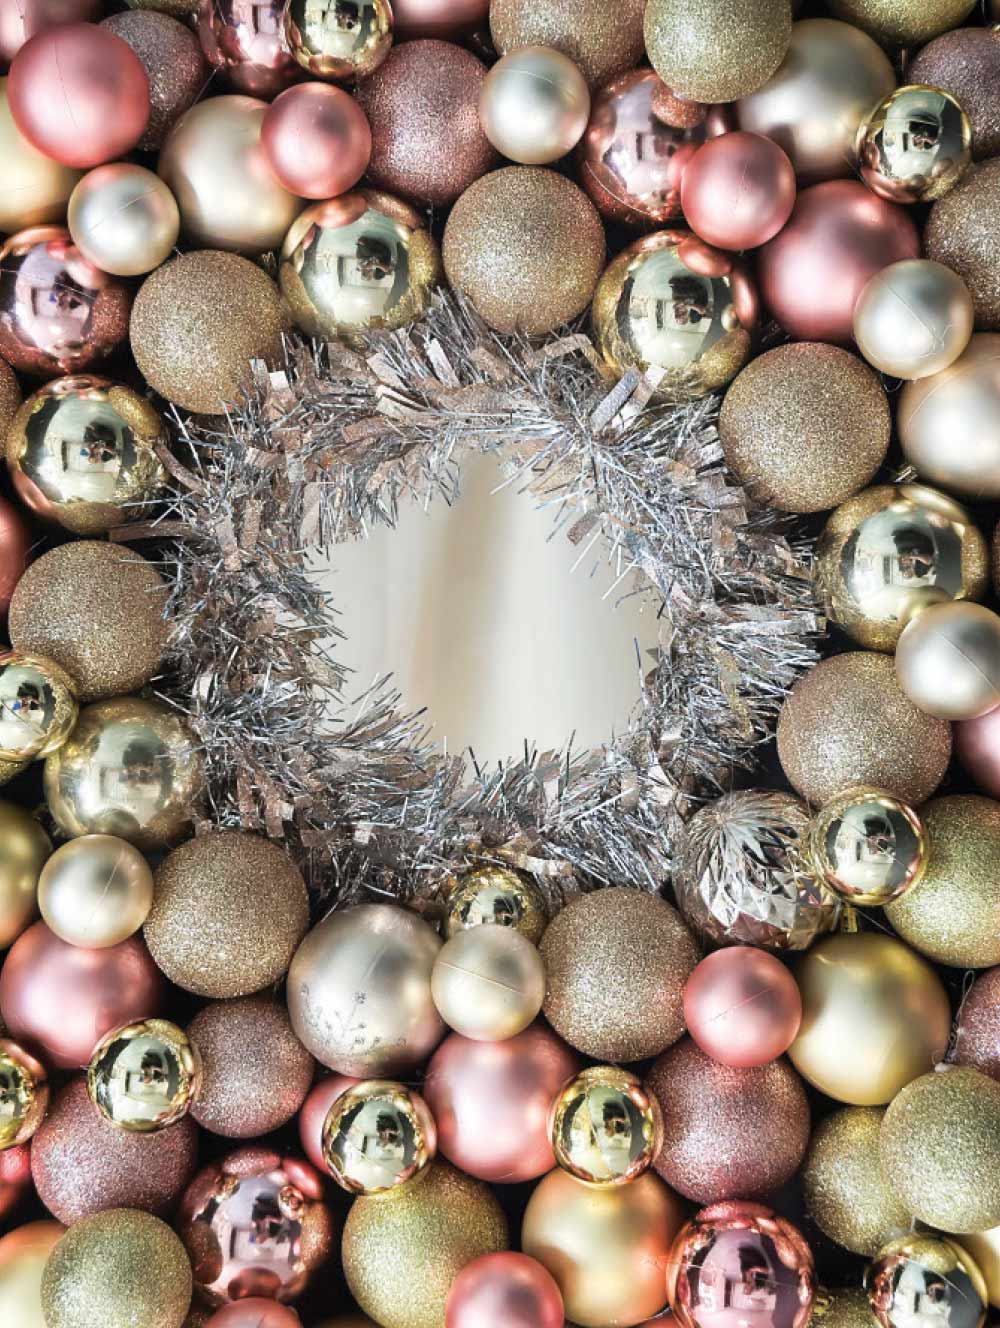
Step 5: Next you’ll begin gluing the ornaments in any arrangement you’d like. Aim the tops of the ornaments down so you can mask them easier with the next row.
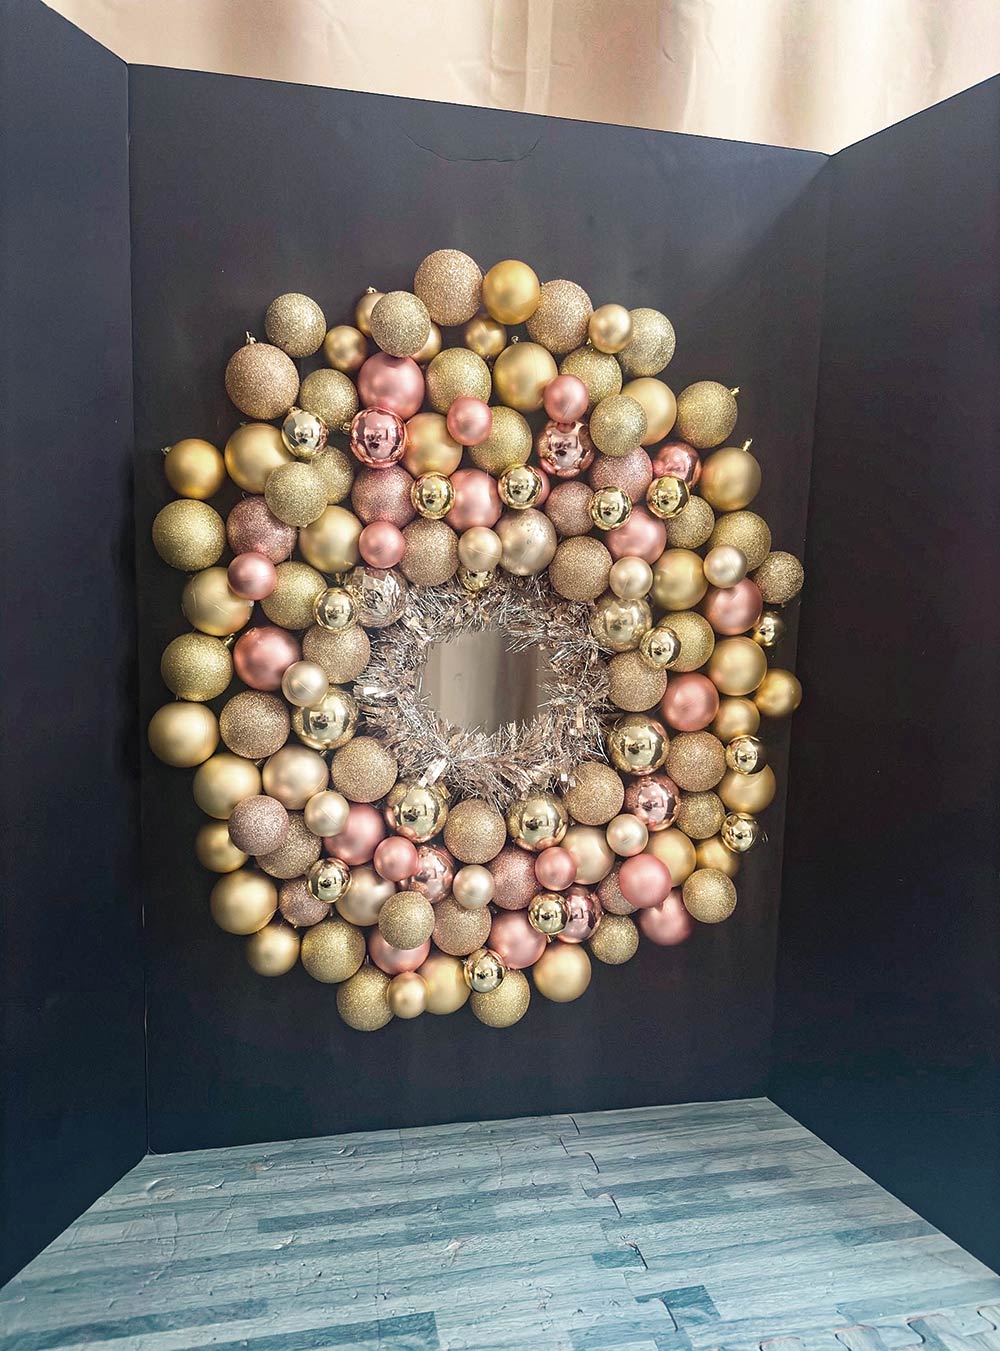
Step 6: Stand it up to check your work and to see if anymore ornaments need added.
Step 7: Once you’re satisfied, you’ll want to find a well-lit area or use a ring light on a low setting to test the lighting. When taking the photo, the light needs to be in front of the subject with side reflections to really make that focus pop.

Step 8: Now you’re ready to test it out! To coax the pet to put its head through the hole, it’s best to use treats. Then, snap some photos and pick your favorite pose!
This DIY project makes it easy to incorporate a quick photo that will make life-long memories for your clients, and can add to your bottom line when pairing it with other packages. You can either print the photo in-house or send the client a digital file. The sky is the limit in your creativity with photo offerings, but this photo set is sure to provide your clients with a Christmas-card-ready photo of their freshly groomed pet!