
by Blake Hernandez
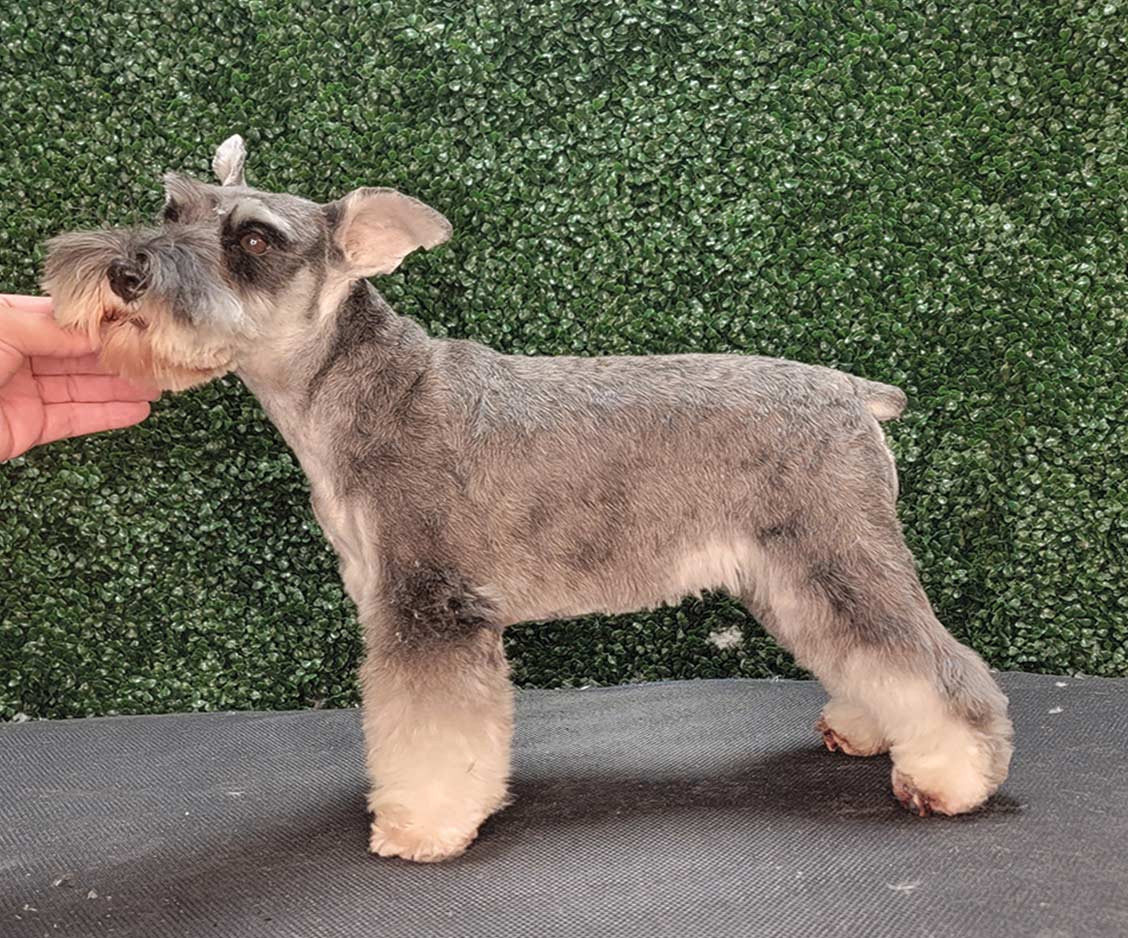
 he Miniature Schnauzer haircut is an impactful one. It is the type of trim that can satiate a groomer’s desire for an instantly gratifying makeover. The trim is a beautiful blend of long-legged Terrier attributes combined with the fluffier and fancier outline we see in curly-coated breeds. Once you have a Miniature Schnauzer pattern down, you are just a hop, skip and a jump away from mastering all your long-legged Terrier trims, and even on your way to Fusion pattern perfection.
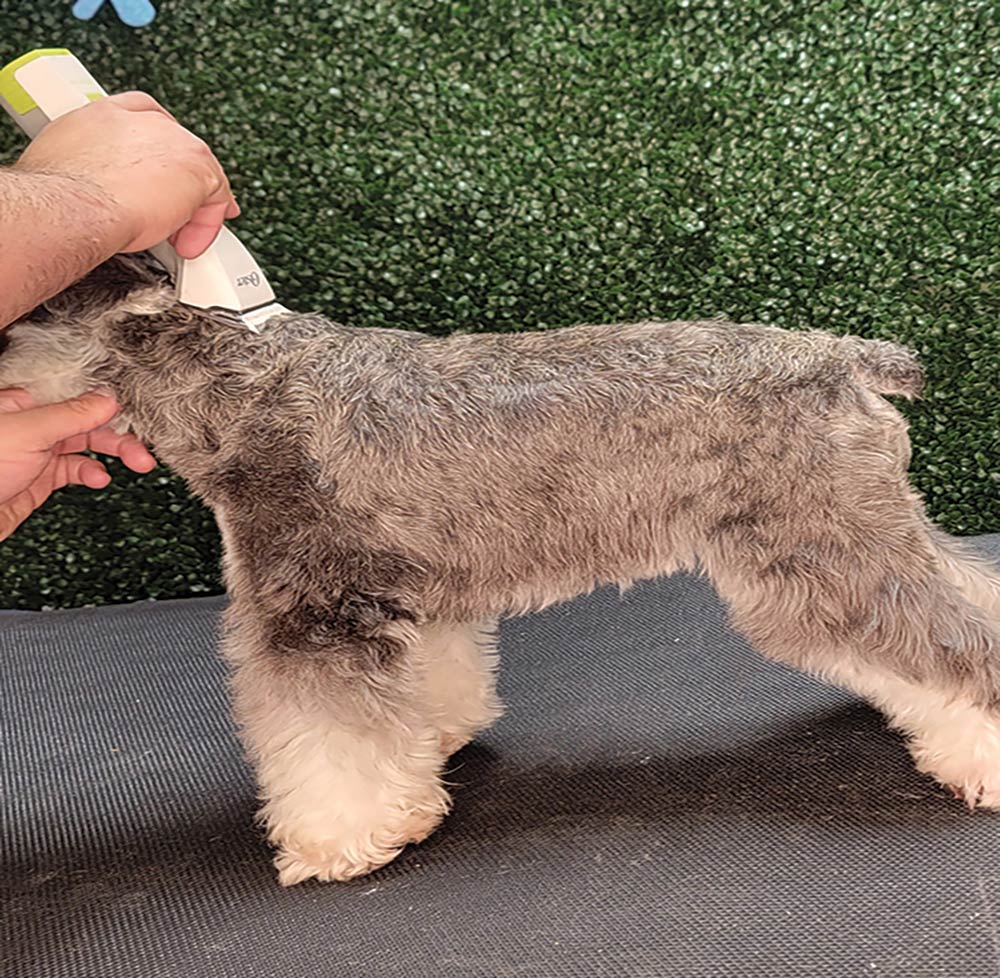
Fig 1) The lengths will vary by desired grooming schedule, but on this dog I started with a #6F and clipped from the back of the neck going all the way to the tail.
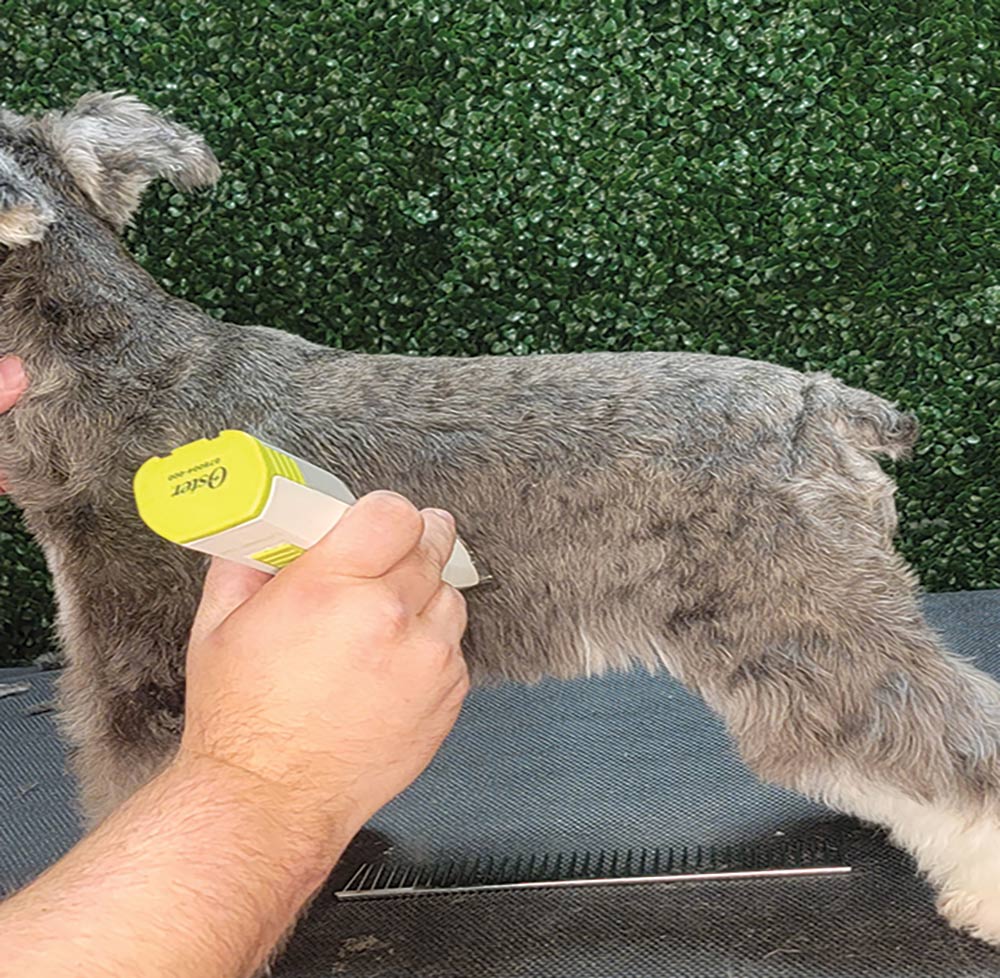
Fig 2) Then, using the same-length blade, follow the grain of the hair on the dog’s sides while tucking slightly under the dog in order to leave a fringe of hair along the underline.
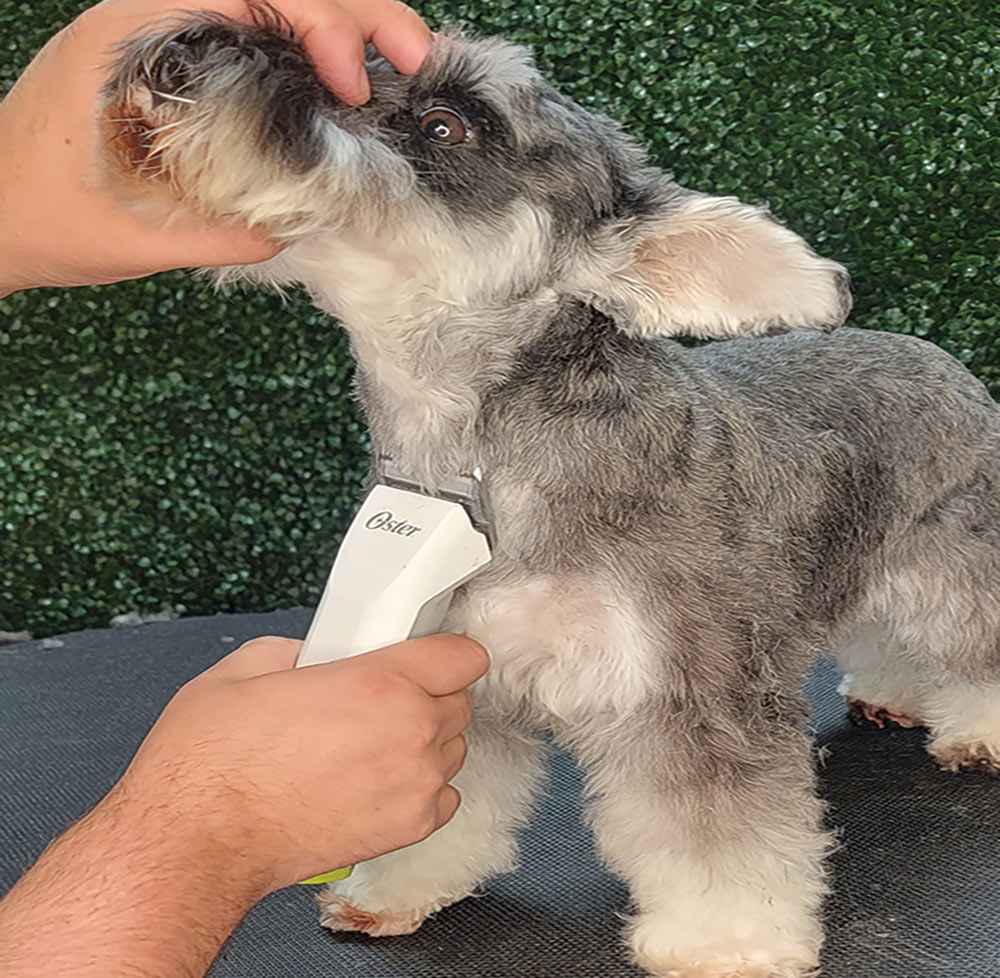
Fig 3) Using a #7F, go in reverse from the dog’s chest bone up to the throat latch.
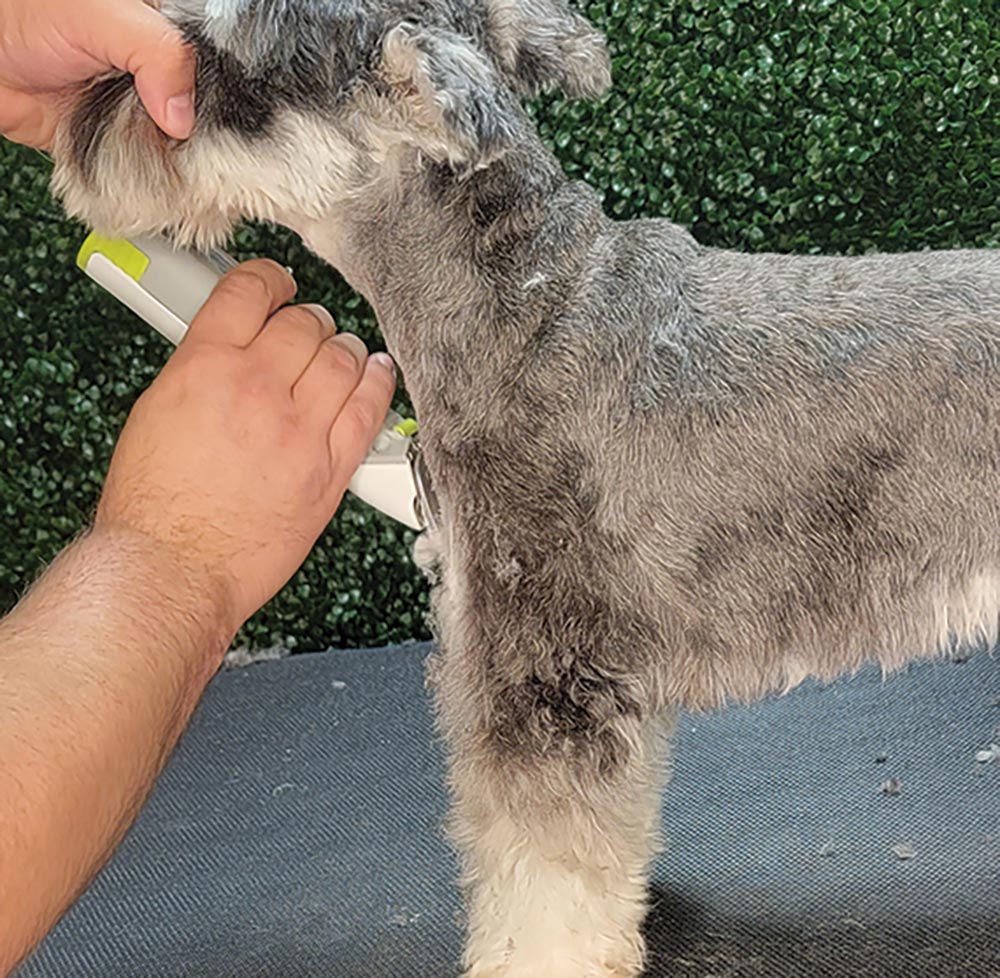
Fig 4) To seamlessly blend this area, use the #7F in the correct direction and skim the blend line.
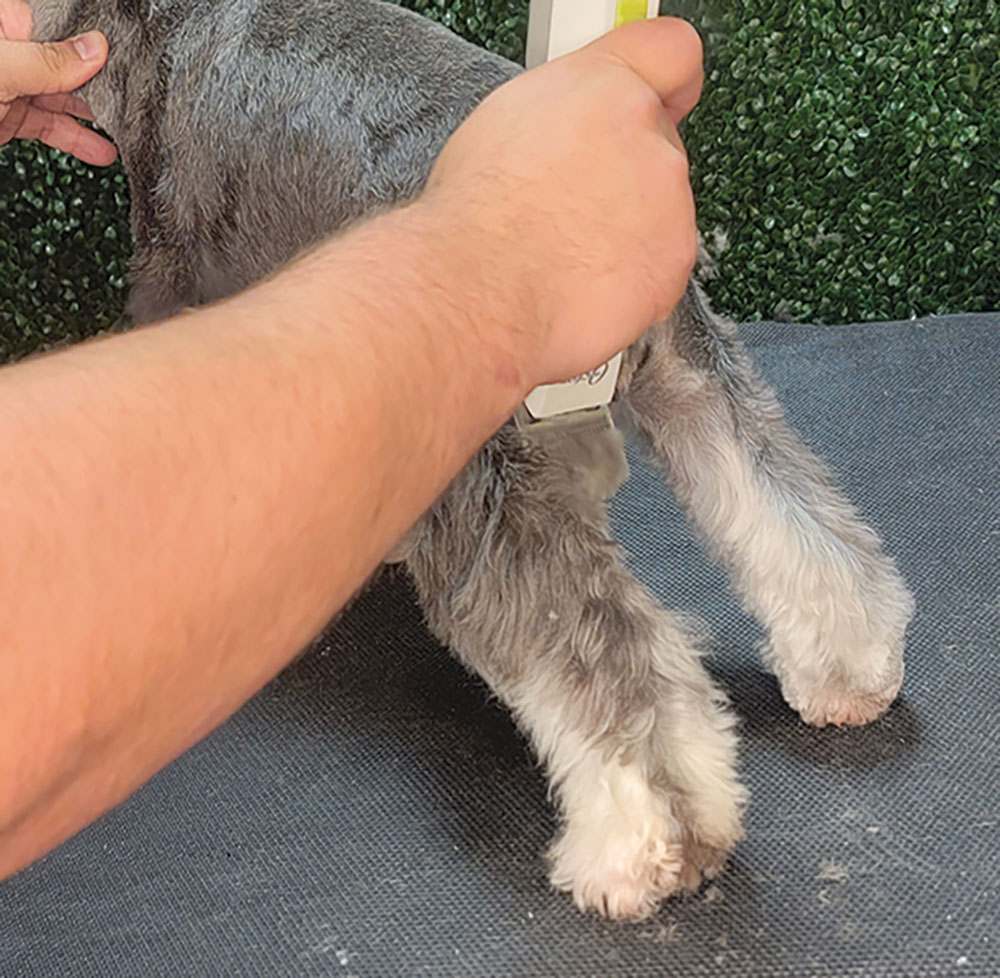
Fig 5) Then use the #7F blade to clip tightly and reveal the coat seams on the backs of the legs. This creates more angles in the rear of your dog.
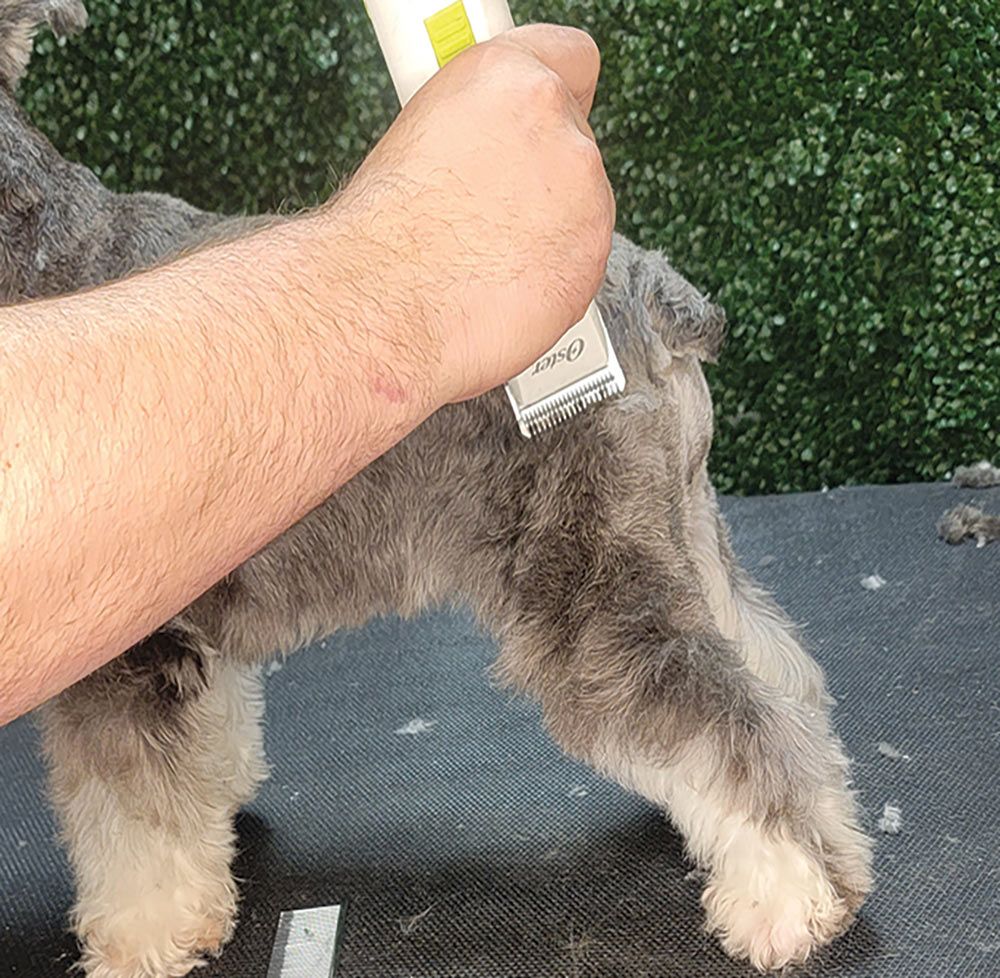
Fig 6) Switching to a longer blade, such as a #5F or #4F, begin skimming from your tight jacket work into your thigh and then down the leg to create an outside parallel line when viewed from behind.

Fig 7) Repeat this process over the shoulder muscle and into the front legs.
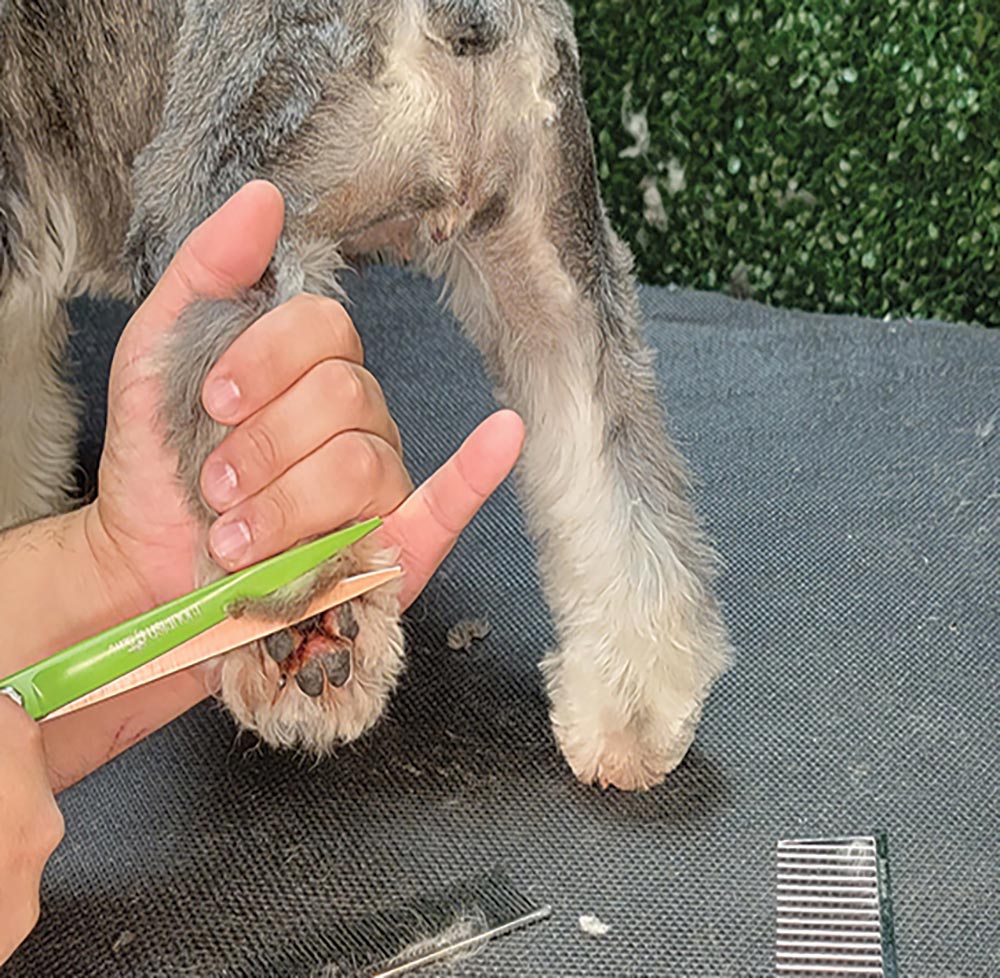
Fig 8) Next you’ll trim underneath all four feet with a straight scissor.
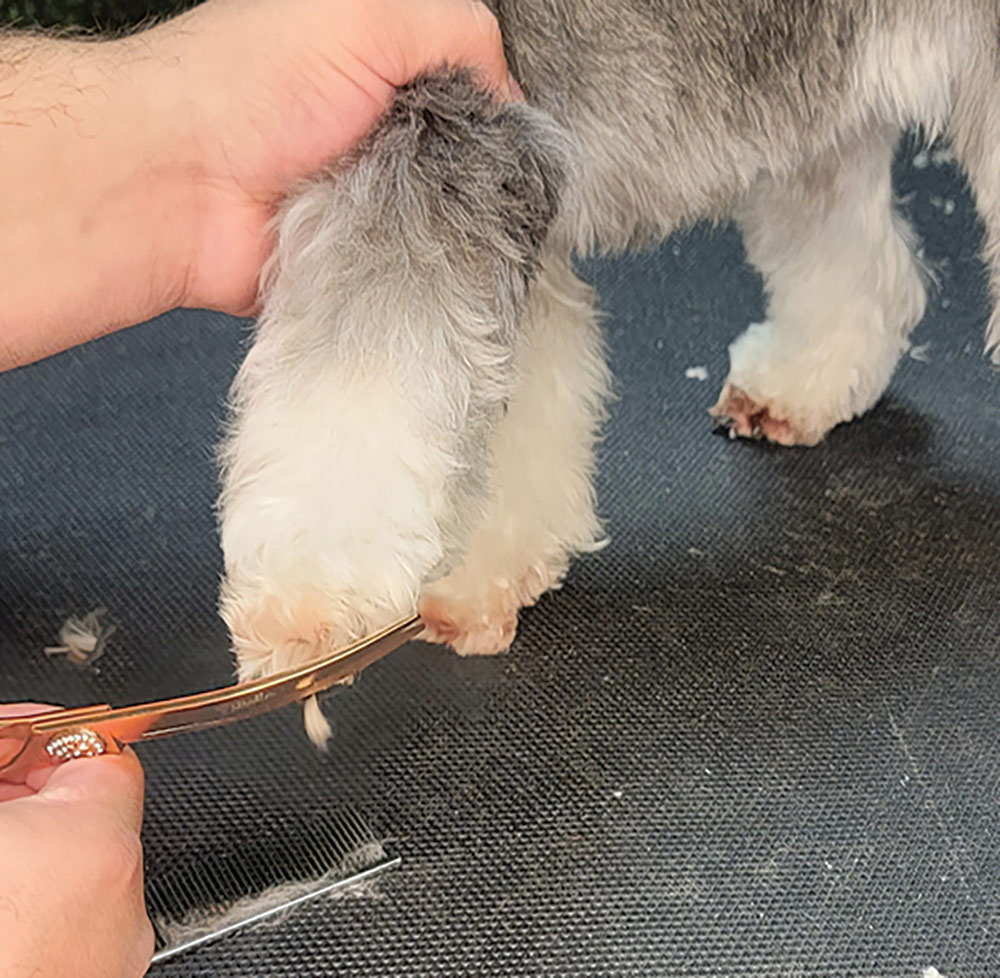
Fig 9) Using a curved scissor, you will then bevel from the pad of the foot into the parallels of the legs.
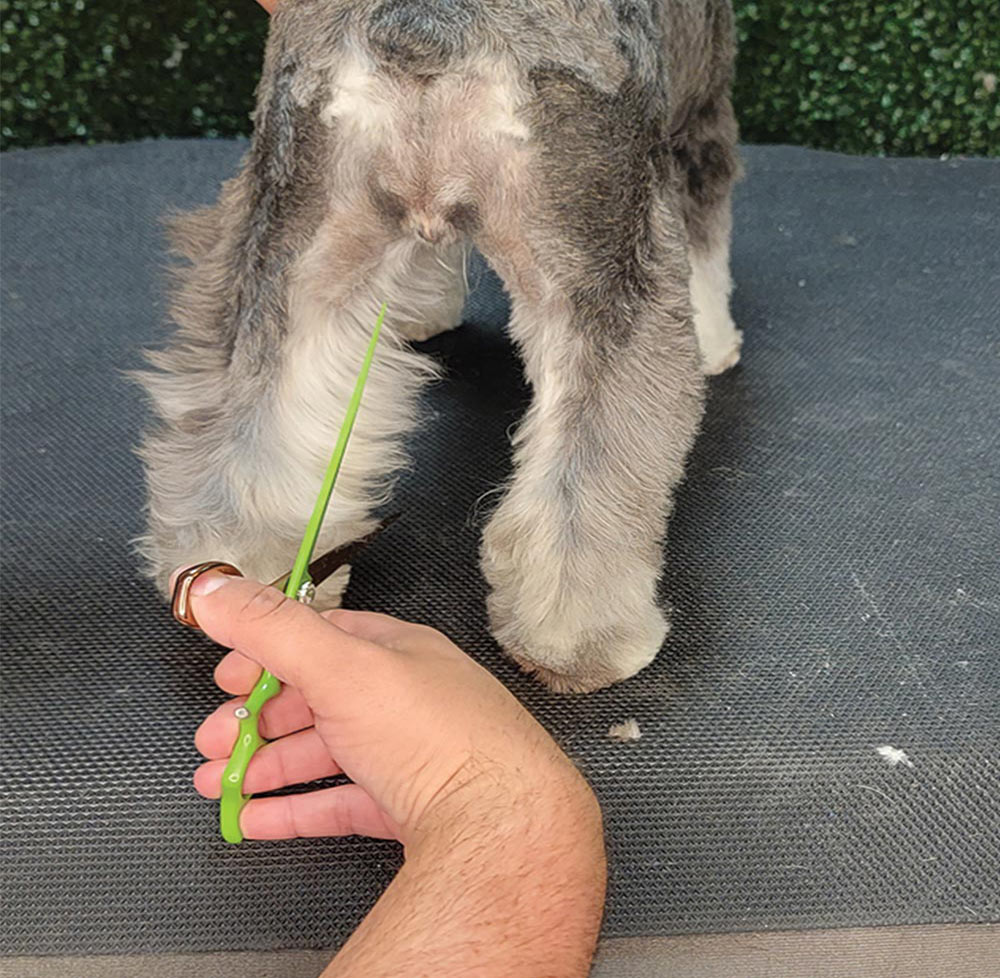
Fig 10) On the rear legs, I like to scissor up with a straight scissor on the inside first in order to separate the legs.

Fig 11) Then, on the outside, scissor a parallel line with a straight scissor to match that.
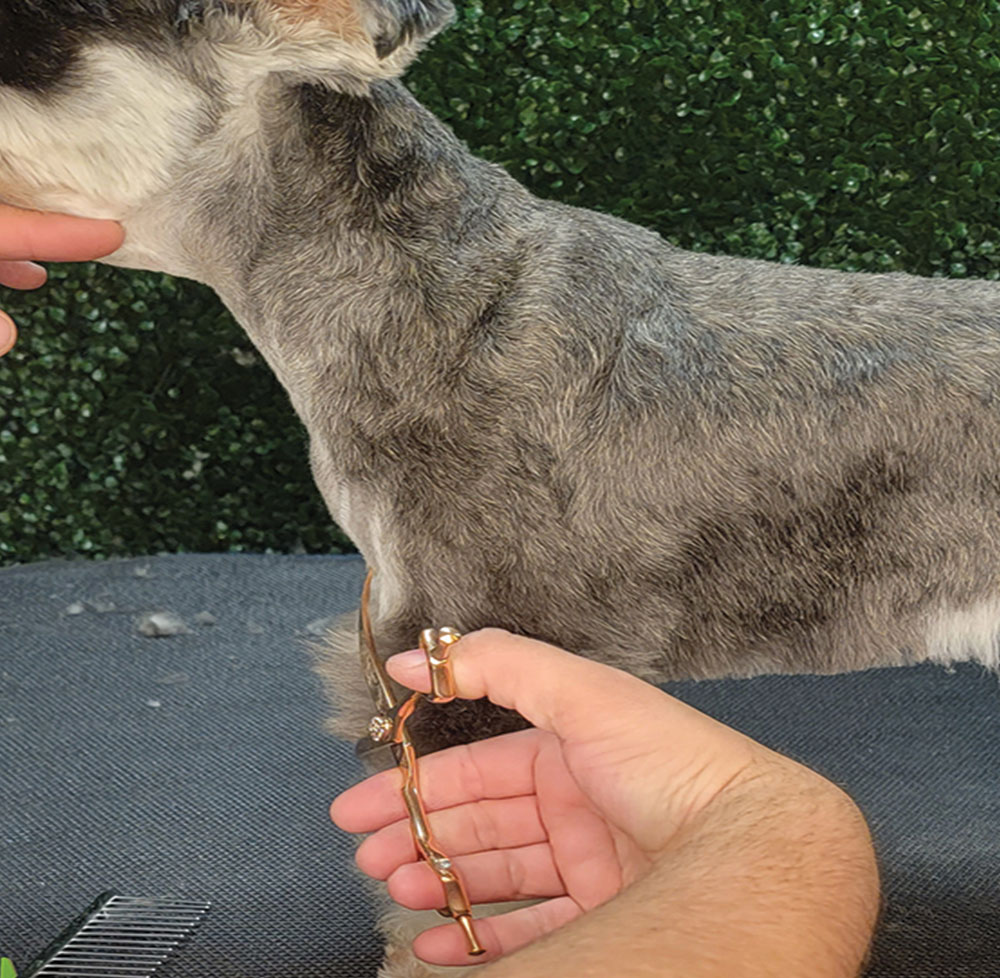
Fig 12) Switching to a curved scissor, work around and up and down the front leg in order to create a column.

Fig 13) The underline continues between the front legs where you create a “V” shape so it doesn’t look untidy and heavy in that area.
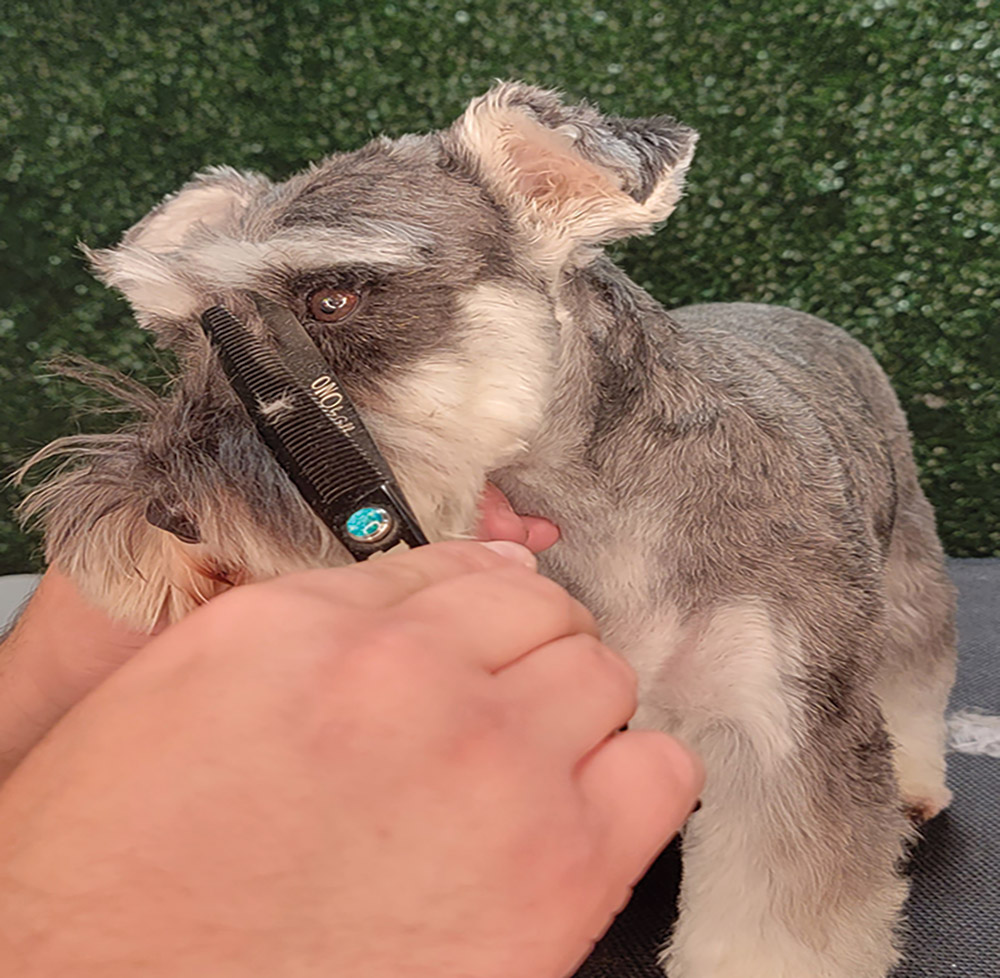
Fig 14) Moving to the head, create a diamond-shaped stop area between the eyes with a fine thinning shear.
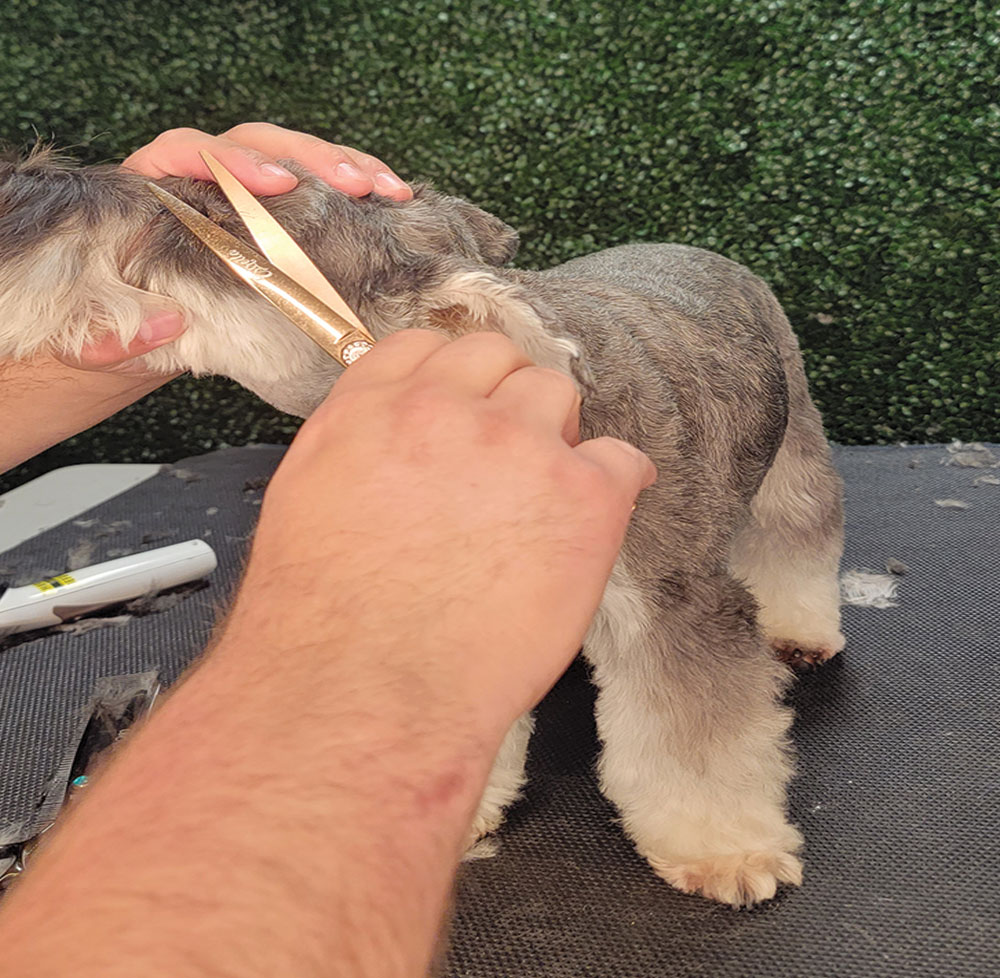
Fig 15) While as close to the outside corner of the eye as possible, angle in to create a sharp eyebrow profile.
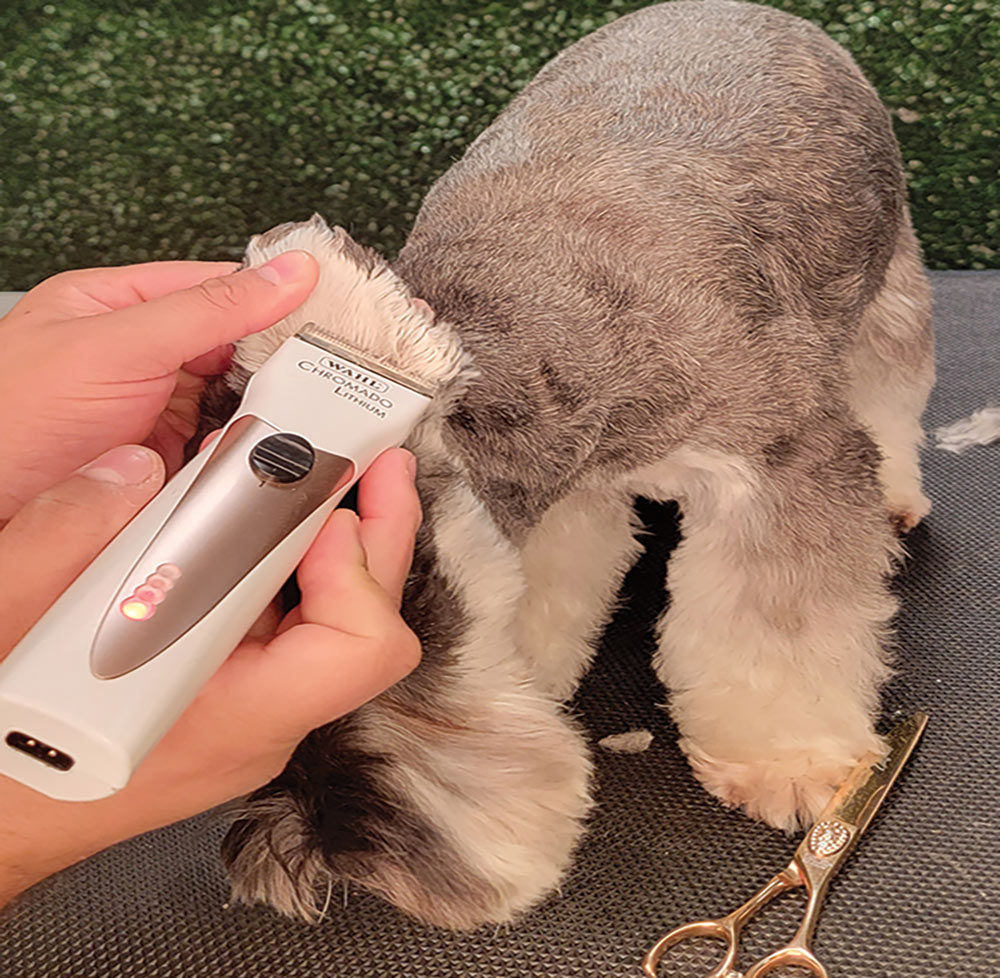
Fig 16) Clip the inside of the ears with a #30 and the outside with a #15, then scissor the edges.
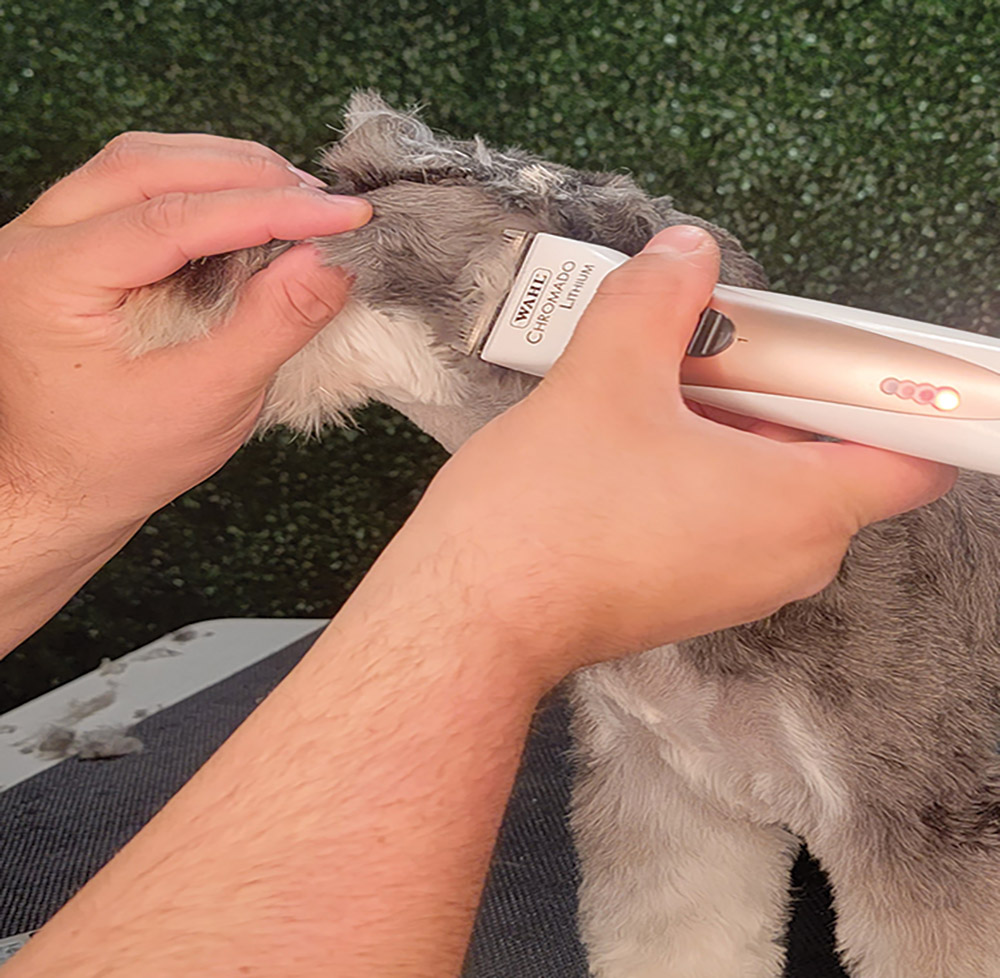
Fig 17) To finish, match the cheeks to the throat length and go from the ear corner to the eye corner against the grain, and then with the grain on the flat of the top skull.
Miniature Schnauzers are a bread-and-butter breed as they have been in the top 20 in America for many, many decades. Master a quick and seamless Terrier pattern like this and watch your revenue grow!