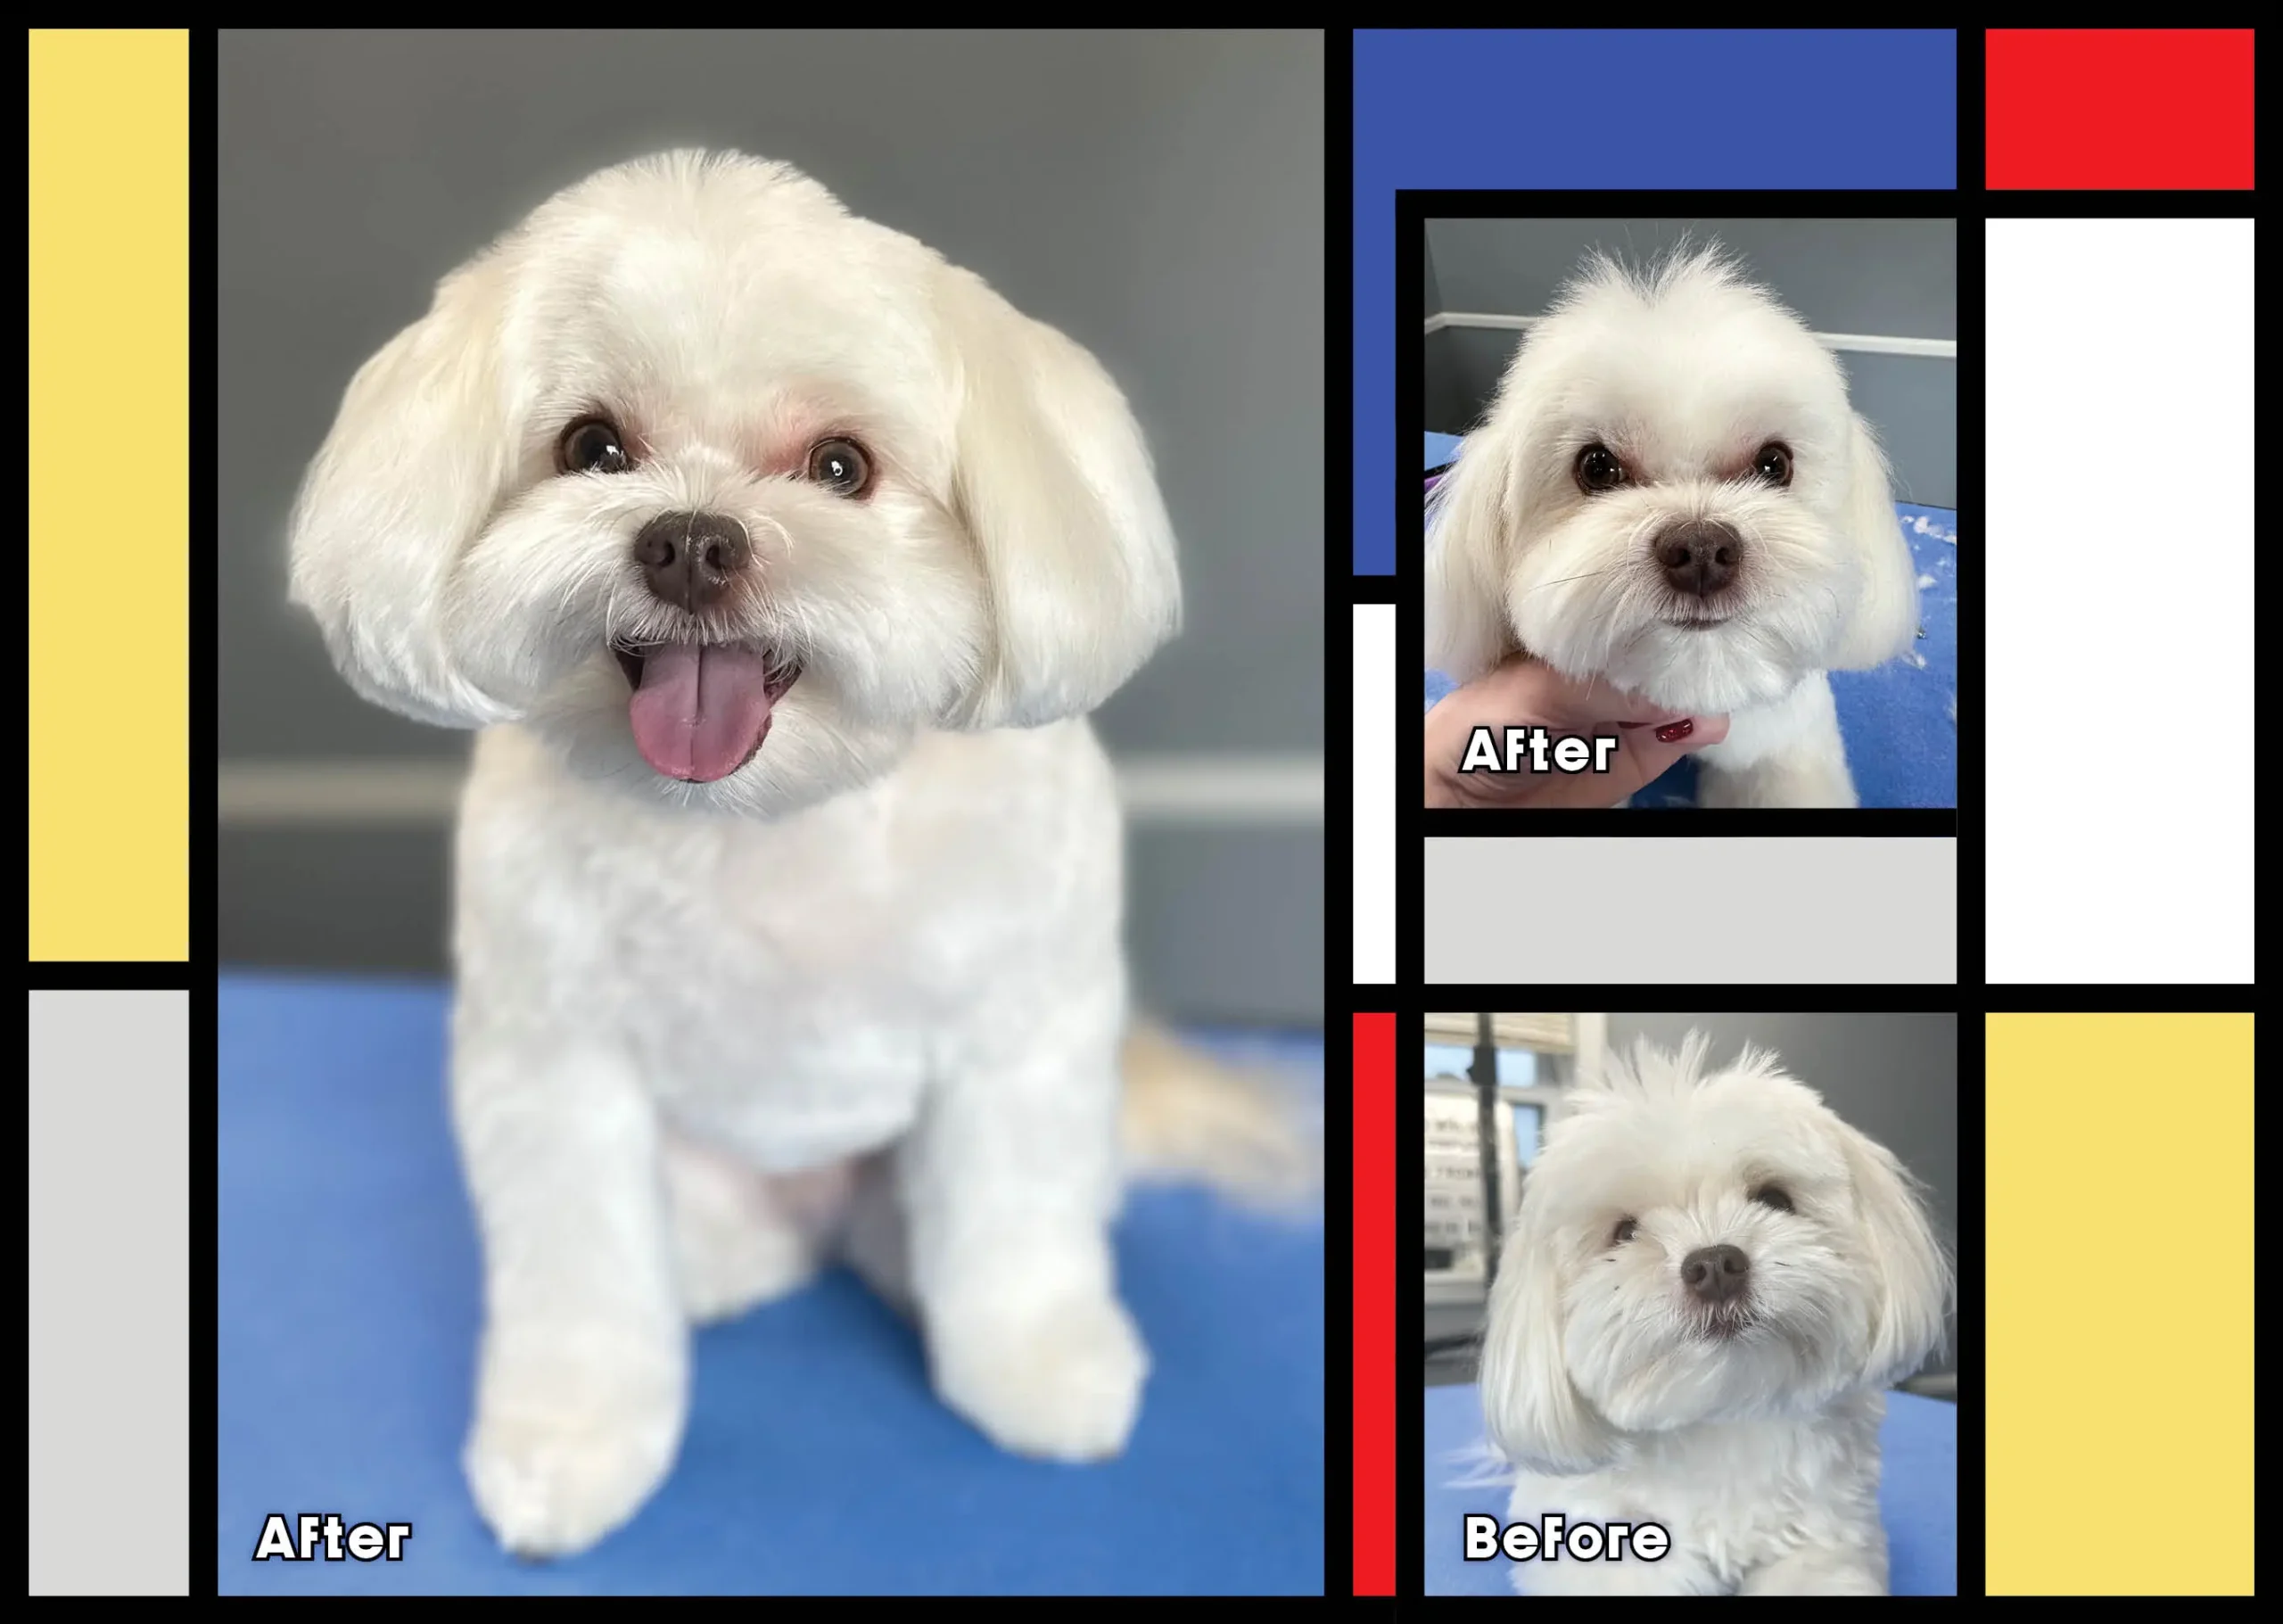

 s a pet groomer you want to create beautiful grooms quickly and efficiently without sacrificing quality, style and safety. This tutorial on a drop-coat mix makes grooming a breeze with the comfort of knowing you didn’t miss a single step!
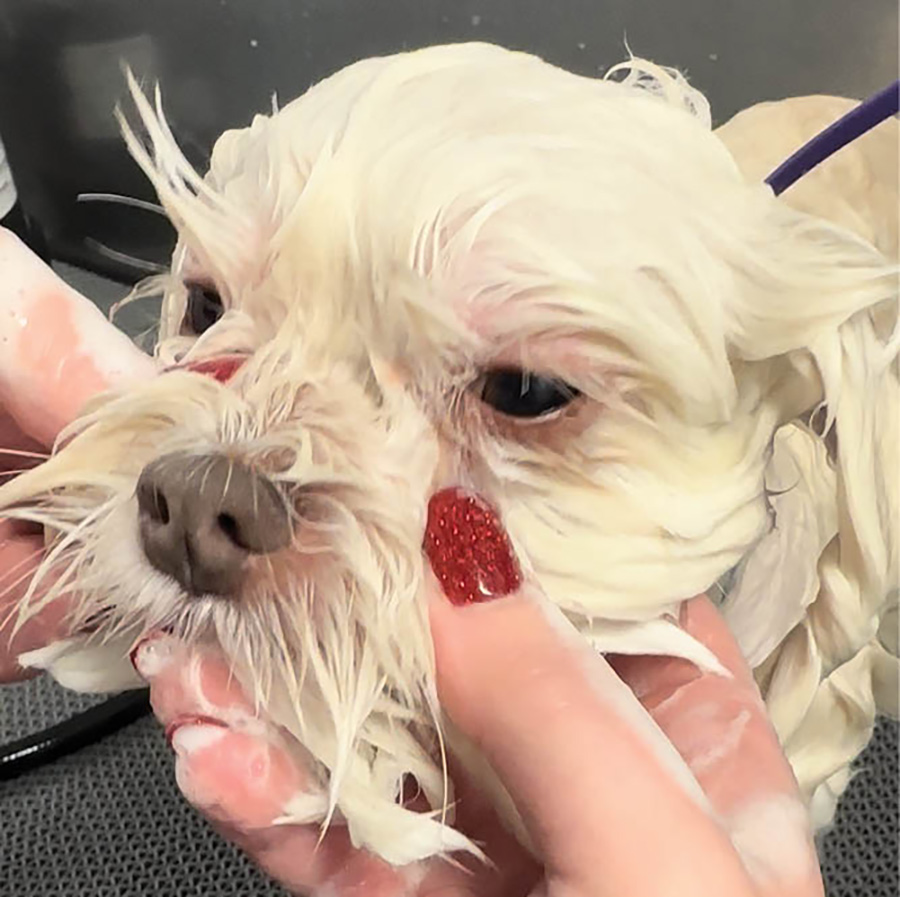
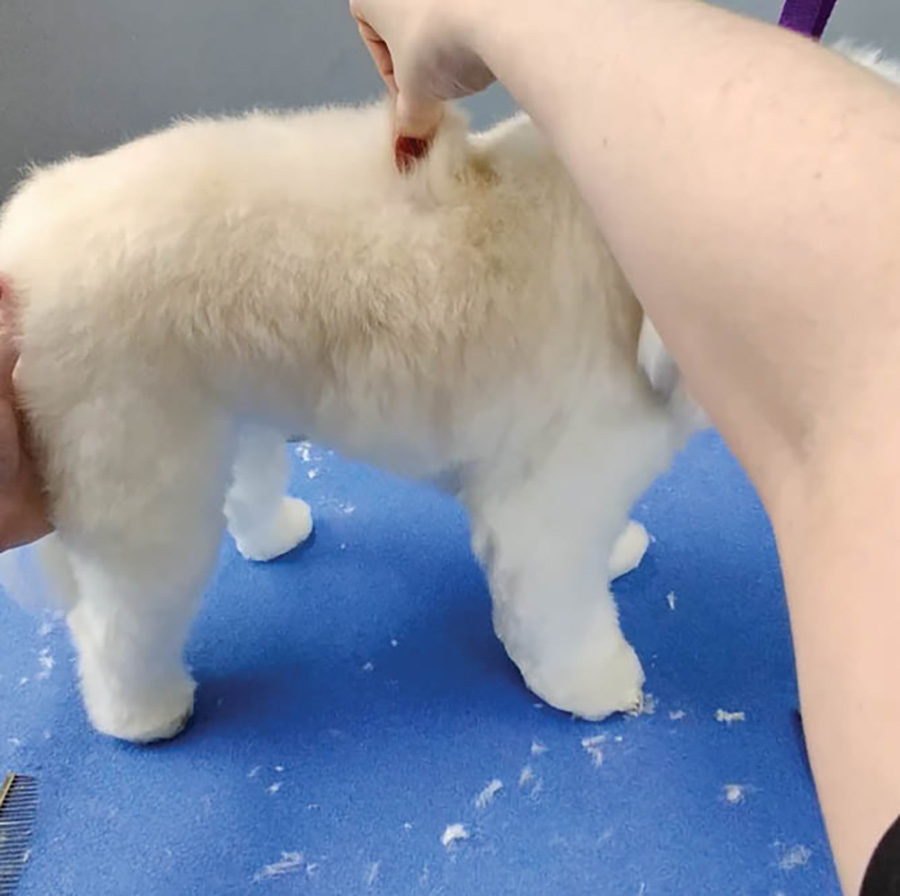
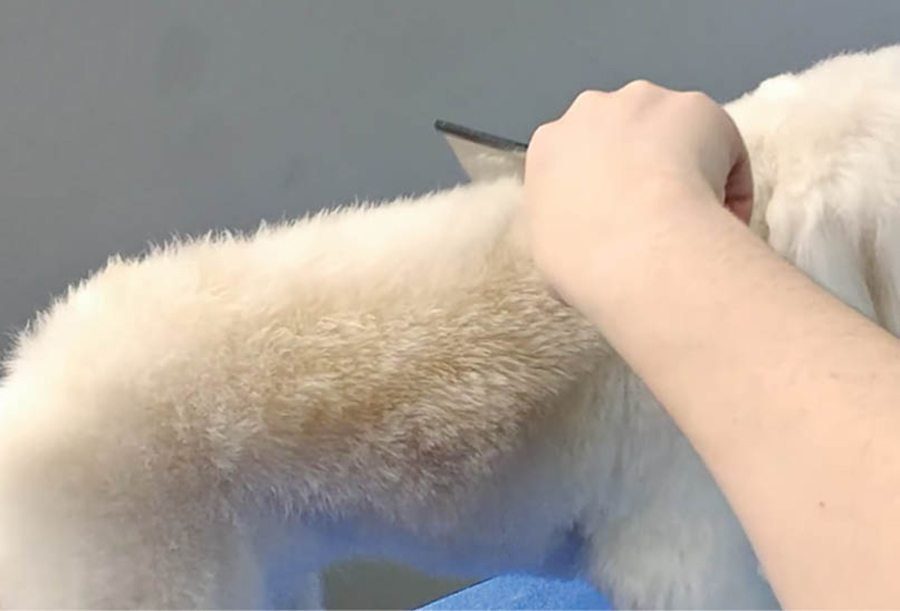
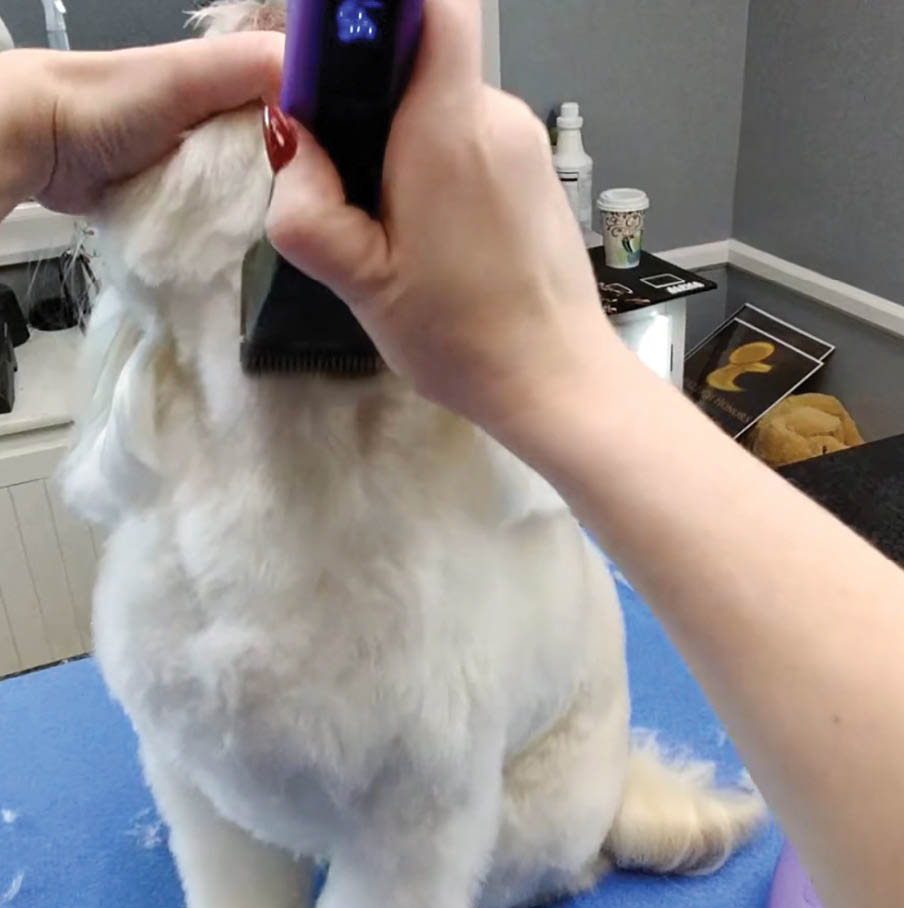
Before beginning any groom, the first crucial step is to examine the dog. You want to get a feel for how much work is going to go into the groom and decide how much time you need to pace yourself for. In this process, you can identify areas that are dirtier or need more attention, like armpits, sanitary, hocks, neck, chest or face.
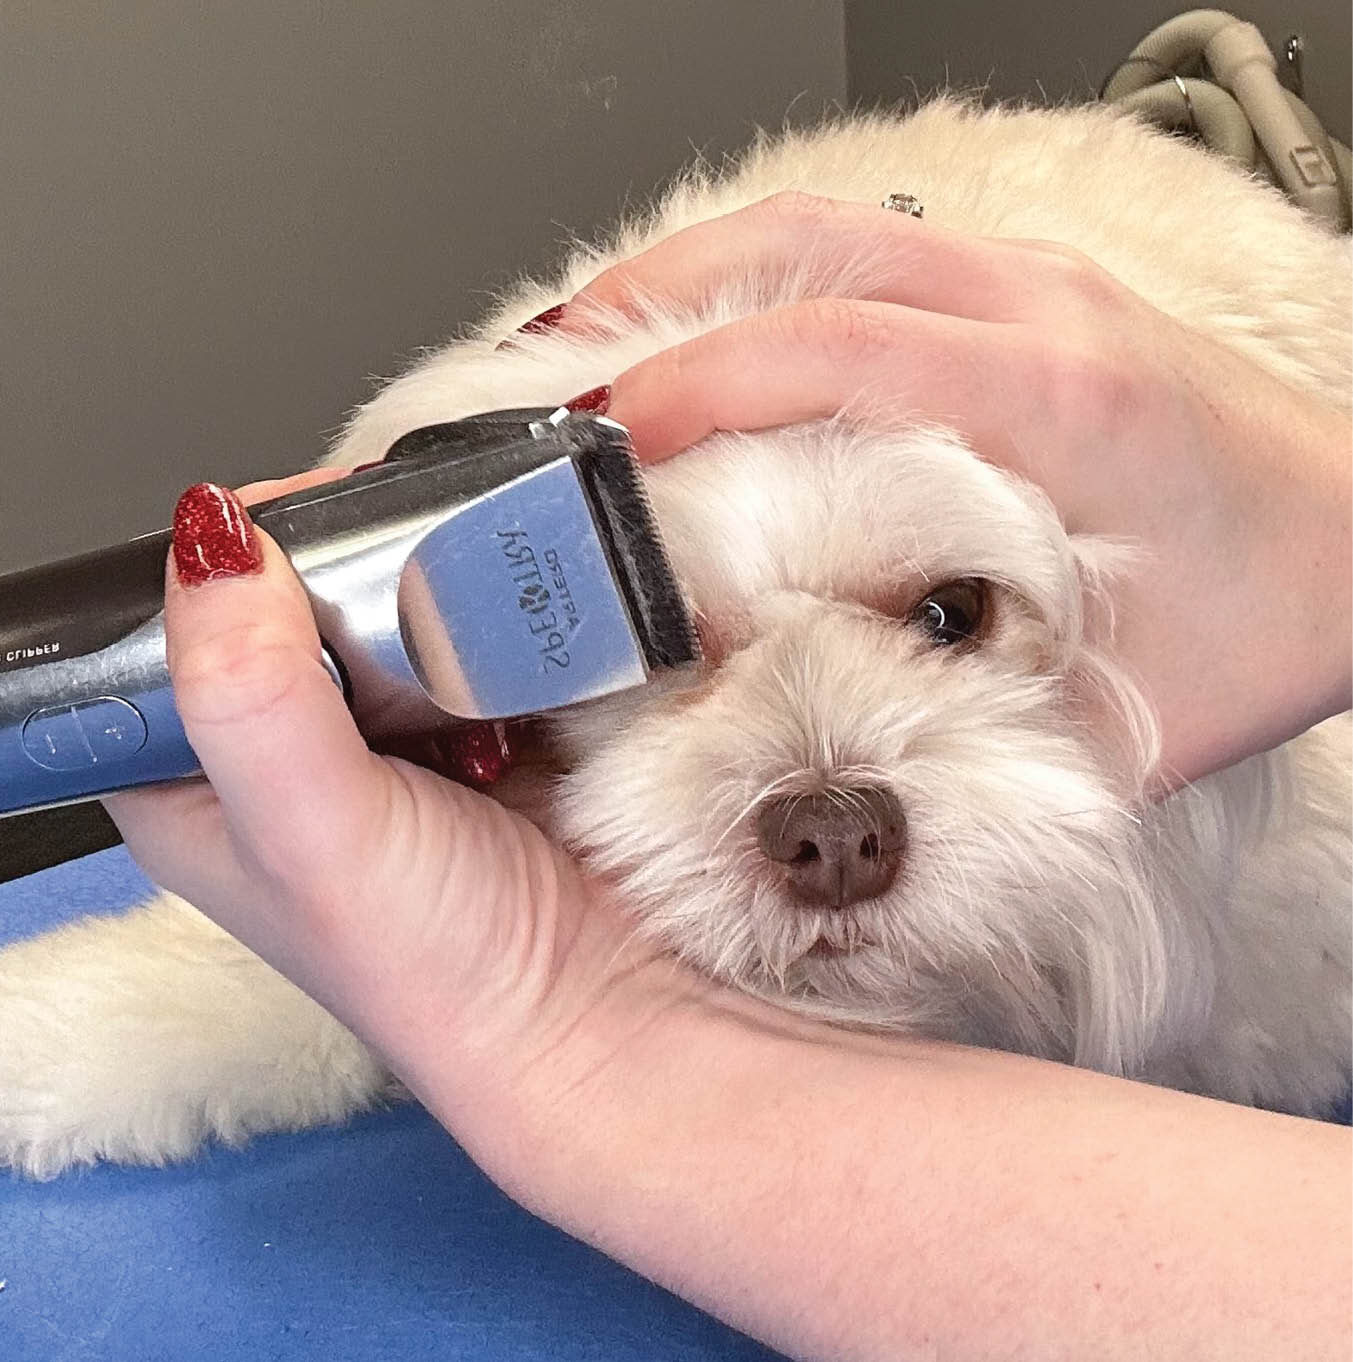
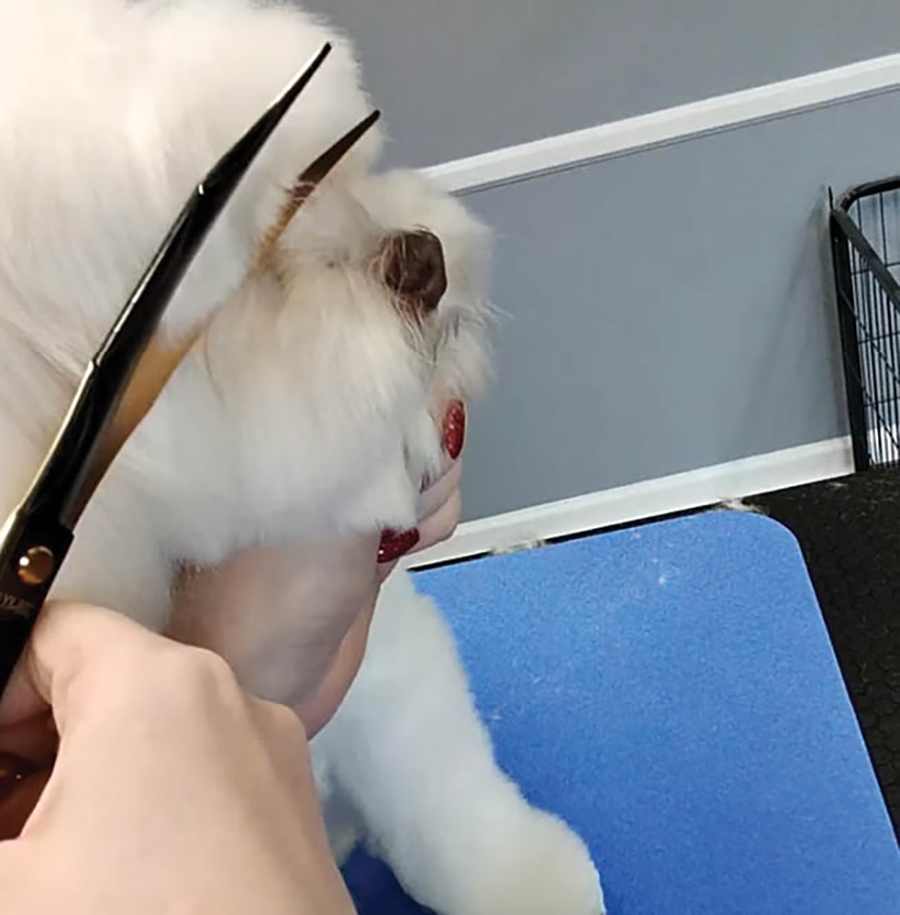
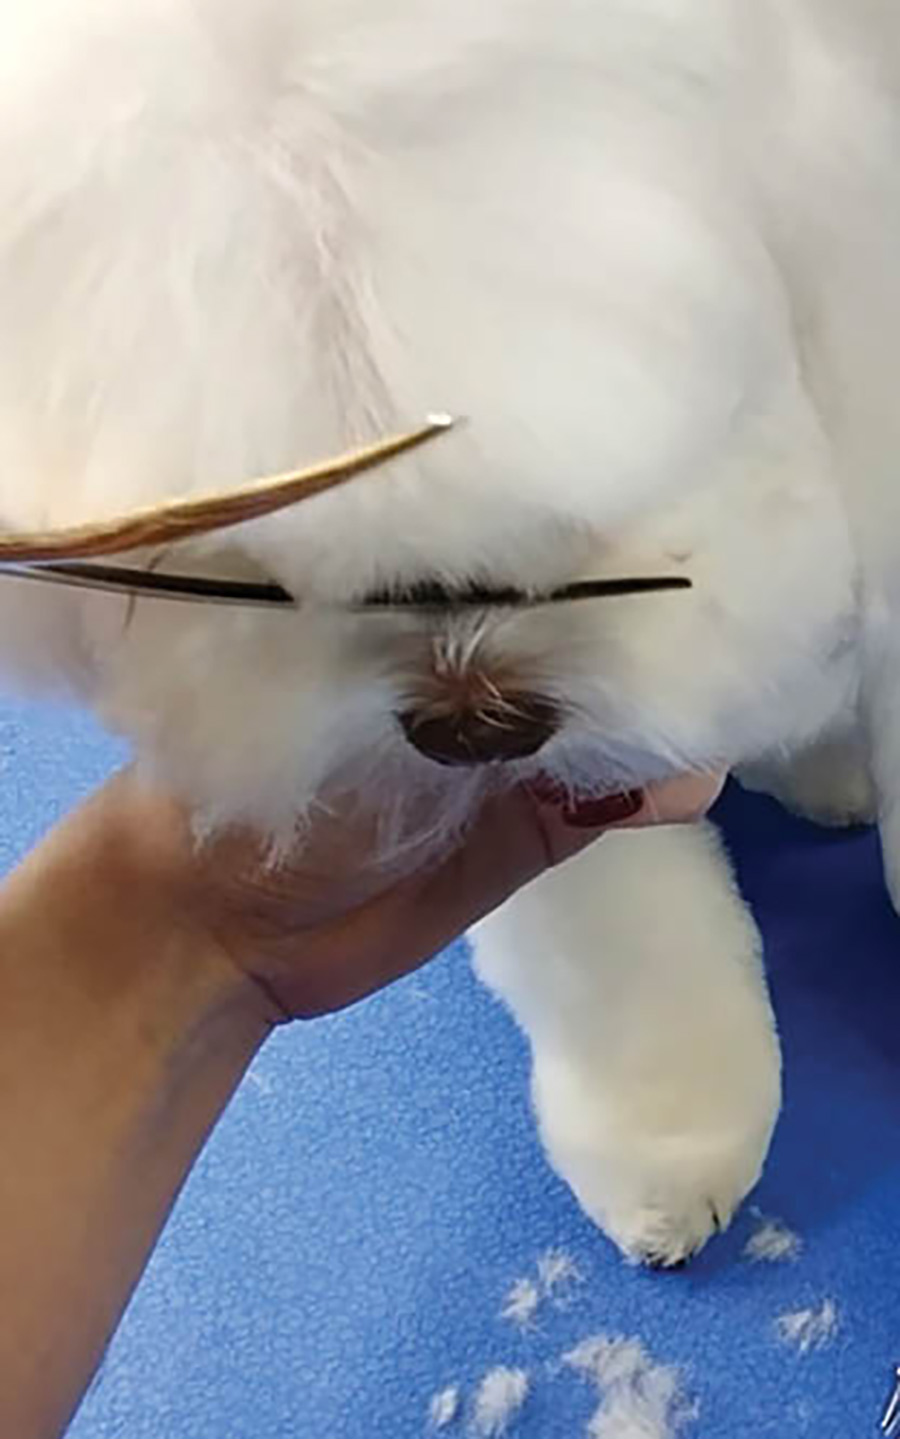
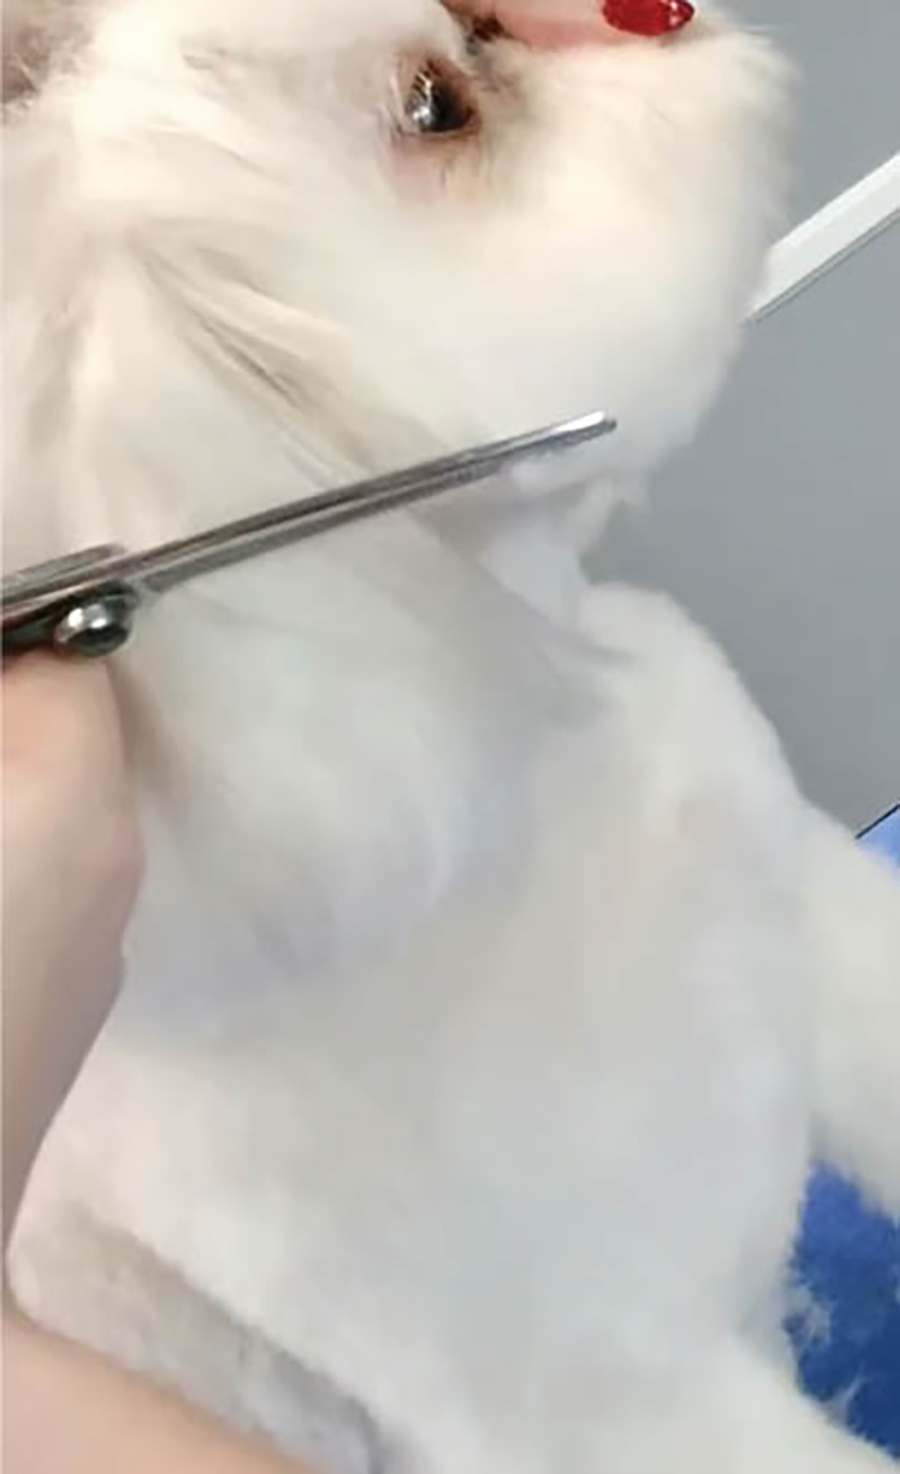
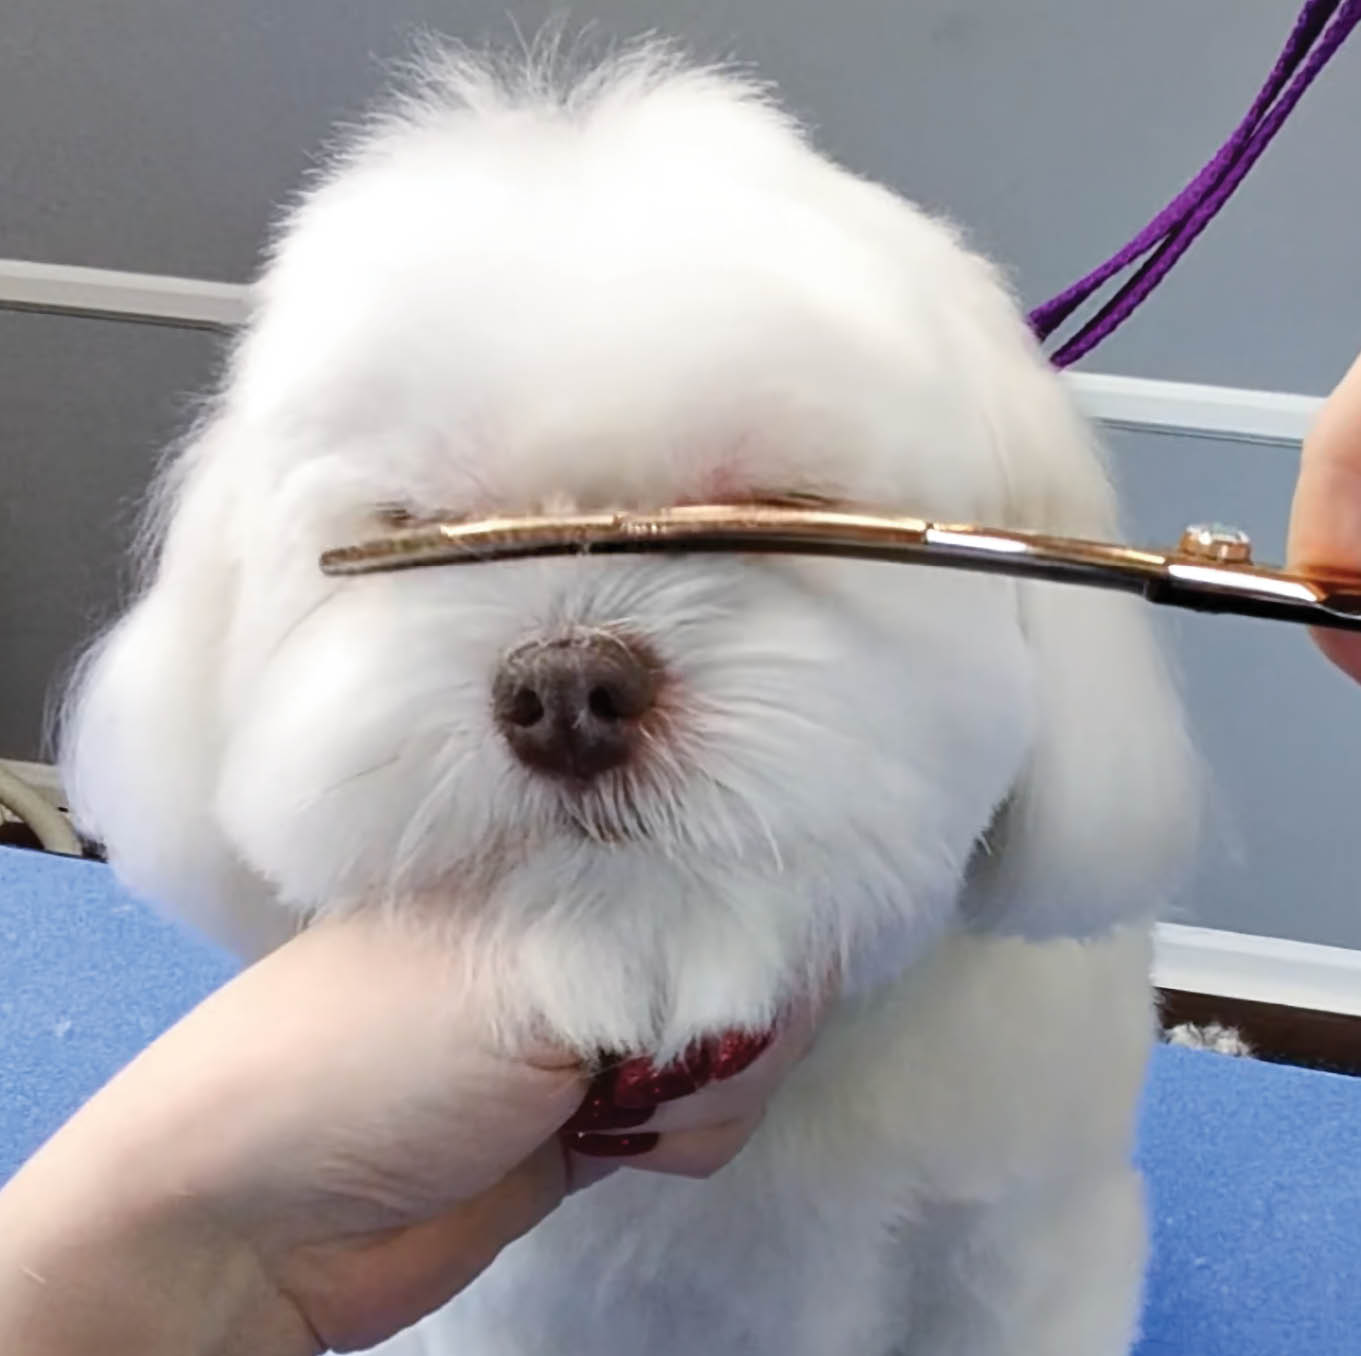
For the face, use the edge of your blade like a pencil tip to execute definition to the corners of the eyes. I like to use a #15 blade for the inner eye corner with my clippers pointing away from the eye, directing towards the nose. Then switch to a #10 blade placed in between the eyes at the stop, moving upward with light pressure to blend.
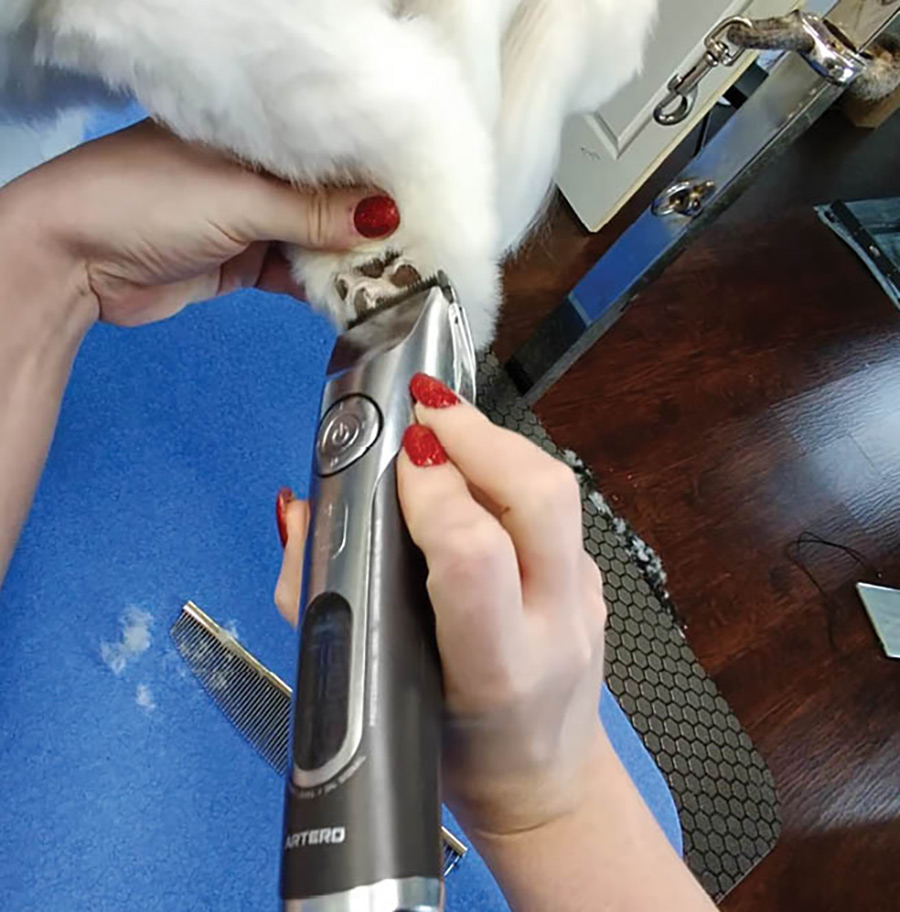
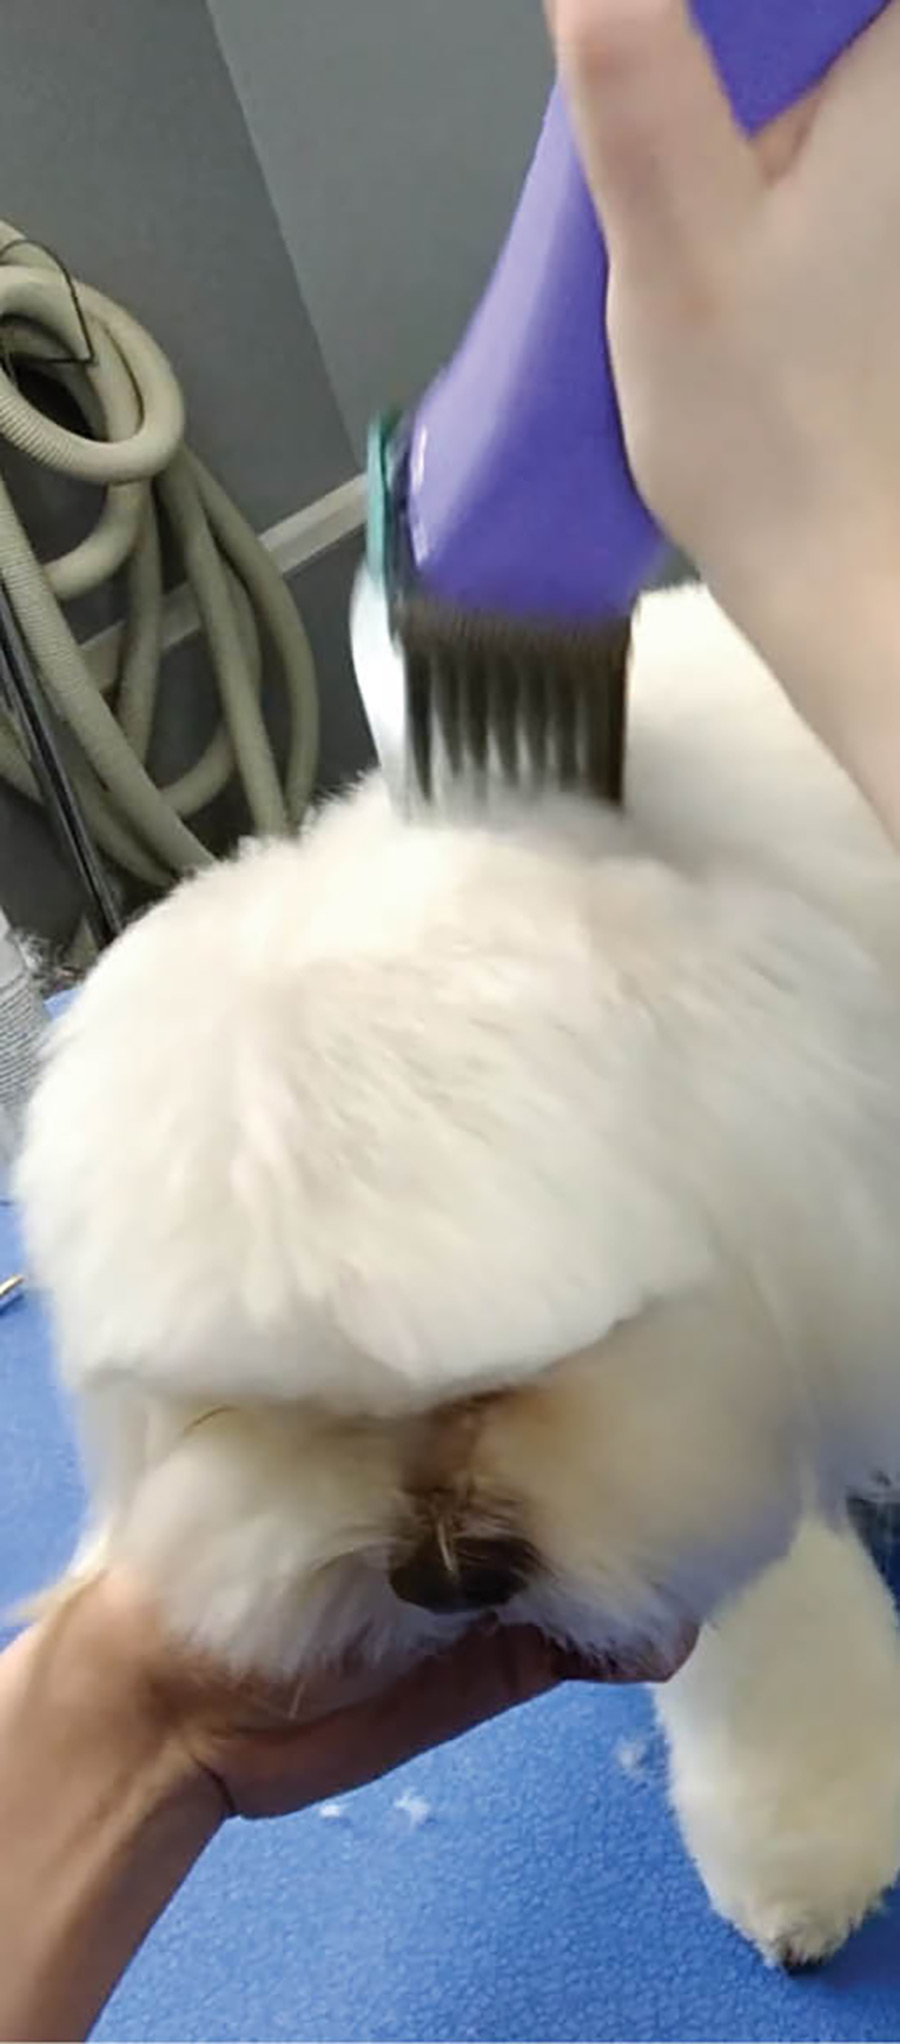
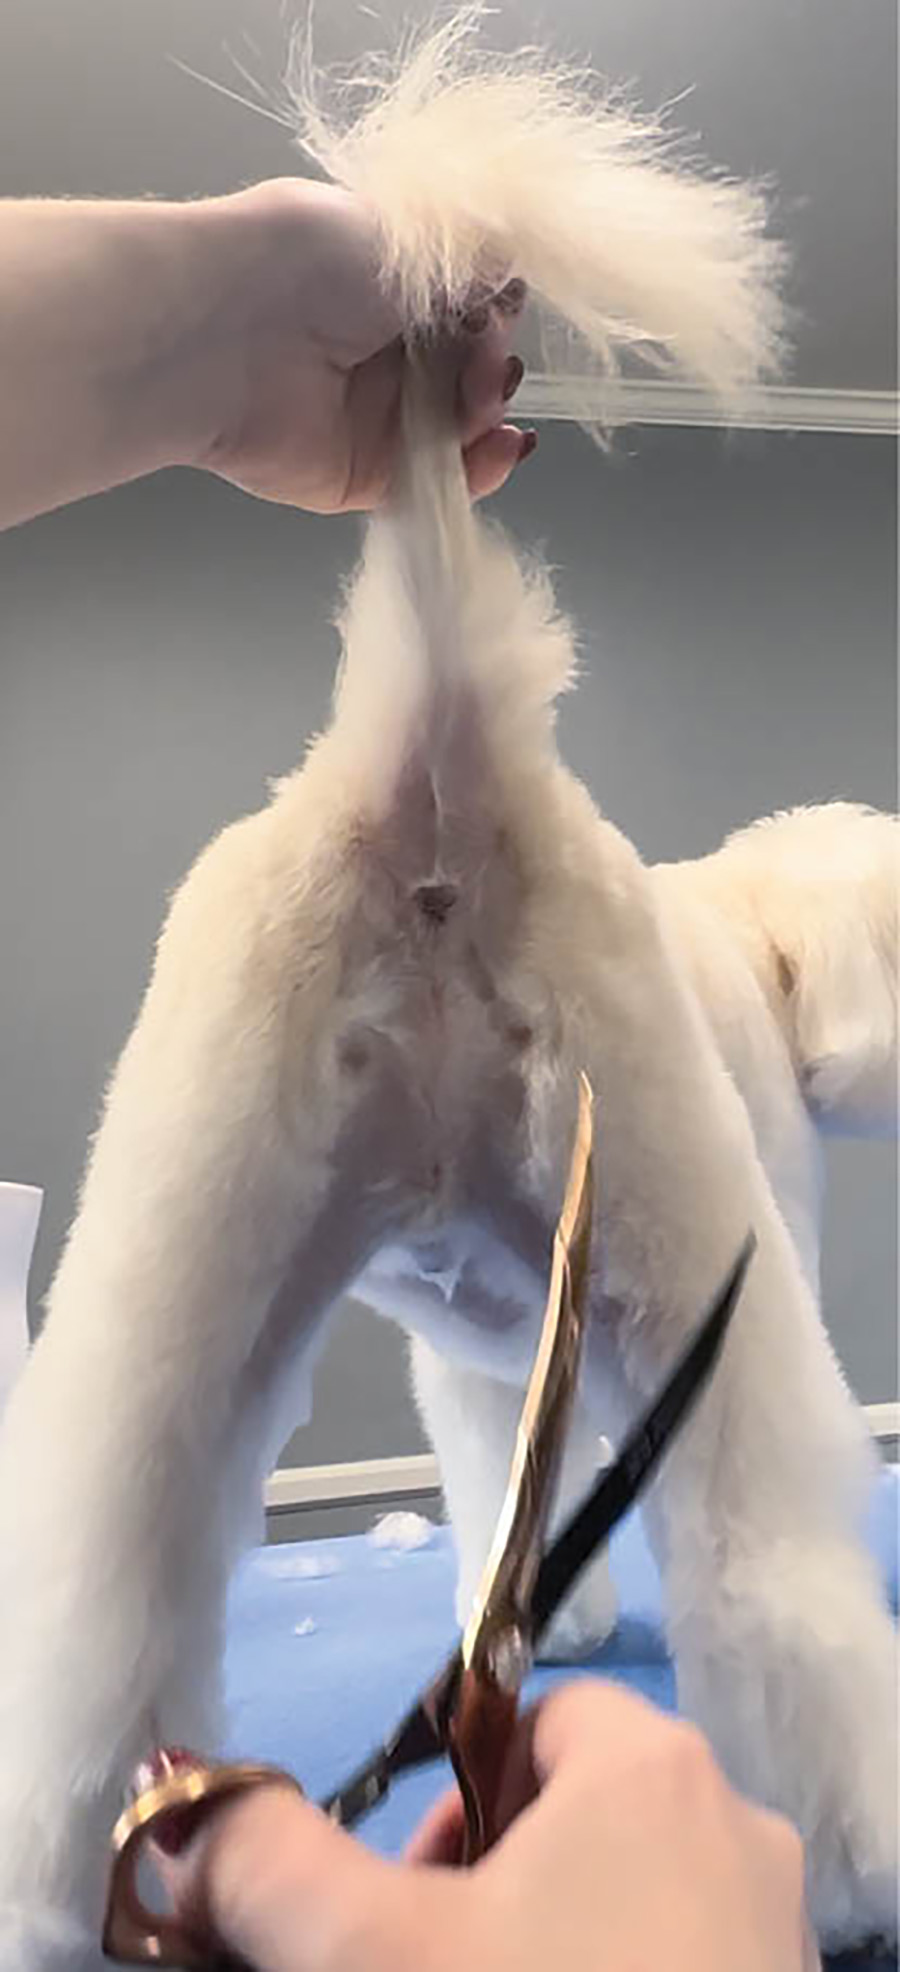
To complete your prep work, clean up the sanitary area.
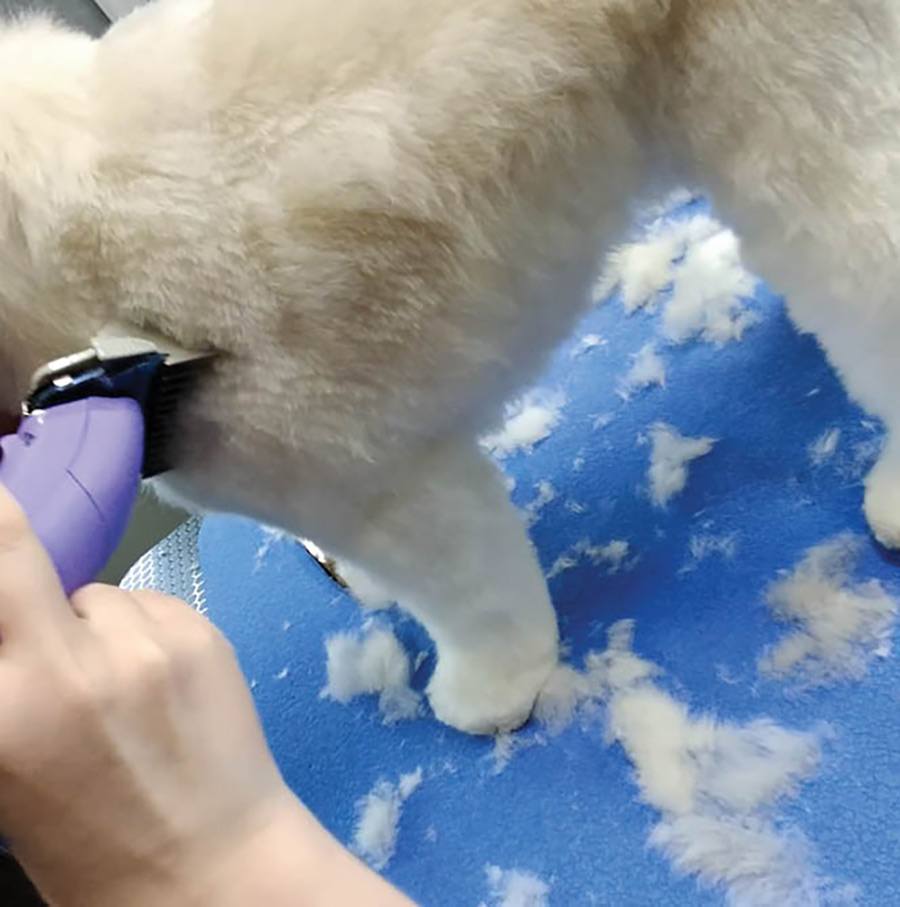
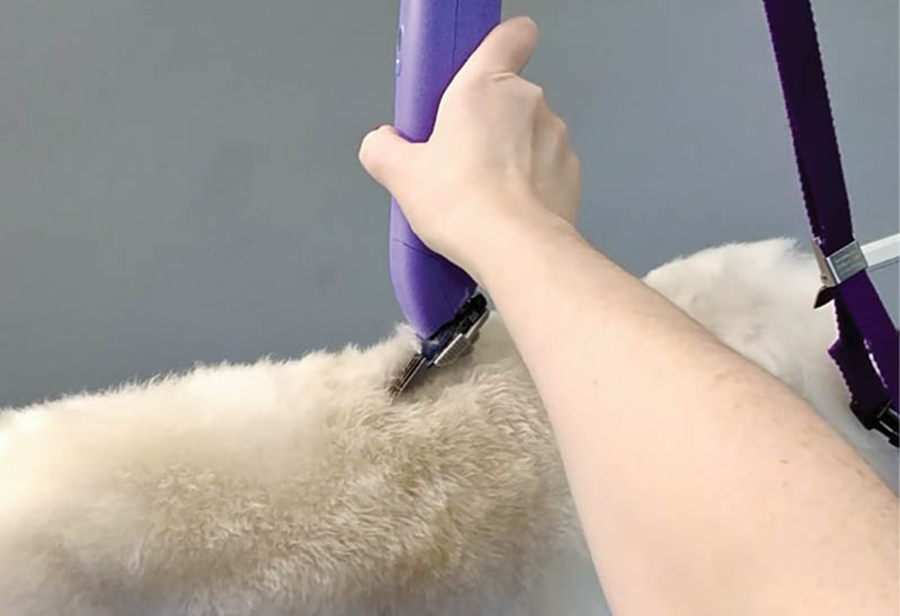
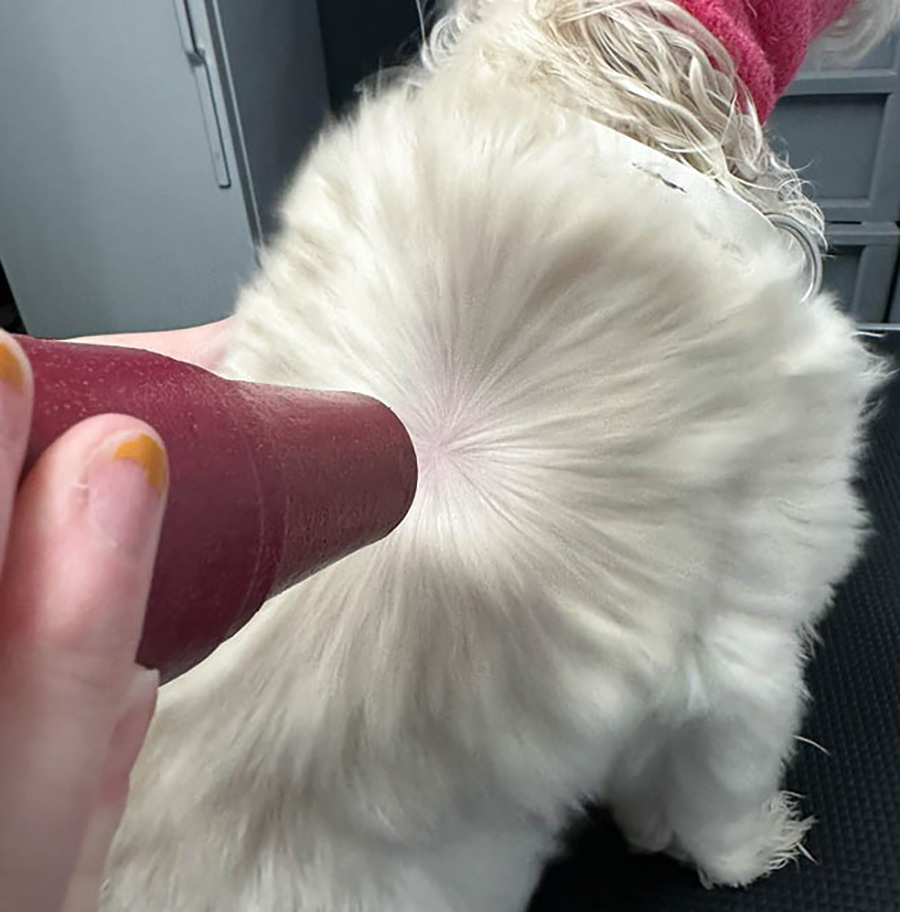
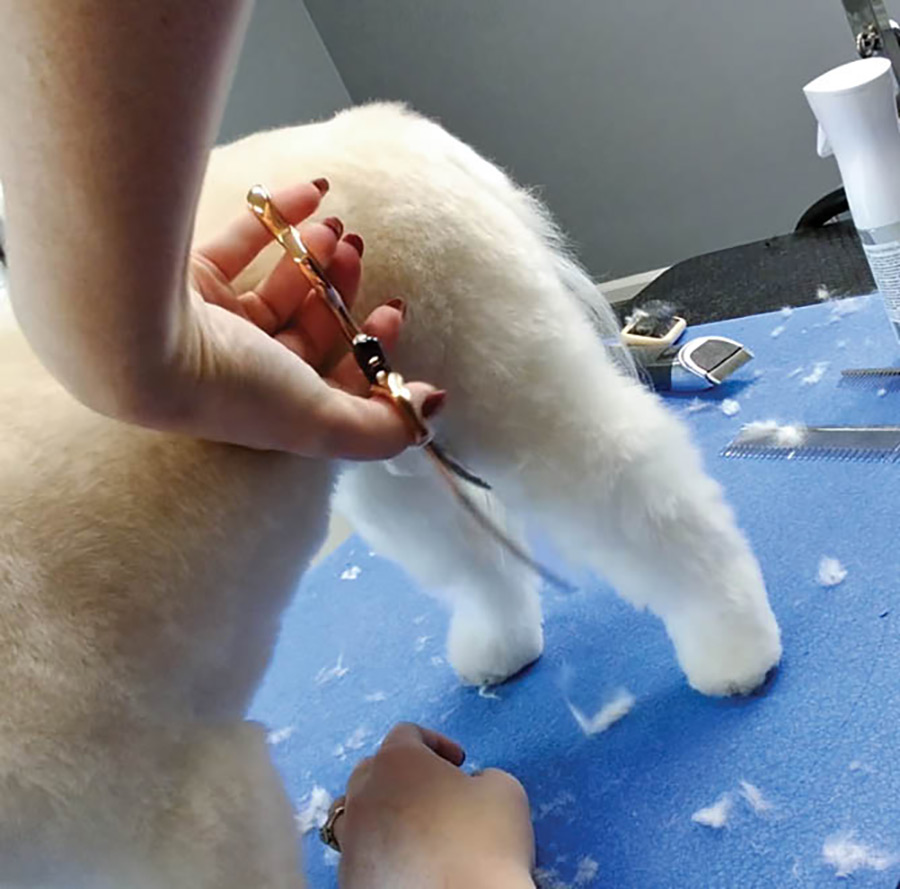
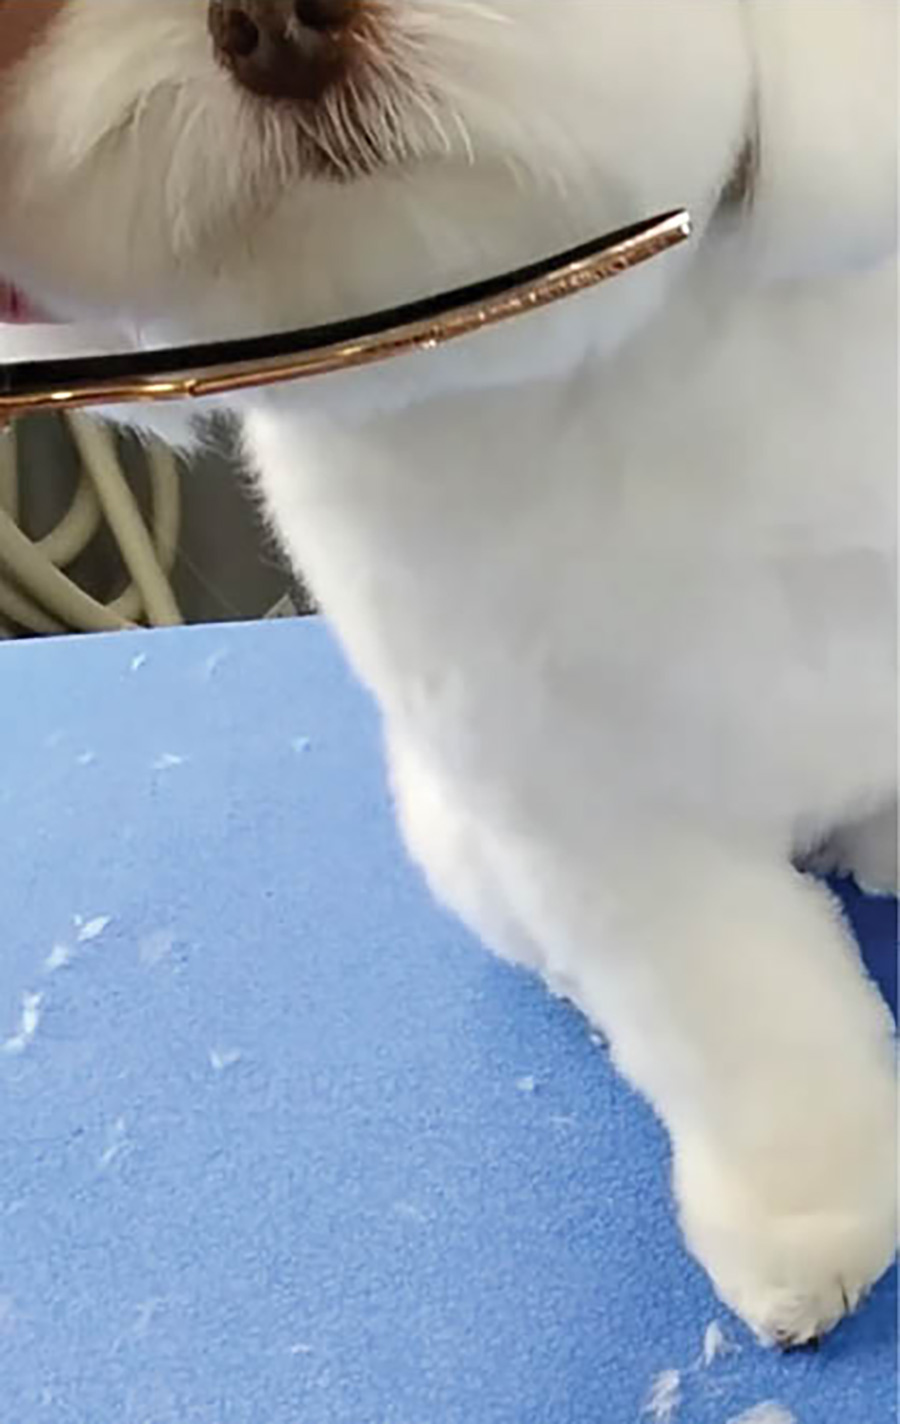
Then using the same blade, go over every leg. And just like the body work, I spritz, fluff and repeat.
To finish, lightly trim the ears and tail, if the owner desires.
I find these steps are able to translate into every haircut I do. The variations never change, even in a shave-down or breed profile trim. You simply adjust the length and headpiece/tail/ears based on each pet. A trim like this can easily keep you efficient without wondering if you skipped a thing!