
by Blake Hernandez
 s groomers, we are advocates for the health and comfort of the dogs first. But after those two important factors, we like to establish our own styles either for our salons or for each individual dog.
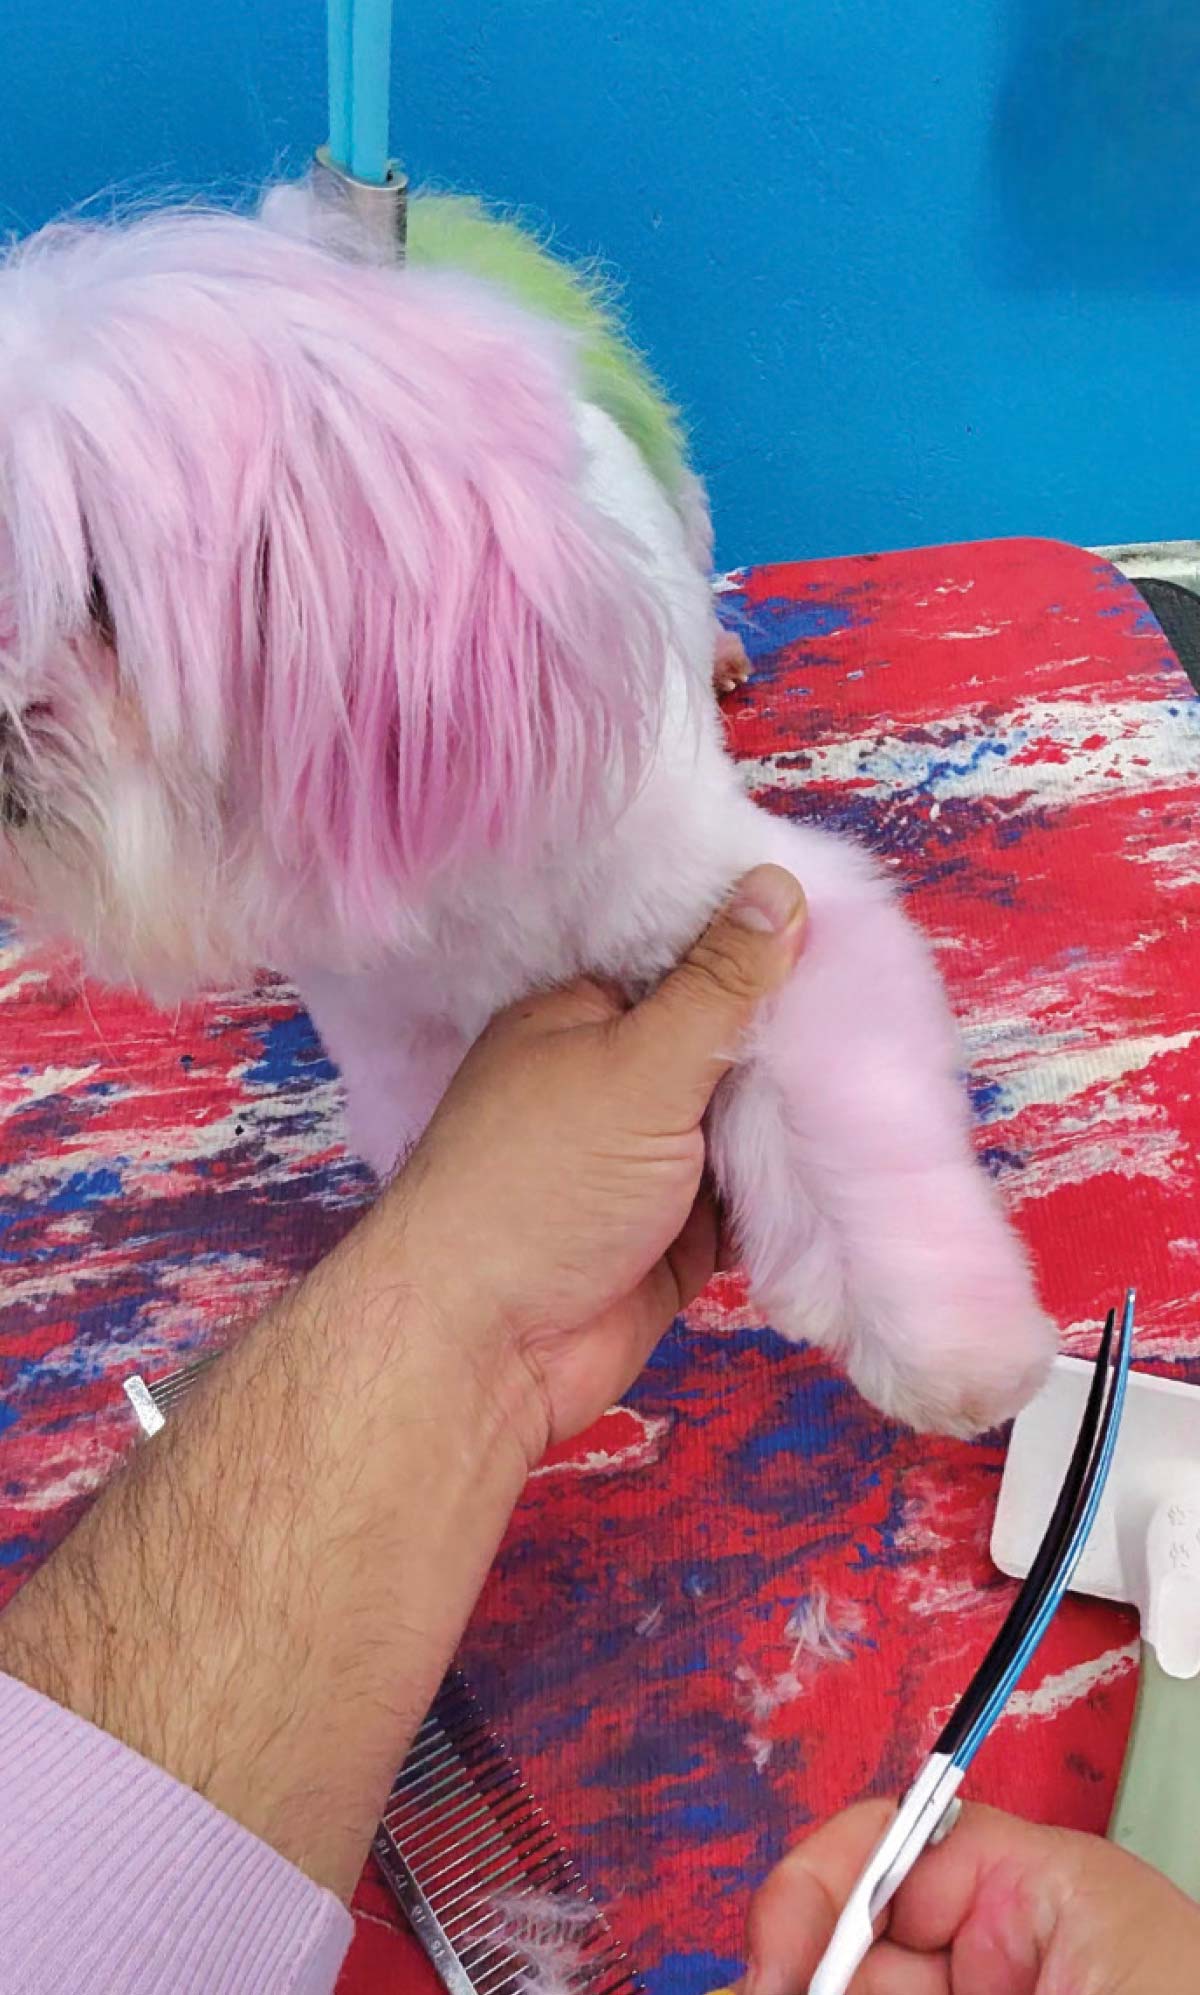
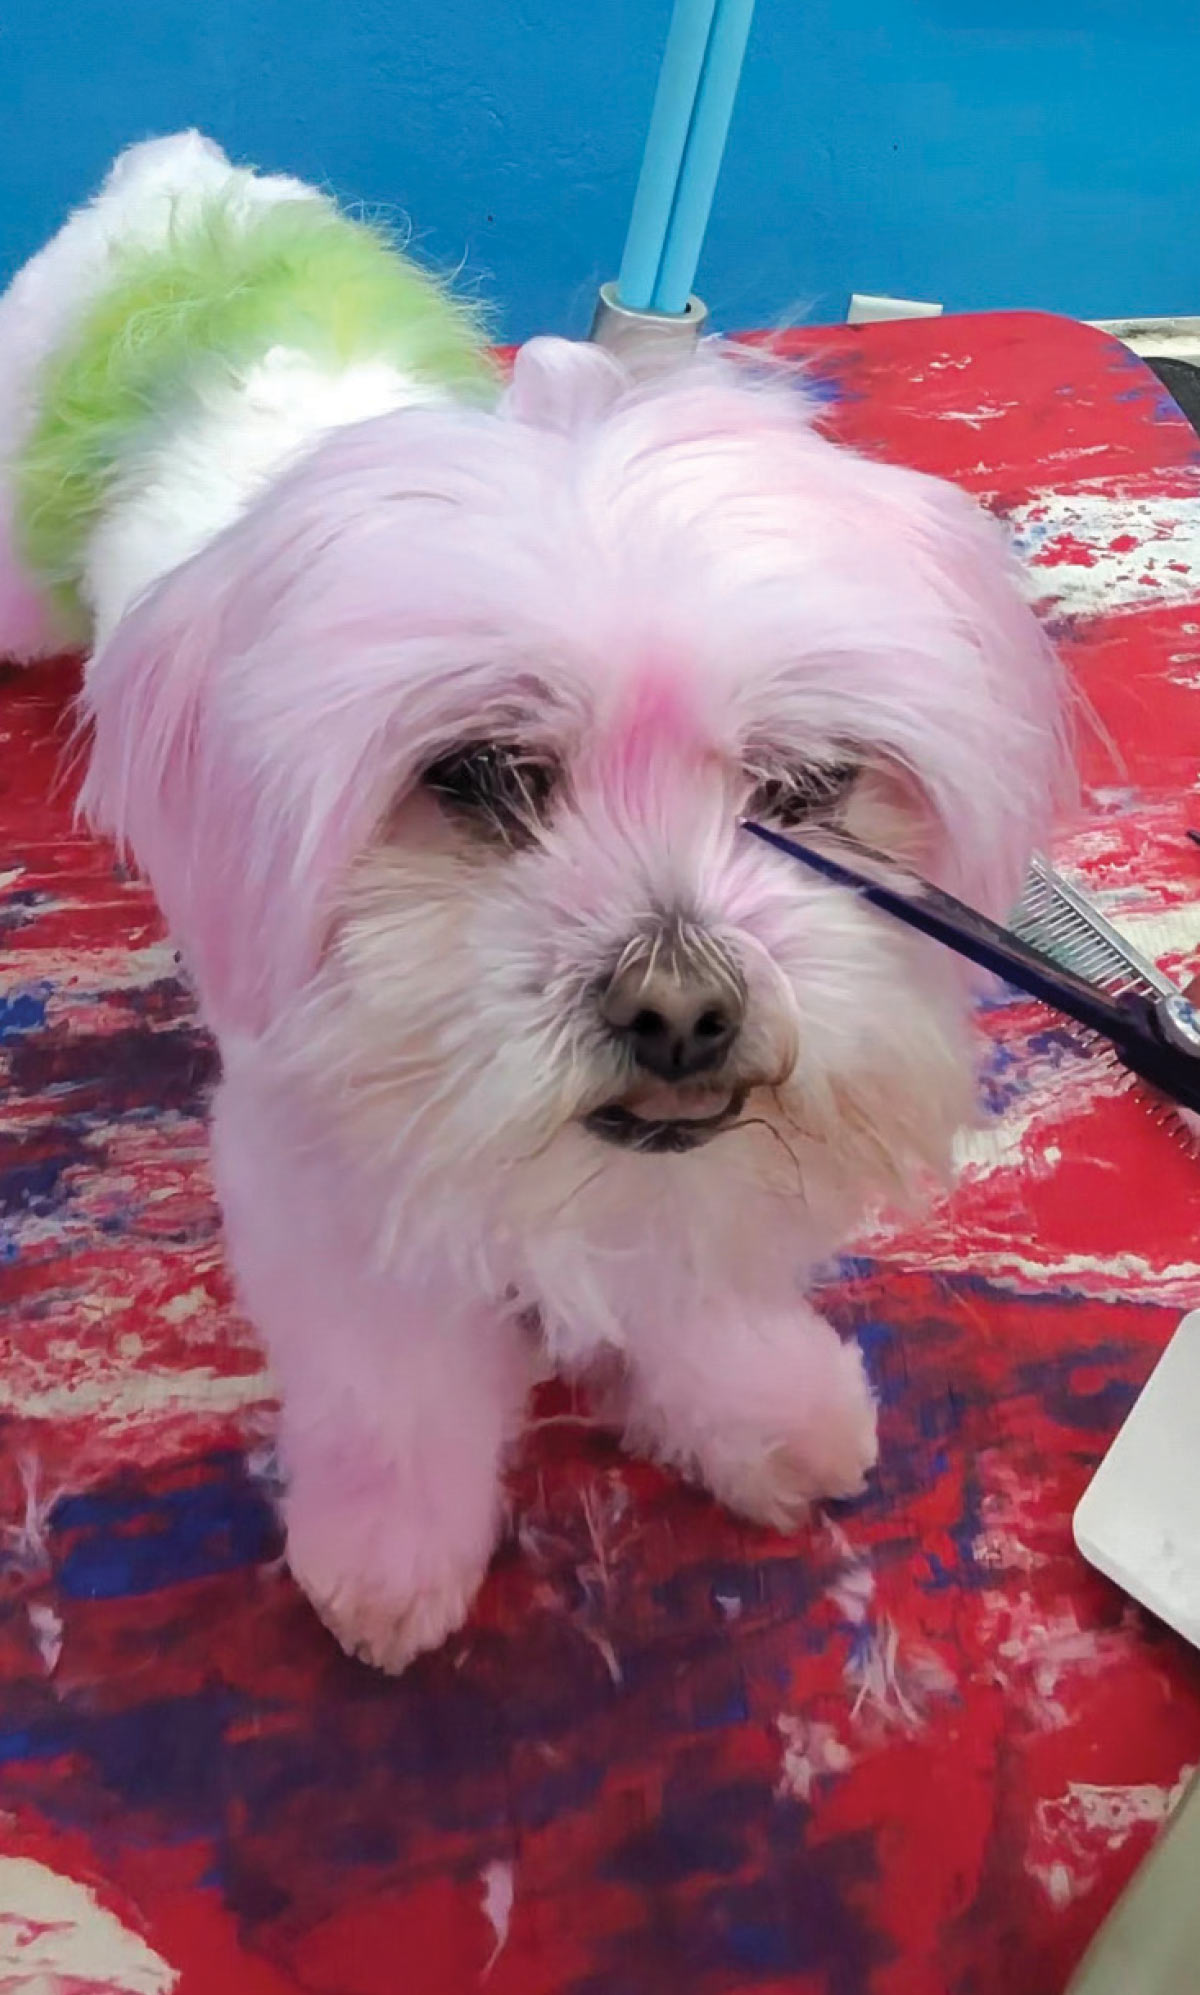
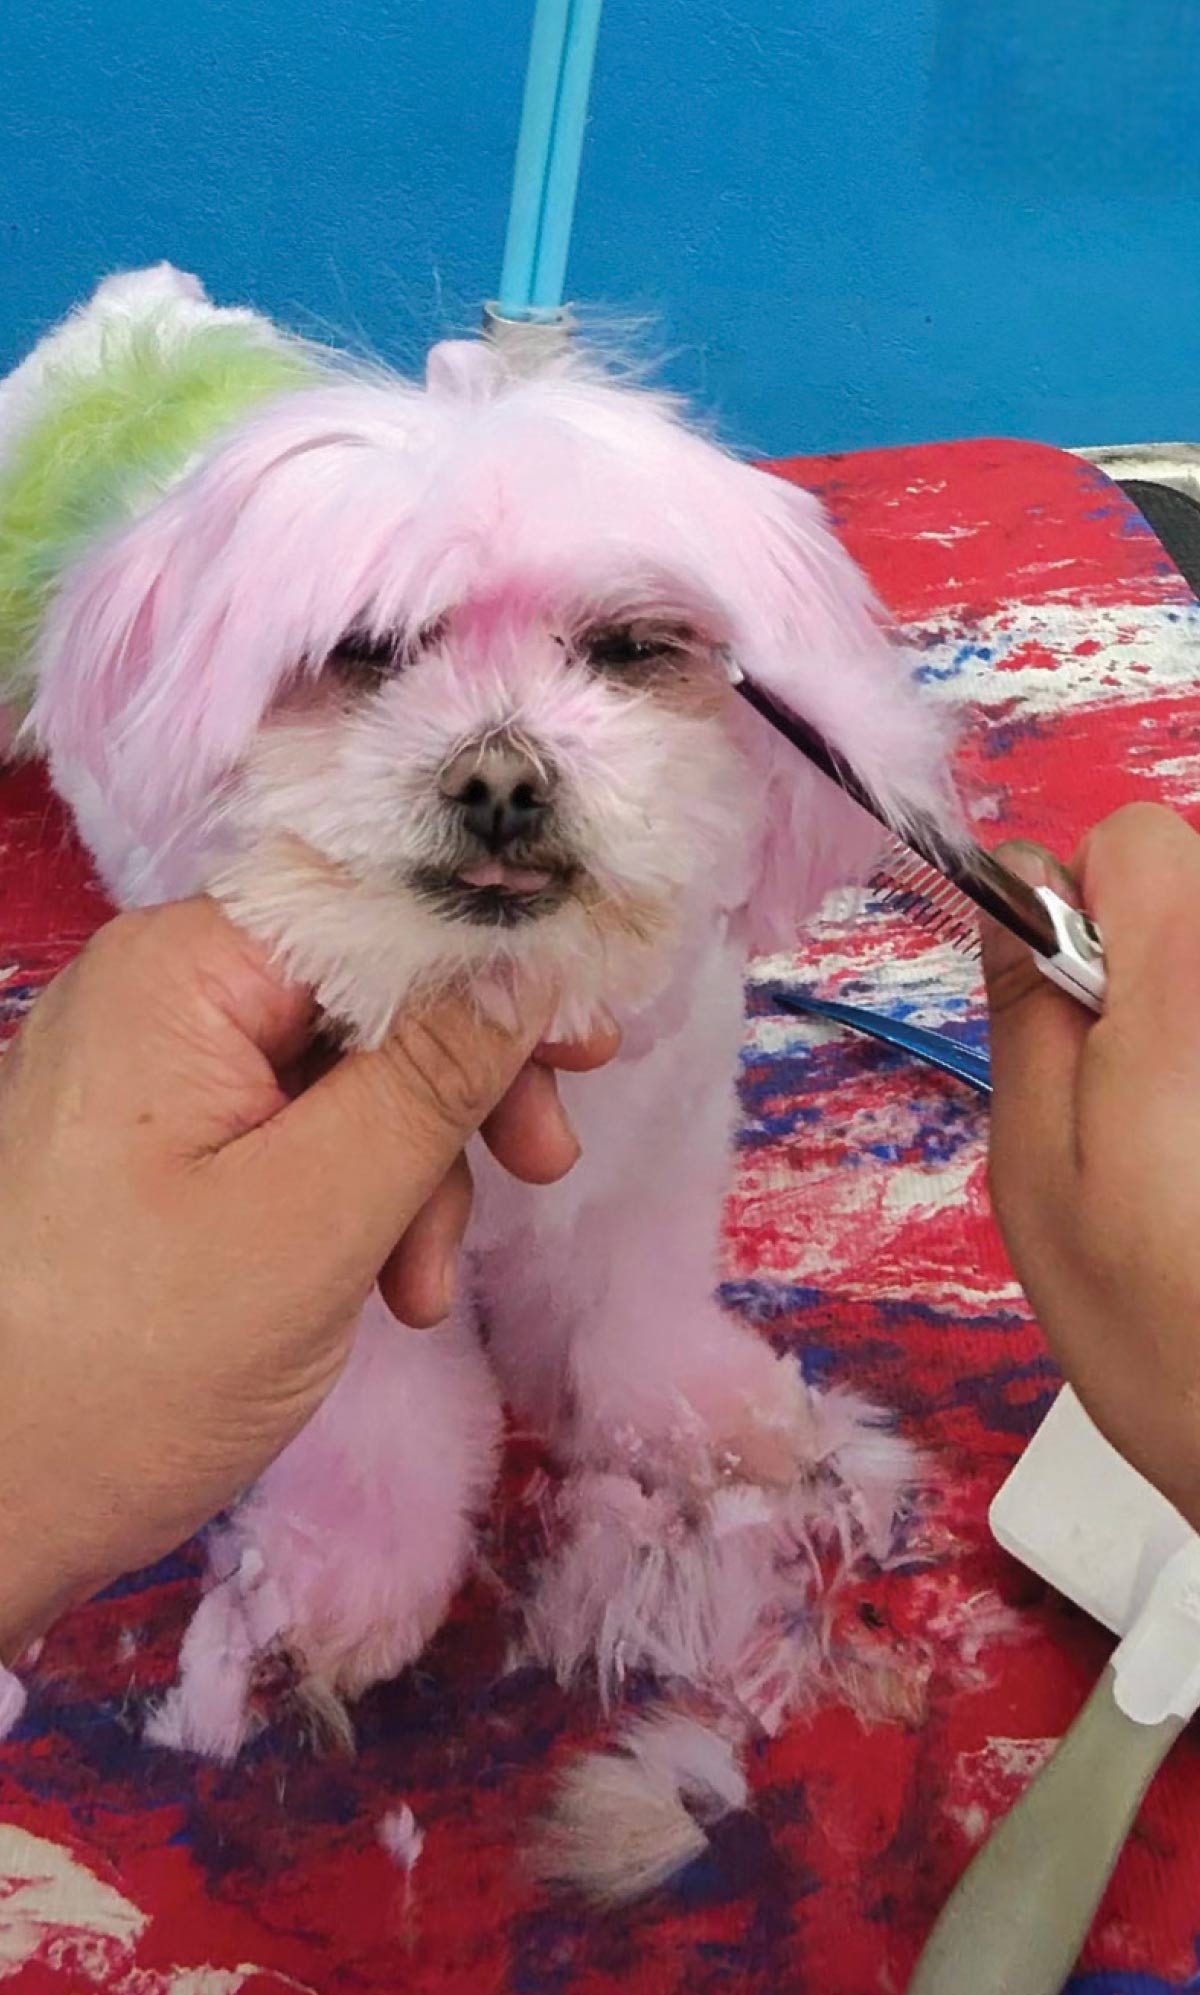
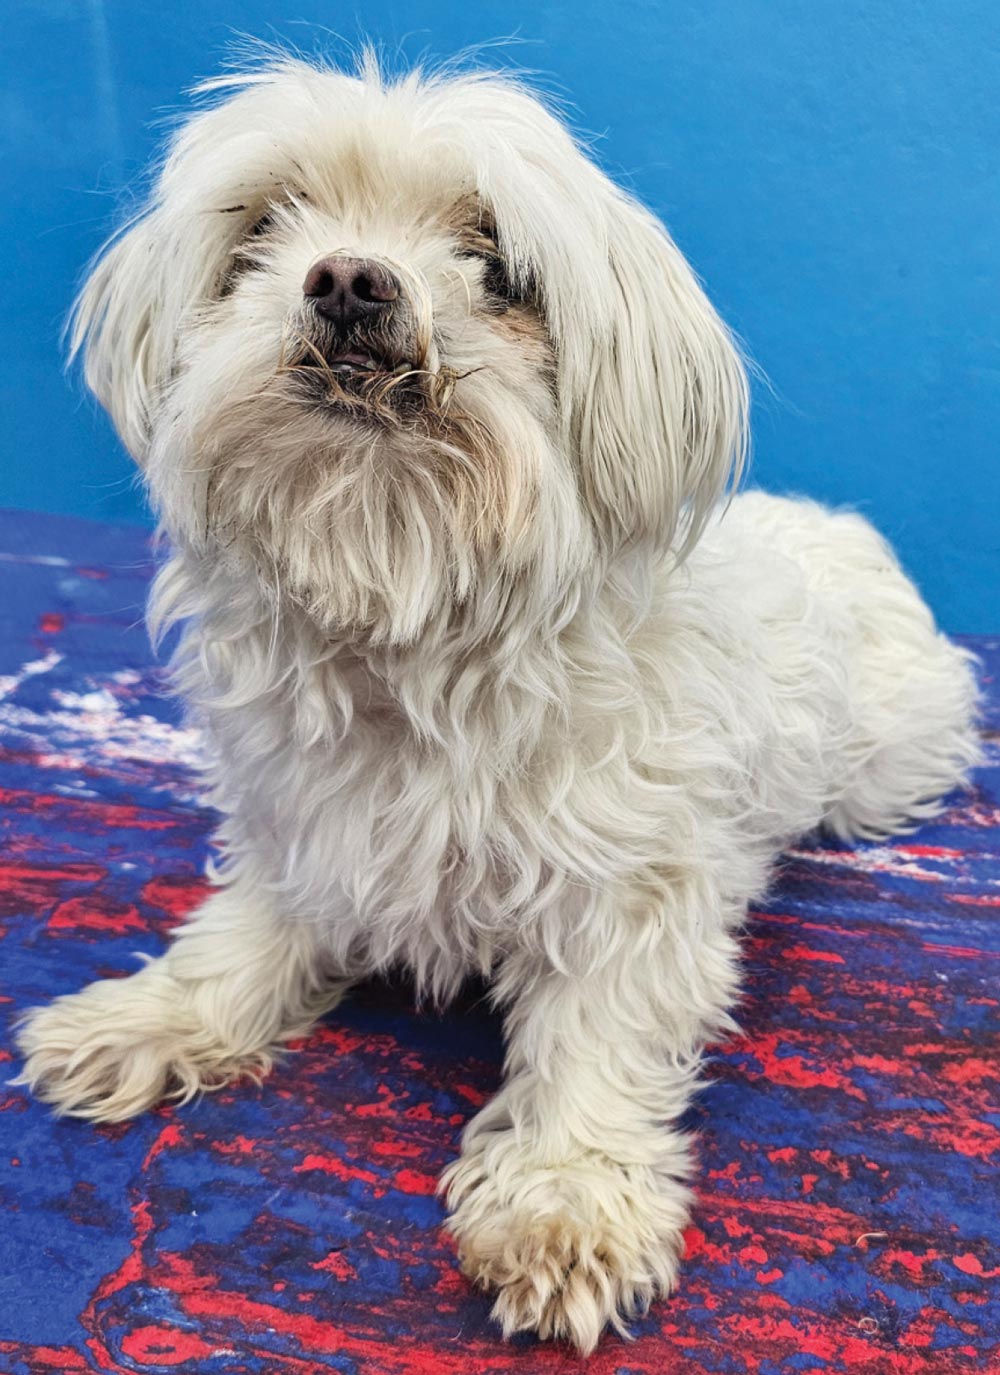
The following shows the transformation of a Maltese that went from a scruffy shelter dog that a young family saved to a clean and colorful pet ready for his fun and active new home.
Fig. 1) Before the bath I like to trim down the excess coat, but still keep the length slightly longer than my desired end result. This will allow for some wiggle room with the dye job later.
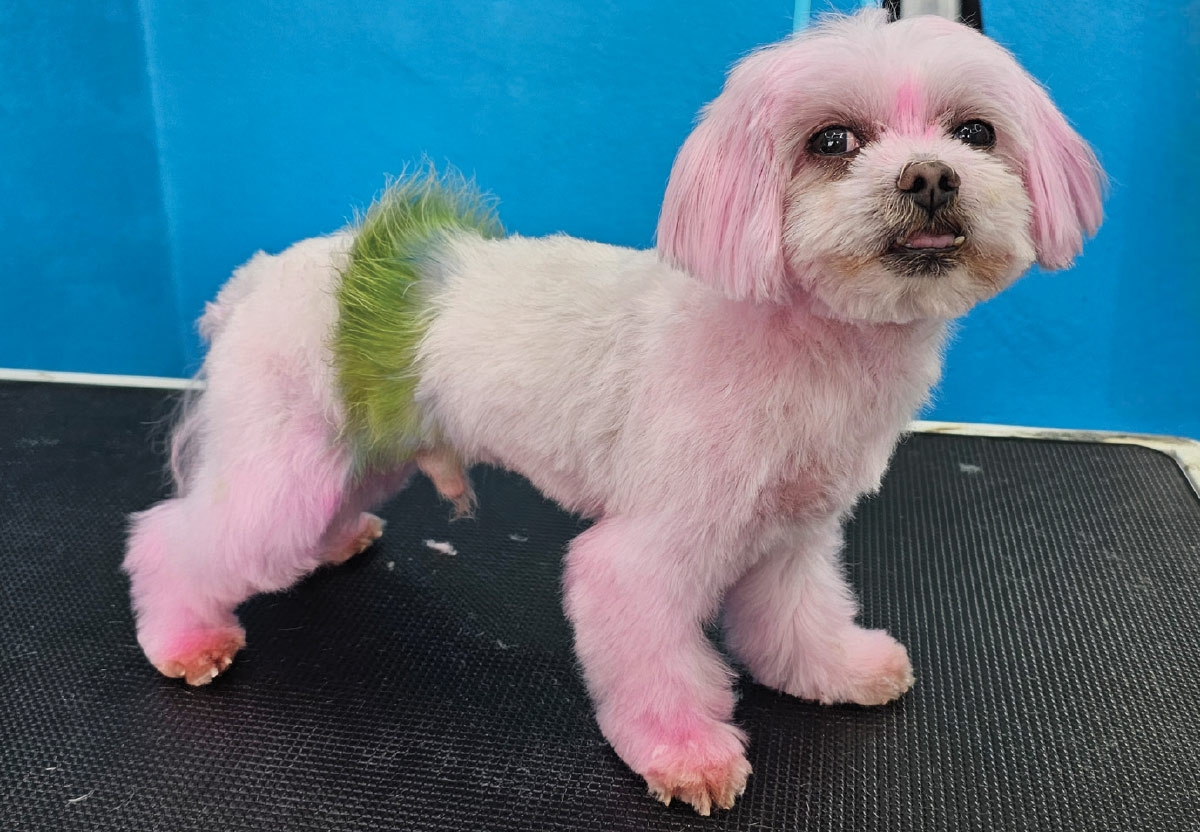


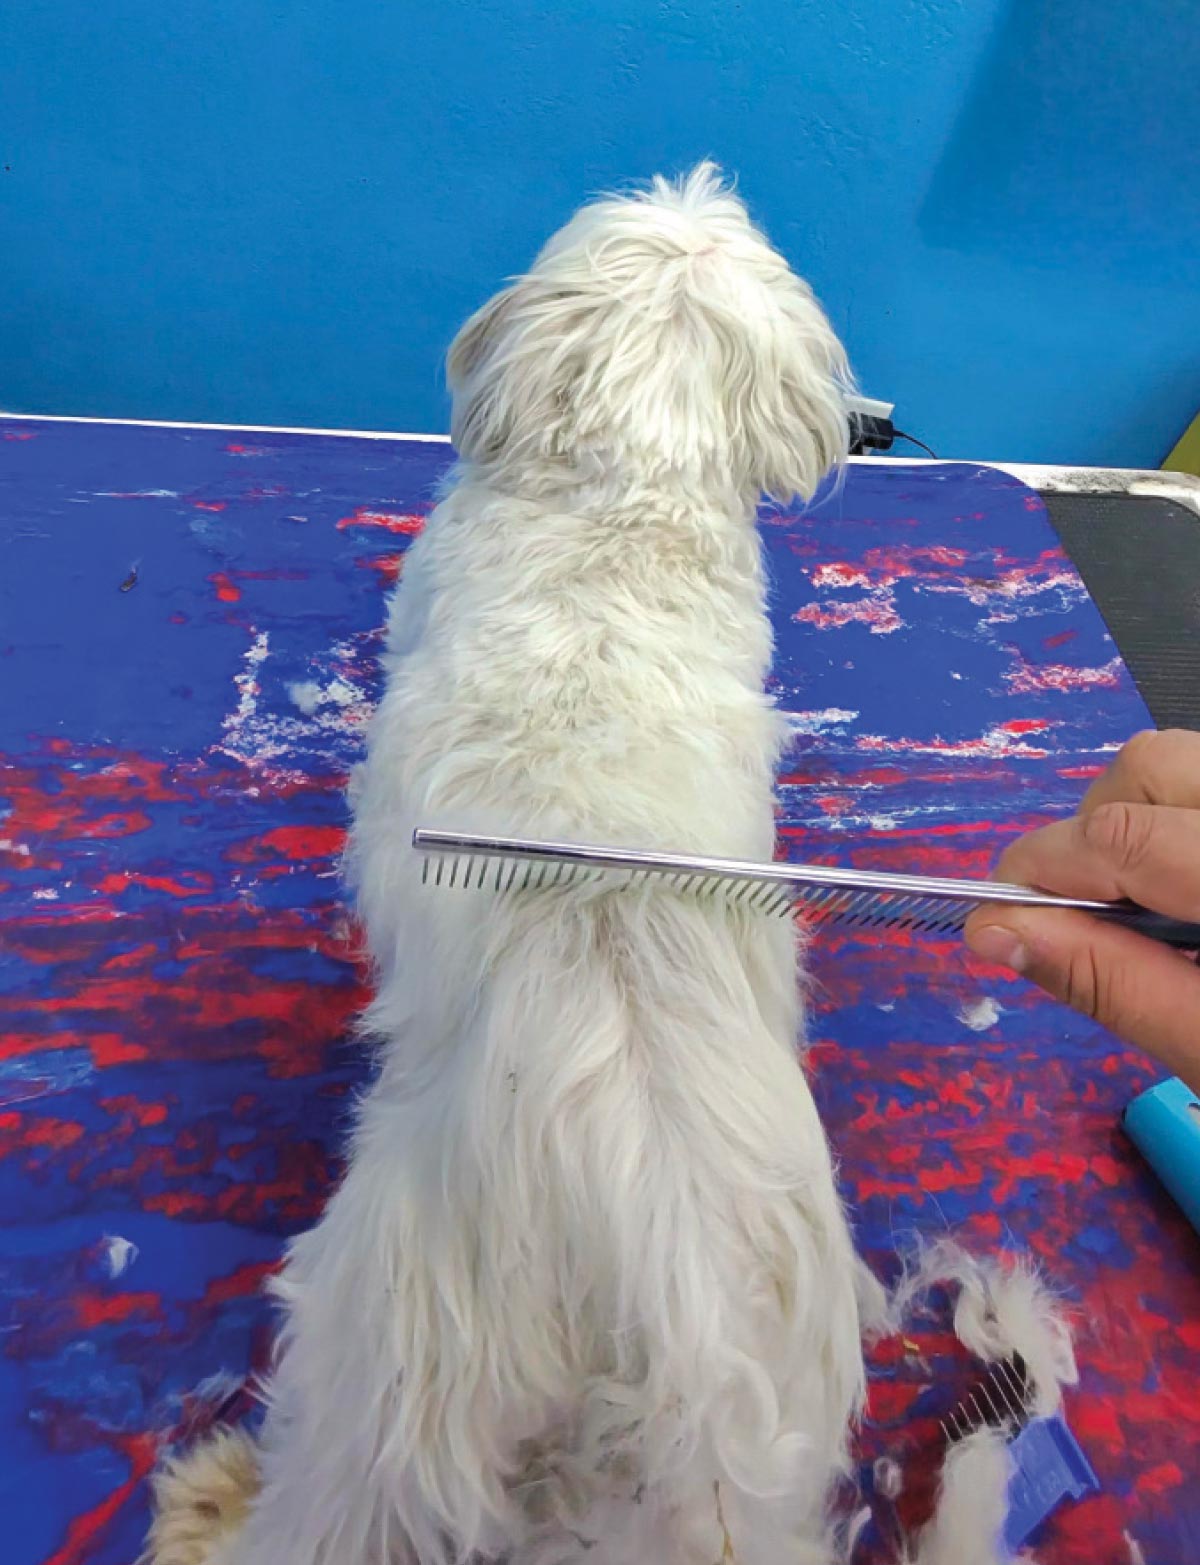
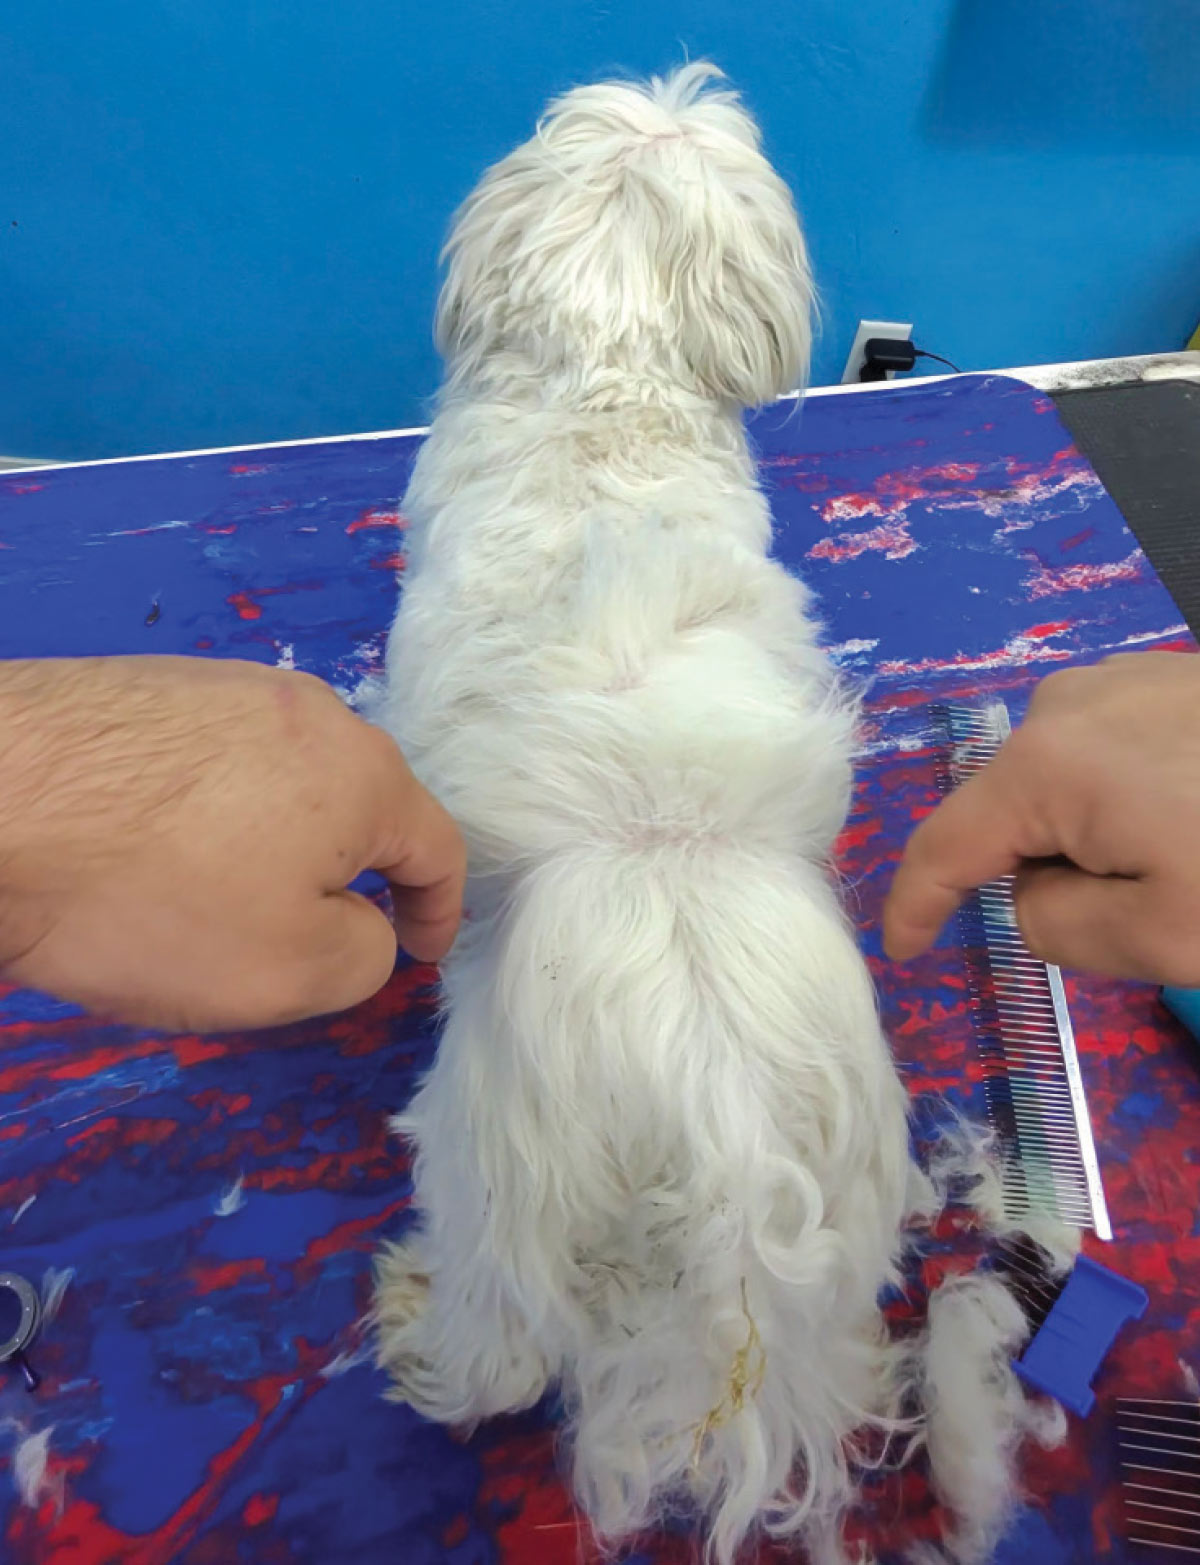
Fig. 3) The coat needs to be parted cleanly enough to be able to lay down some sort of a barrier to keep your dye from bleeding.
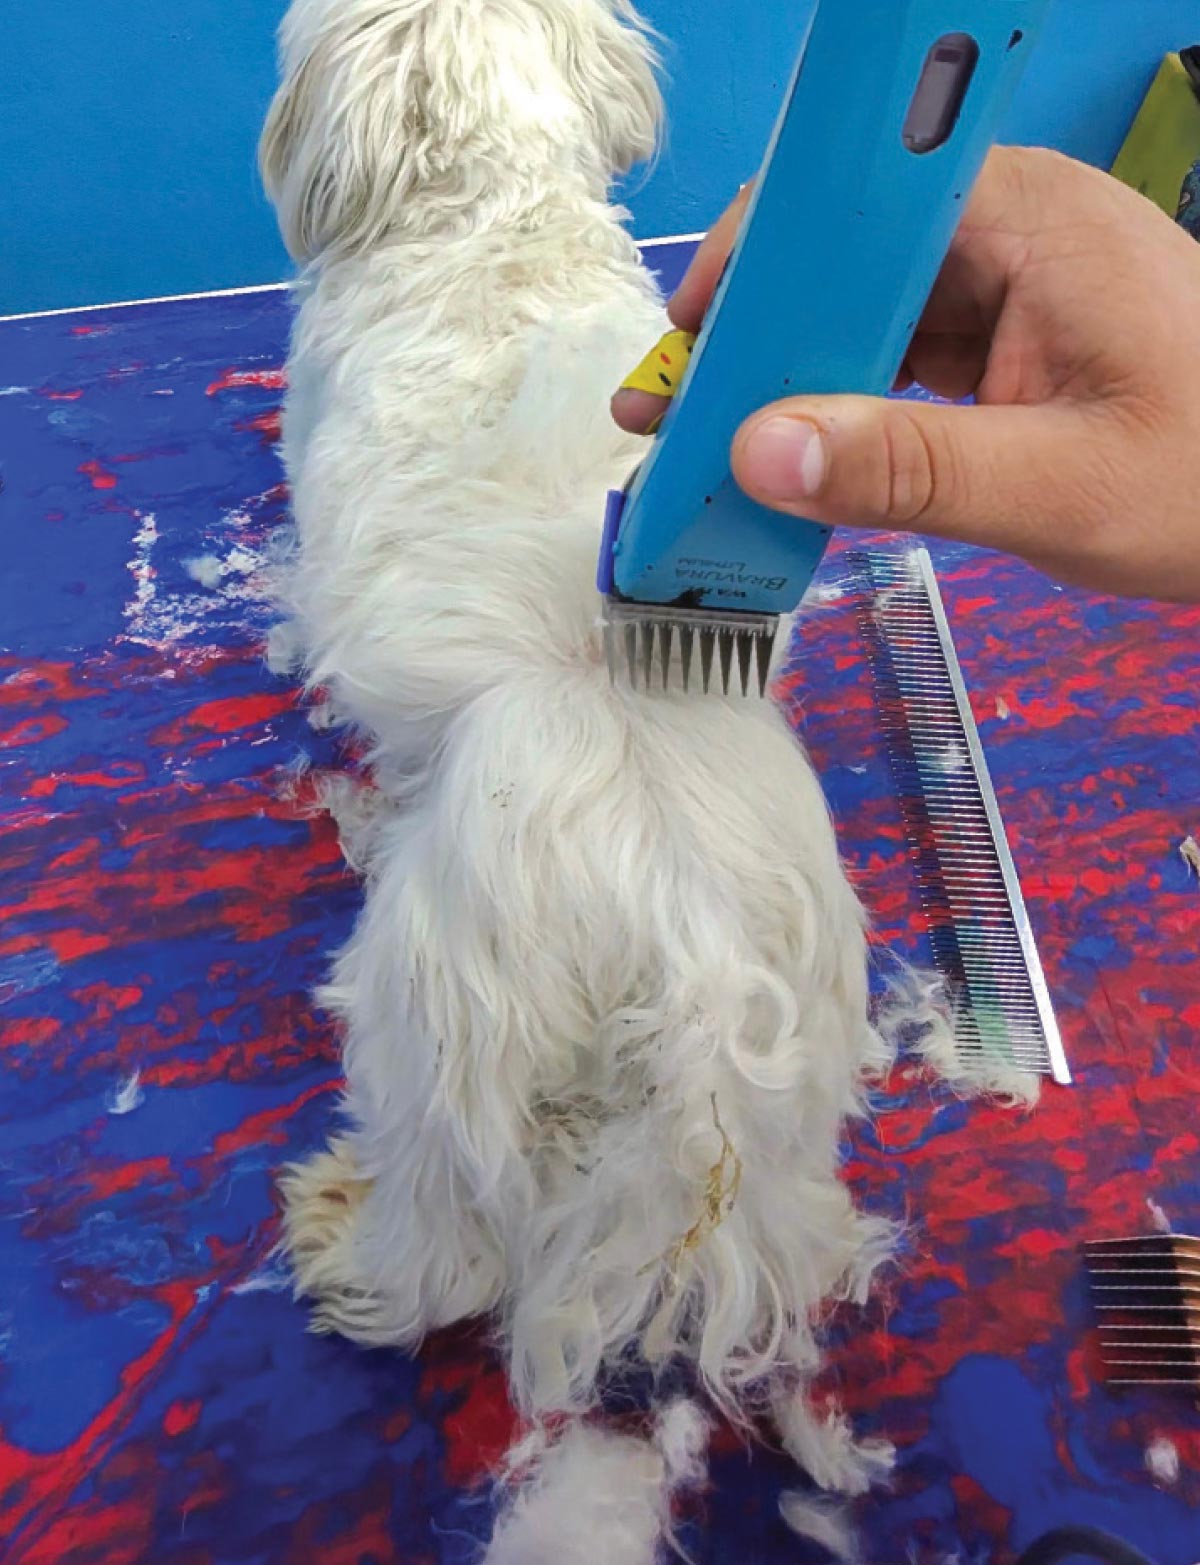
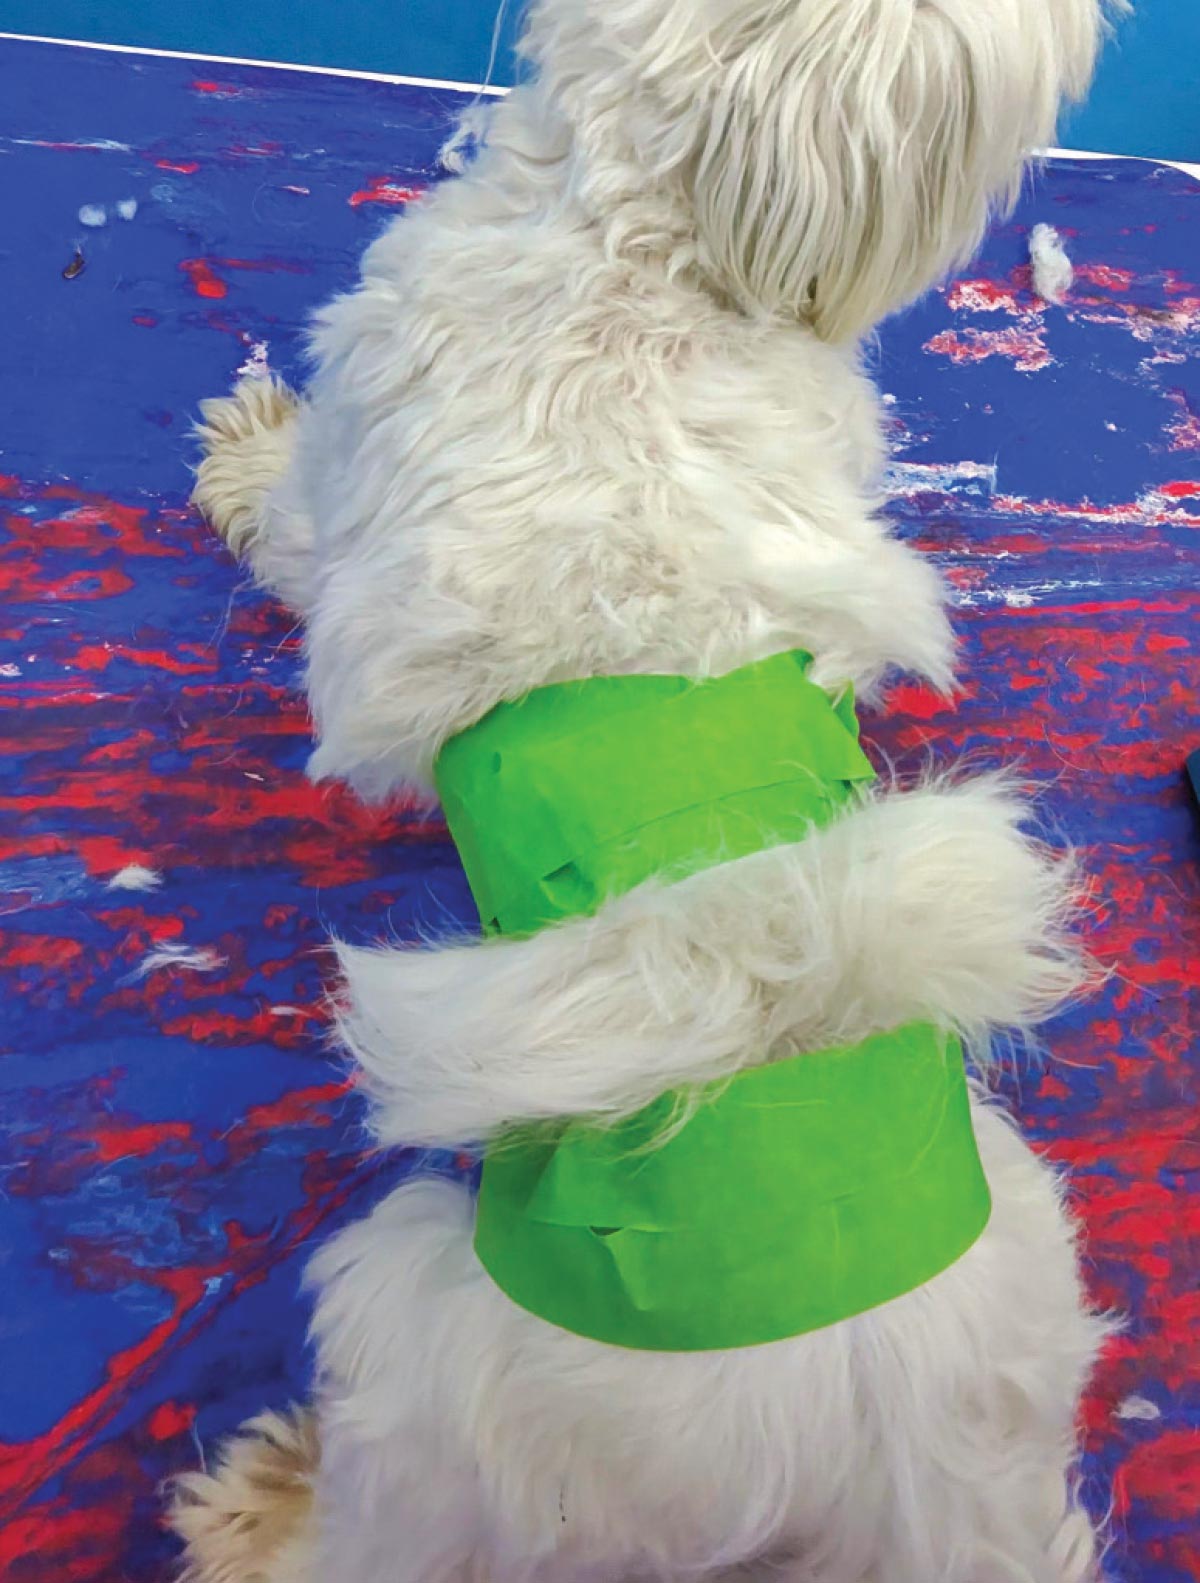
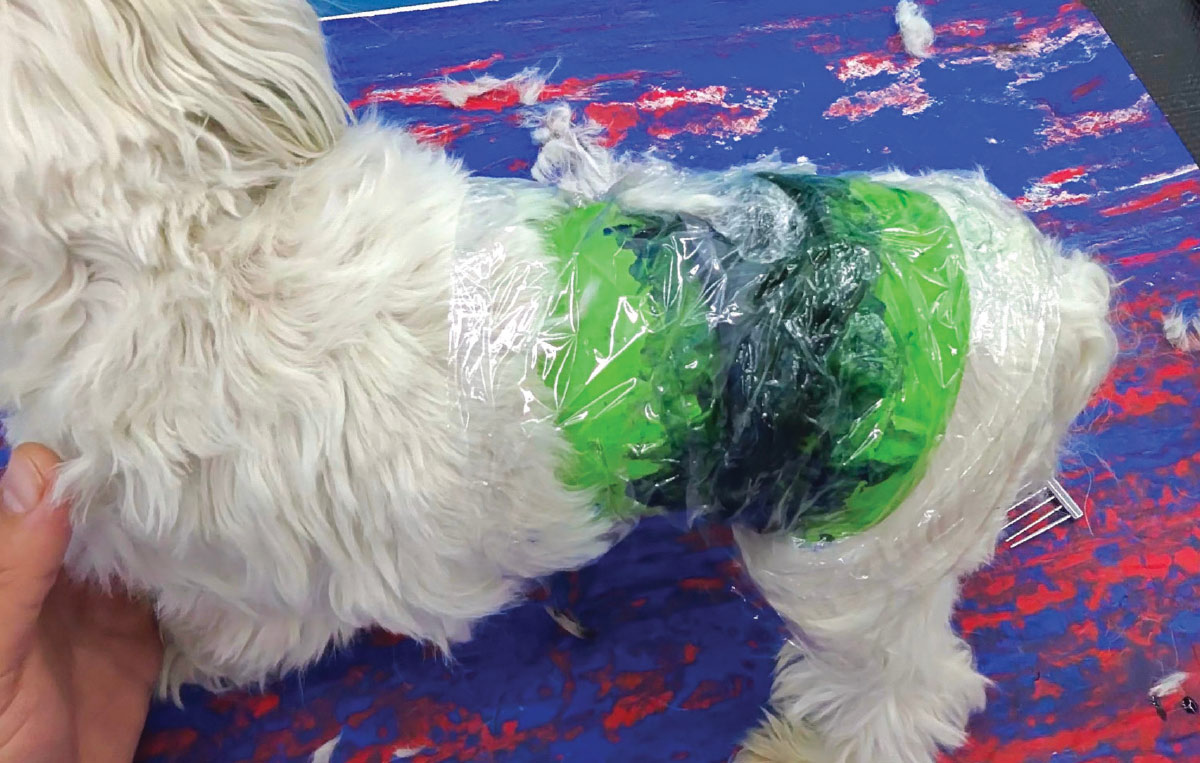
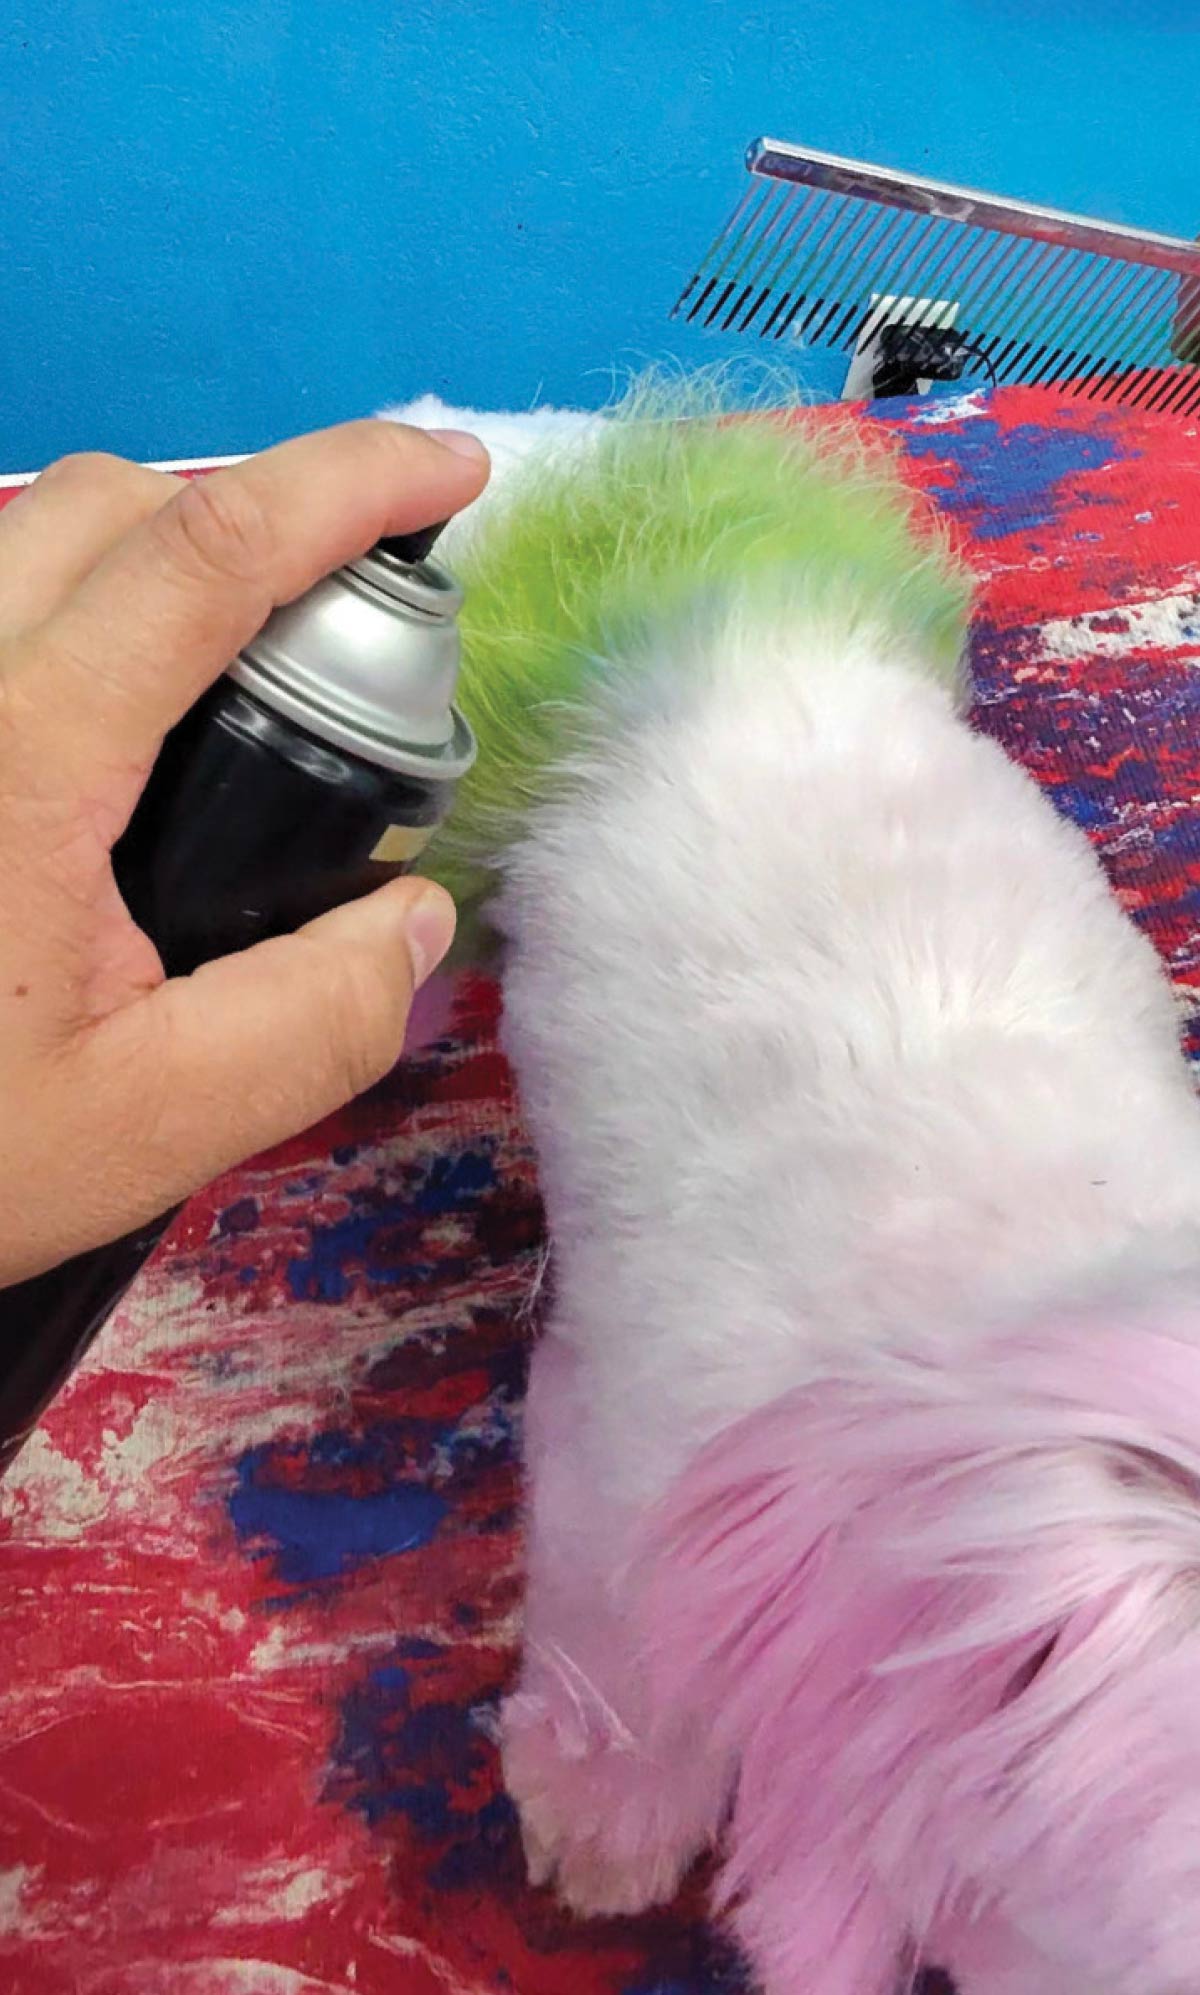
Fig. 5) With some masking tape placed on either side of the belt area, you can now apply whichever dye color you would like.
I also washed this dog in a color-depositing shampoo to add some more color, and ended up with a cotton candy look!
I also washed this dog in a color-depositing shampoo to add some more color, and ended up with a cotton candy look!