
Photos provided by Lynn Paolillo
 or all the time we spend learning shaving patterns, shopping for new tools and chasing the perfect fluffy finish, the real foundation of a great cat groom begins long before a comb ever hits the coat. It starts in the tub.
Ask any experienced cat groomer where things go wrong and they’ll often point to the bath. While some groomers avoid bathing cats, others realize the importance a clean coat plays on not just the finished groom, but also on the cat’s overall coat condition long after they’ve left the salon. That’s why elevating your bathing skills is one of the simplest, most effective ways to improve your grooming results without spending another dime on new tools or fancy products.
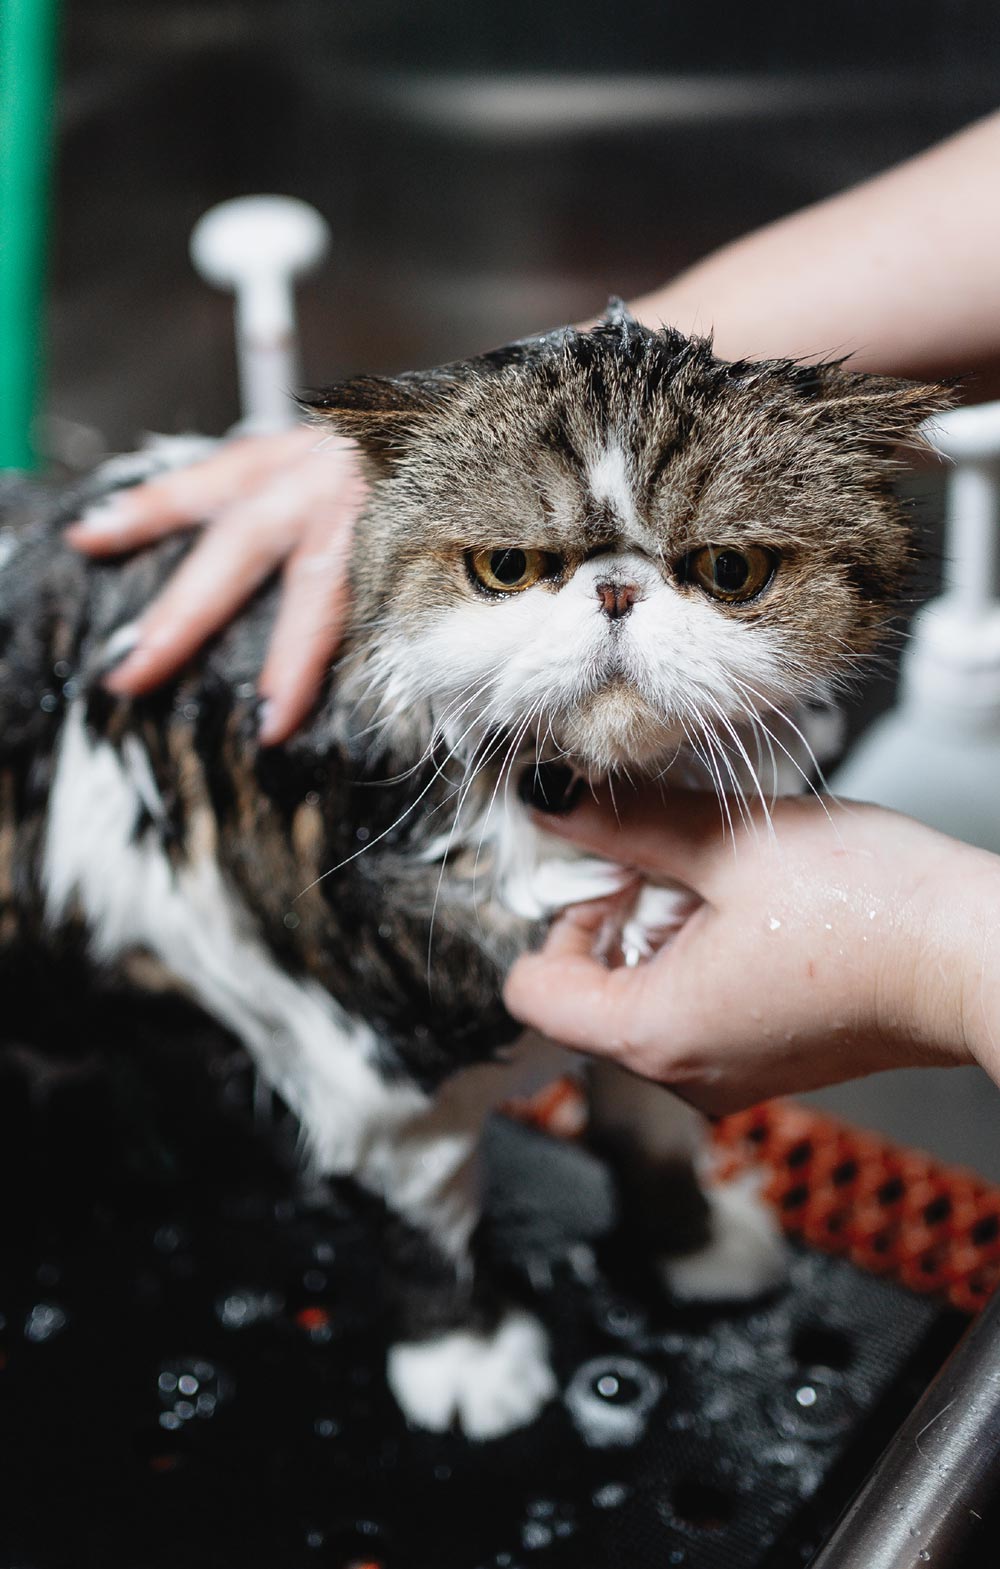
A good cat bath means getting deep in the coat, getting through the thick of it and actively scrubbing with your fingertips to work product all the way down to the skin.
A good cat bath means getting deep in the coat, getting through the thick of it and actively scrubbing with your fingertips to work product all the way down to the skin.
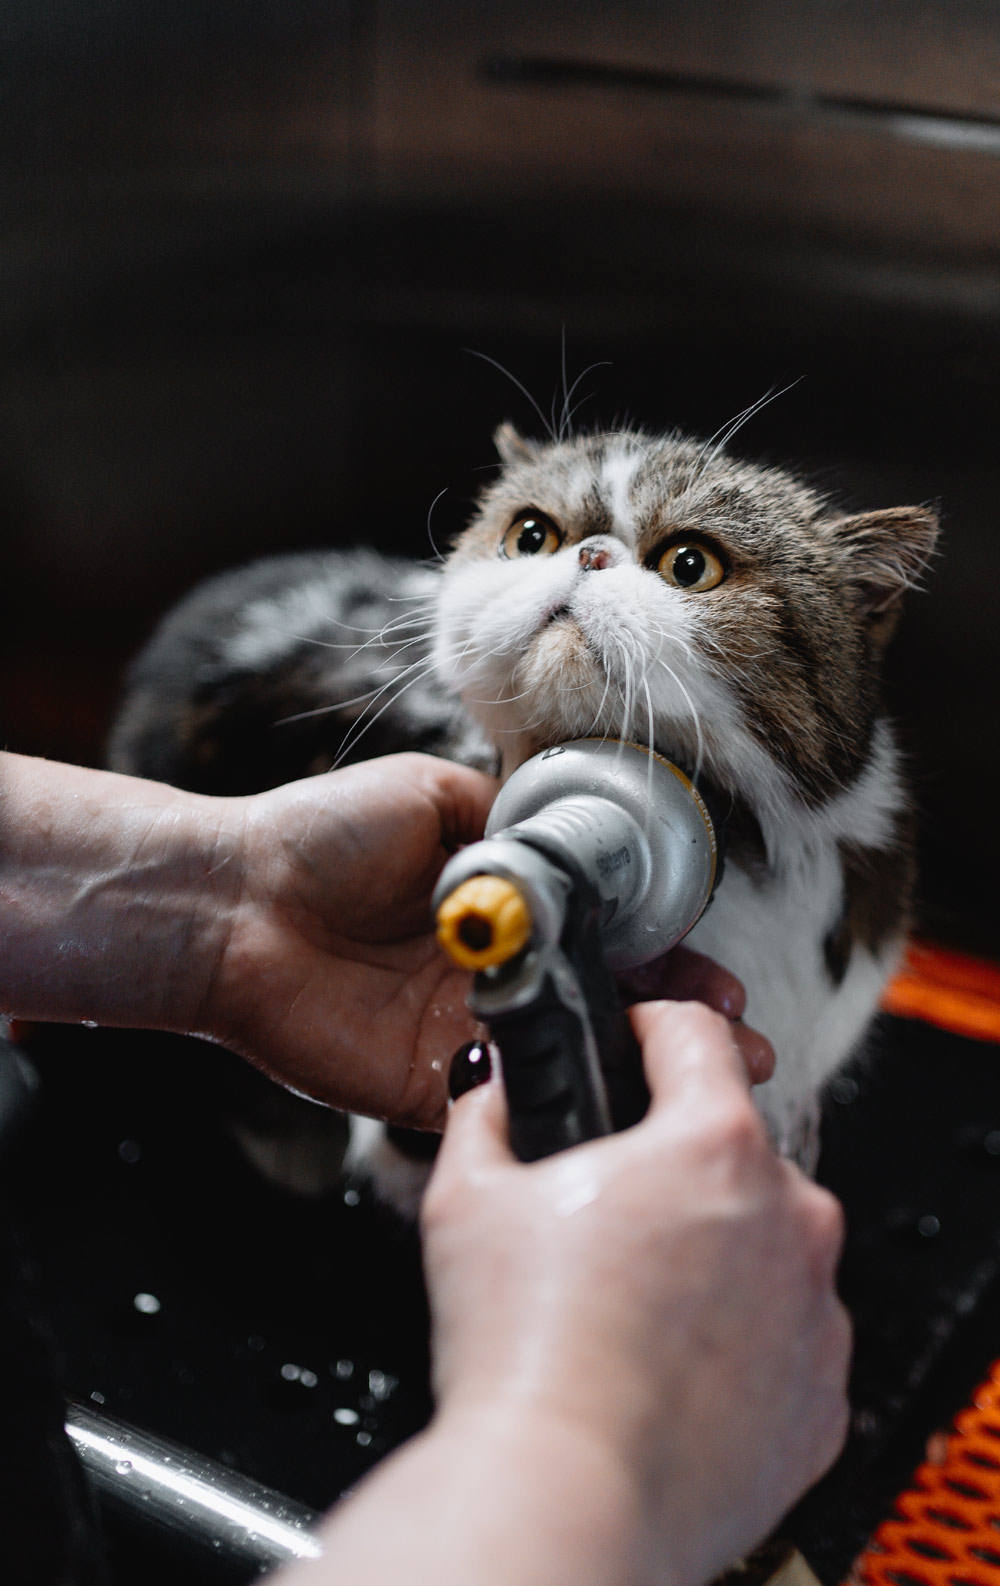
To do this, hold the nozzle right up against the skin. Not only does this get the water where you need it to go (the skin), but it also muffles the sound of the water which helps decrease the chance of the cat getting upset by it.
Once the coat is completely wet (meaning there are no dry spots), add and work in your shampoo. Places to check that they are thoroughly wet include:
- The lower belly and tuck-up area
- Inner front and rear legs where the bend is
- The chest leading into the armpits
- Under the tail and back of the rear legs
Spending a bit of extra time (and water—yes, I’m talking to you, mobile groomers) will not only lead to a cleaner cat but also cut down on the overall groom time and water consumption by having the shampoo lather and rinse more easily.
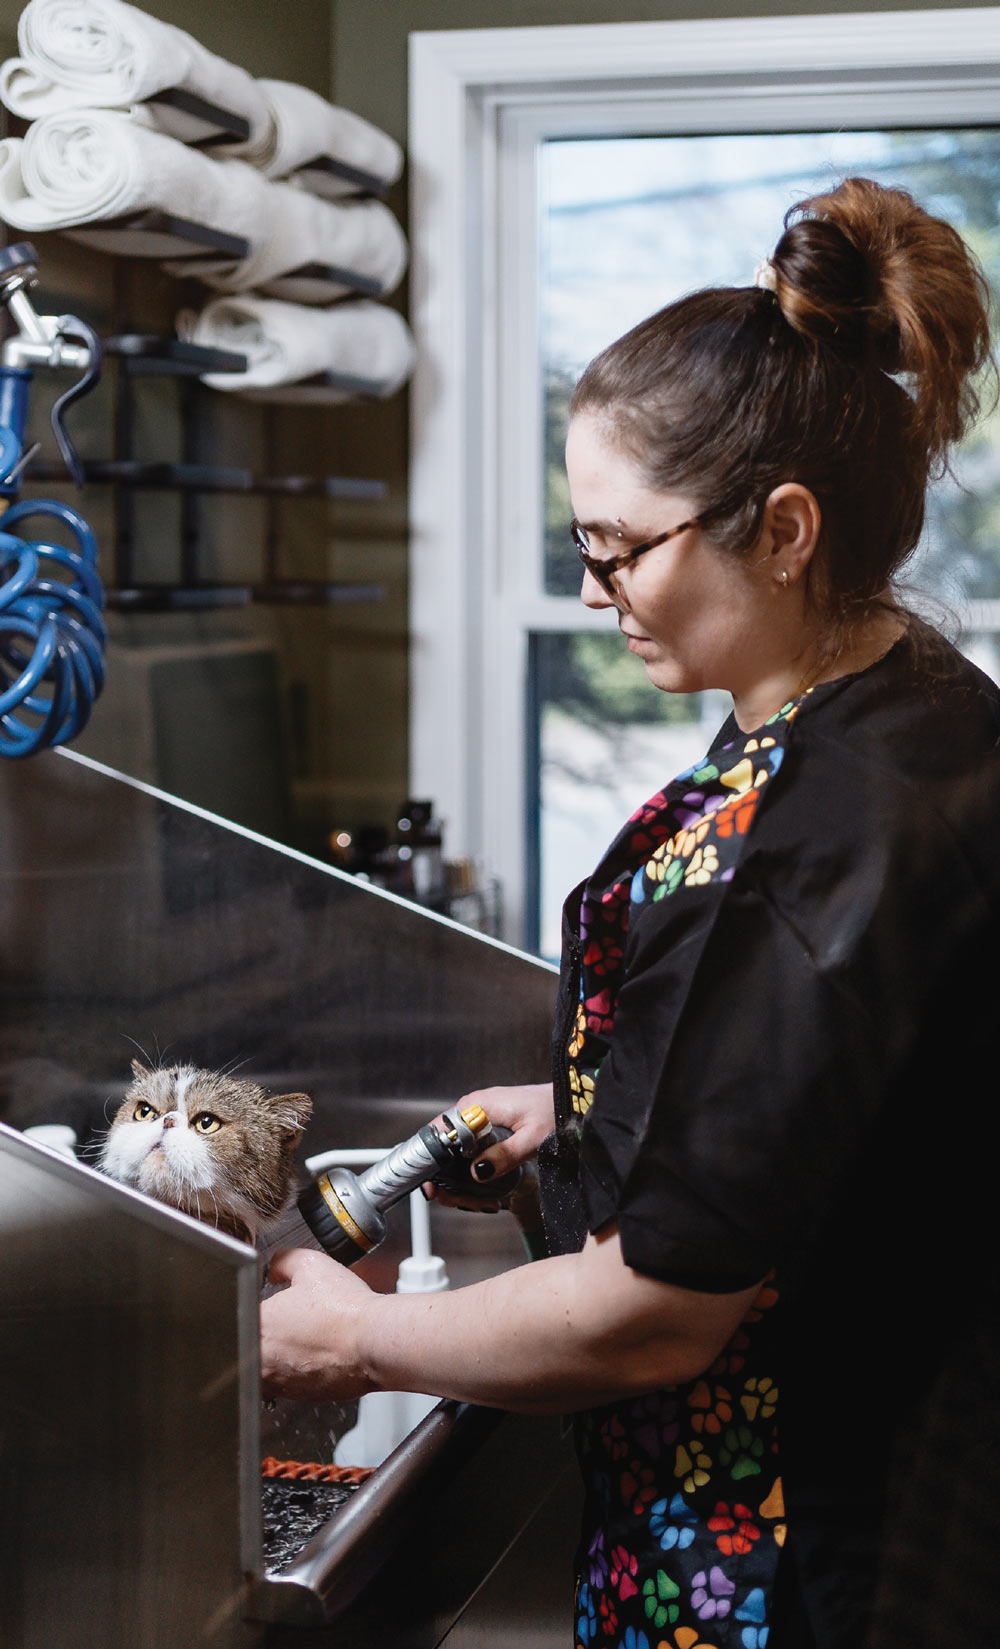
Letting the water run in the bottom of the tub to warm up will give the cat a chance to hear and acclimate to this new sound. If you have a stainless steel tub, you can also put a towel in the bottom to help dampen the echo of the water hitting the metal. With first-time grooms, I will run the water a bit while the cat is nearby in their carrier so that the first time they hear the water running isn’t when they’re up close to it.
Spending some extra time rinsing gives cats the opportunity to pass the realizing-their-wet threshold. And if they do start to inch towards a meltdown, you still have both hands to help calm and control a wet but not soapy, slippery cat. In a worst-case scenario, like if the cat starts panting heavily, you can stop the groom right there, towel-dry and reassess, whereas sending home a soapy cat is less than ideal.
I would also recommend a nozzle that you can control the water flow by squeezing it with your hand. That way if you have to let go of the nozzle to hold the cat, the water doesn’t continue to run and spray uncontrollably.
Because one of my goals during bathing is to get the coat thoroughly saturated with water, I will sometimes start with the cat in a small tub of warm water with a pump or two of shampoo. I find this particularly useful with thick, full-coated cats like Persians and Siberians, and for elderly cats that are very clumpy and greasy that do not like the agitation of scrubbing. This gets the water and some shampoo where it needs to go so that the rest of the bath goes smoothly.
After a couple minutes in the soak, I’ll drain the small tub (I like a collapsible dish tub with bottom drain), shampoo and continue the bath like normal. Rinsing is always done with a nozzle to make sure no shampoo residue is left behind.
Using a rubber or silicone brush during the second shampoo can help lift even more, but be cautious around cats with thin or sensitive skin. And be sure to go with the direction of the coat, as this helps dead coat to release better than going against the growth with brushing or combing.
Don’t skimp on scrubbing areas that get tucked up while the cat is laying down. Places like the legs, paws, under the tail, and lower chest hold onto grease and clumped hair. Scrubbing should get through the thick coat so that the skin is thoroughly clean.

Blow-Drying Benefits
My usual drying routine for cats starts with wrapping them in a thick towel “burrito” to pat the face dry with a washcloth, clean the eyes, check around the mouth and chin area, and clean the ears. I then gently squeeze (not rub) the coat with the towel, unwrap the wet towel and rewrap with a dry one. At this time you can put a Happy Hoodie, e-collar, Air Muzzle, etc. on them to limit noise around the head for blow-drying.
Next I start the HV dryer on a low speed with no nozzle and give the cat a minute or two to acclimate to the sound. I start drying at the rib cage/side area with slow circles or back-and-forth movements. If the cat tolerates it well, I’ll use a flat, water-peeler-style nozzle and turn the dryer up to a medium to med-high speed to get the bulk of the water out of the coat, especially down the legs and paws.
Once the coat is 90-95% dry, I remove the nozzle to let the warm air help to finish drying. I’ll then turn the dryer back down to low, remove any Happy Hoodie or e-collar and dry around the head.
Better cat grooming starts in the tub. A good bath sets the tone for every other step: drying, combing, trimming and coat condition between appointments. If you want better results without adding stress or time to your day, the bath is where to begin.
Your clients may never know exactly what you did in the tub, but they’ll feel the difference when their cat comes home cleaner, softer and more comfortable than ever before.