
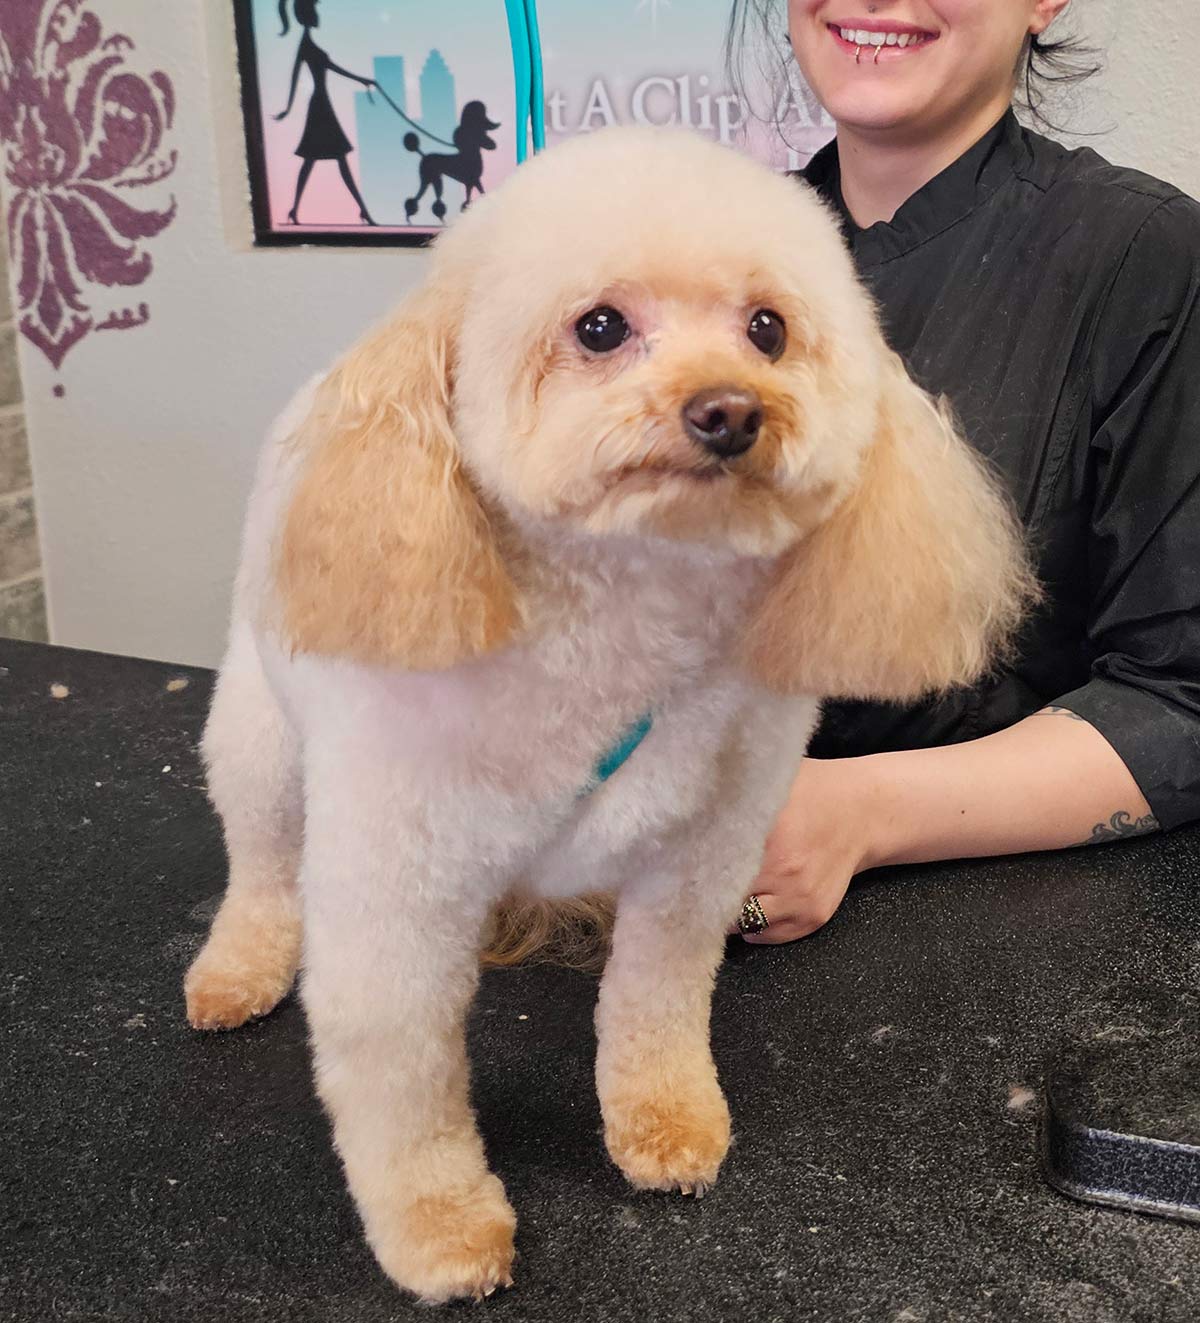
Groomed by Sydney Porras
 his headpiece style has to be the number-one most-requested head trim amongst pet salon clients. The following guide is for any level groomer, as clippers will be used to set everything. Only slight adjustments will be needed for each coat type and size of dog you’re working on.
Fig. 1) Comb the head out thoroughly, being mindful of which way the clippers will be going over the coat. On the top of the head, comb it back towards the neck.
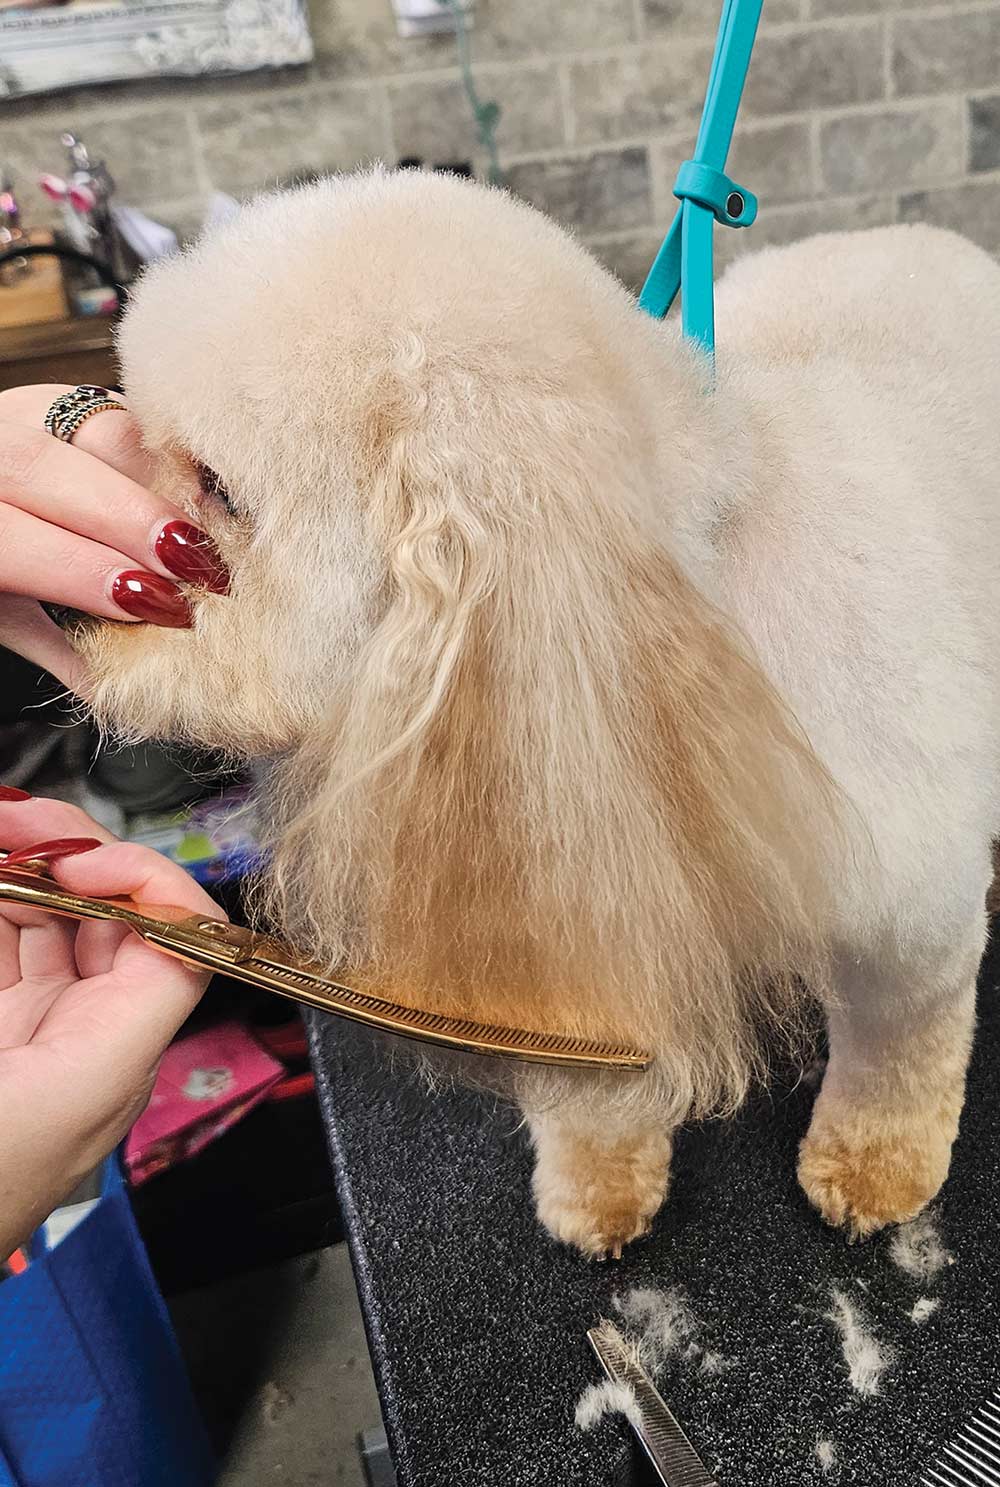
Fig. 2) Comb the cheeks down and get the hairs free from inside the upper lip.
Fig. 3) Choose whichever length the client wants, remembering that the larger a dog is overall, the longer the coat will need to be to achieve the round shape. Clip the top skull from the stop to the occiput.
Groomed by Sydney Porras
his headpiece style has to be the number-one most-requested head trim amongst pet salon clients. The following guide is for any level groomer, as clippers will be used to set everything. Only slight adjustments will be needed for each coat type and size of dog you’re working on.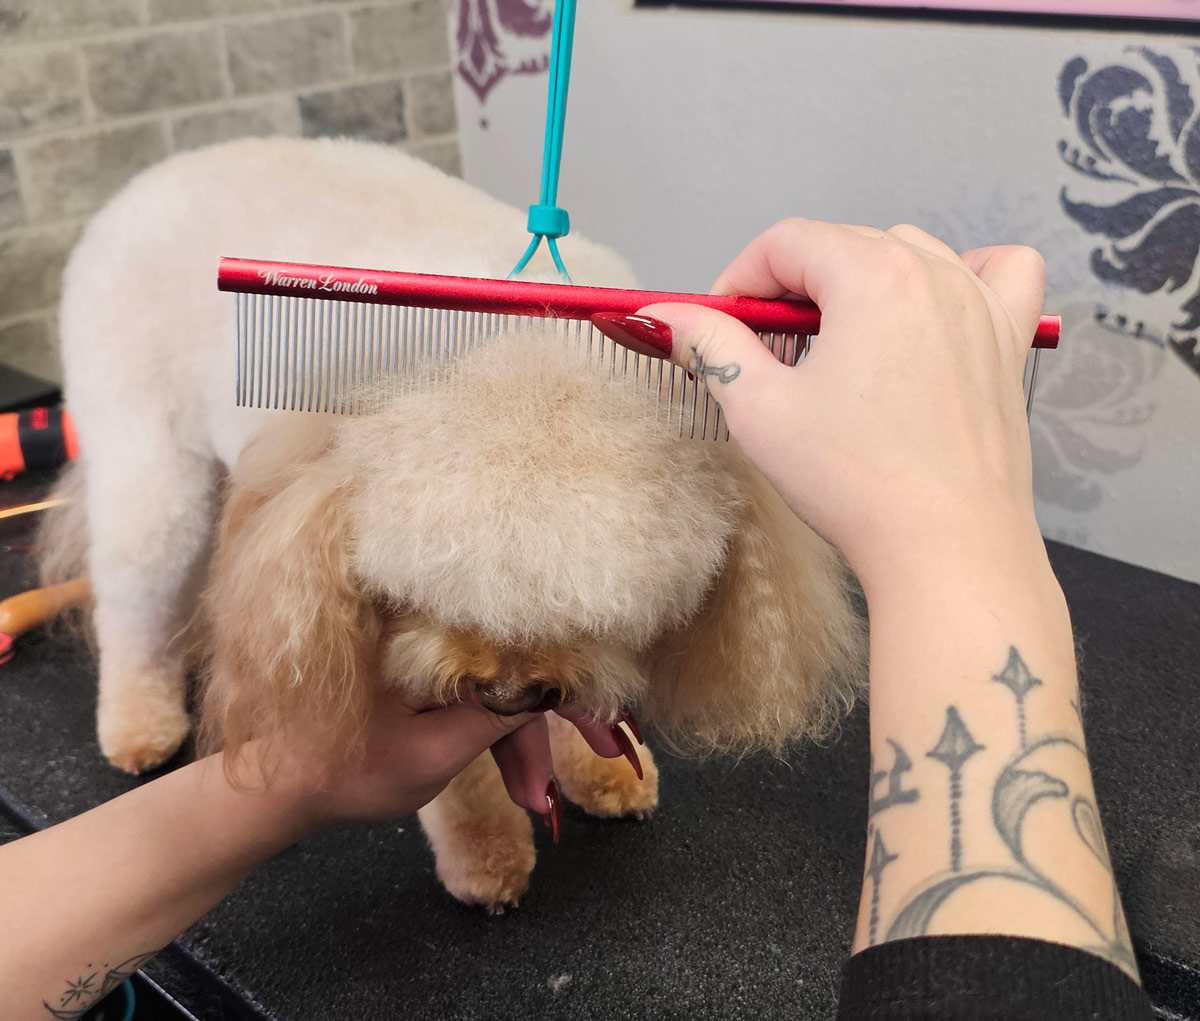
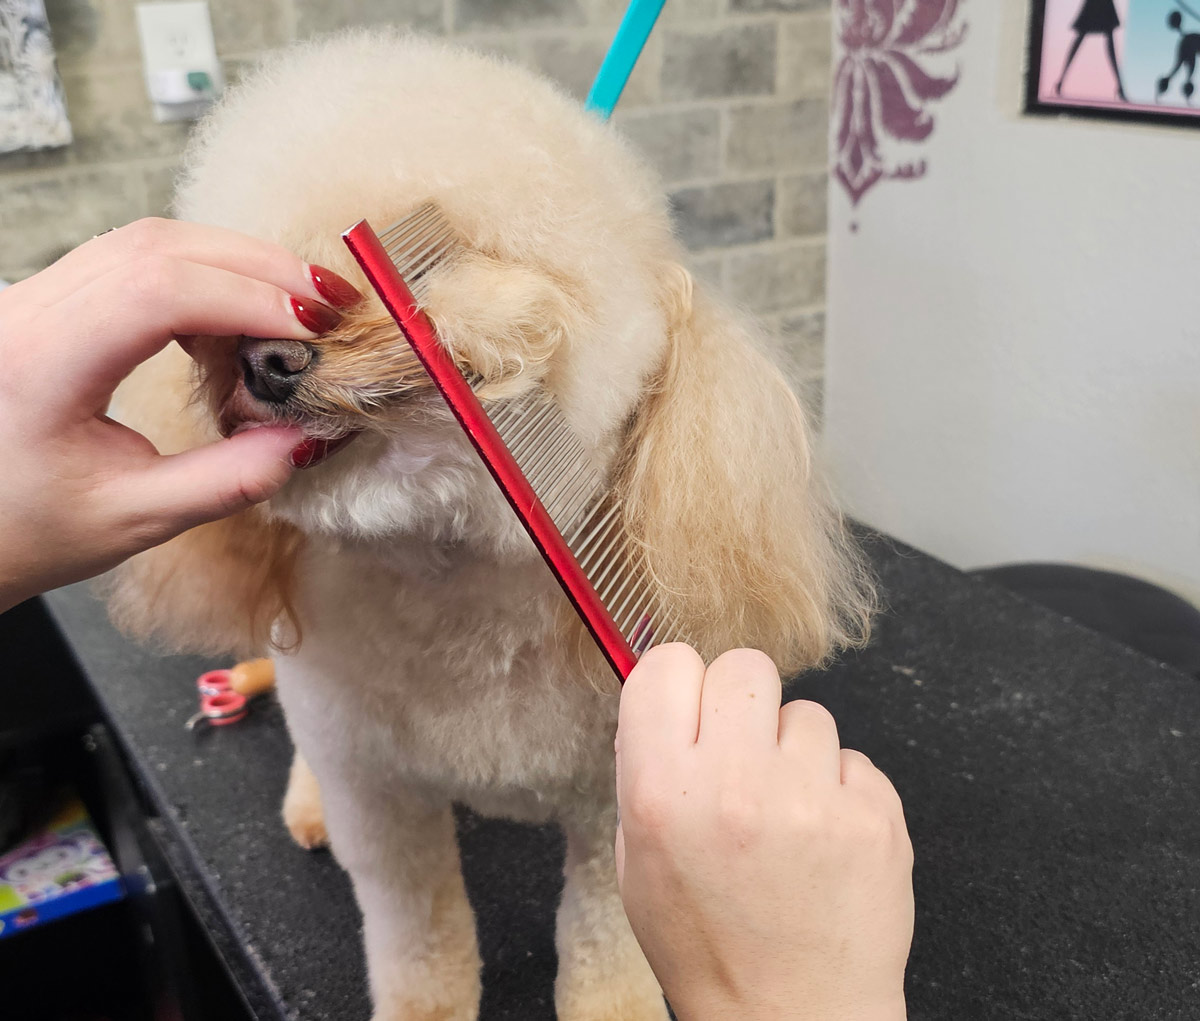
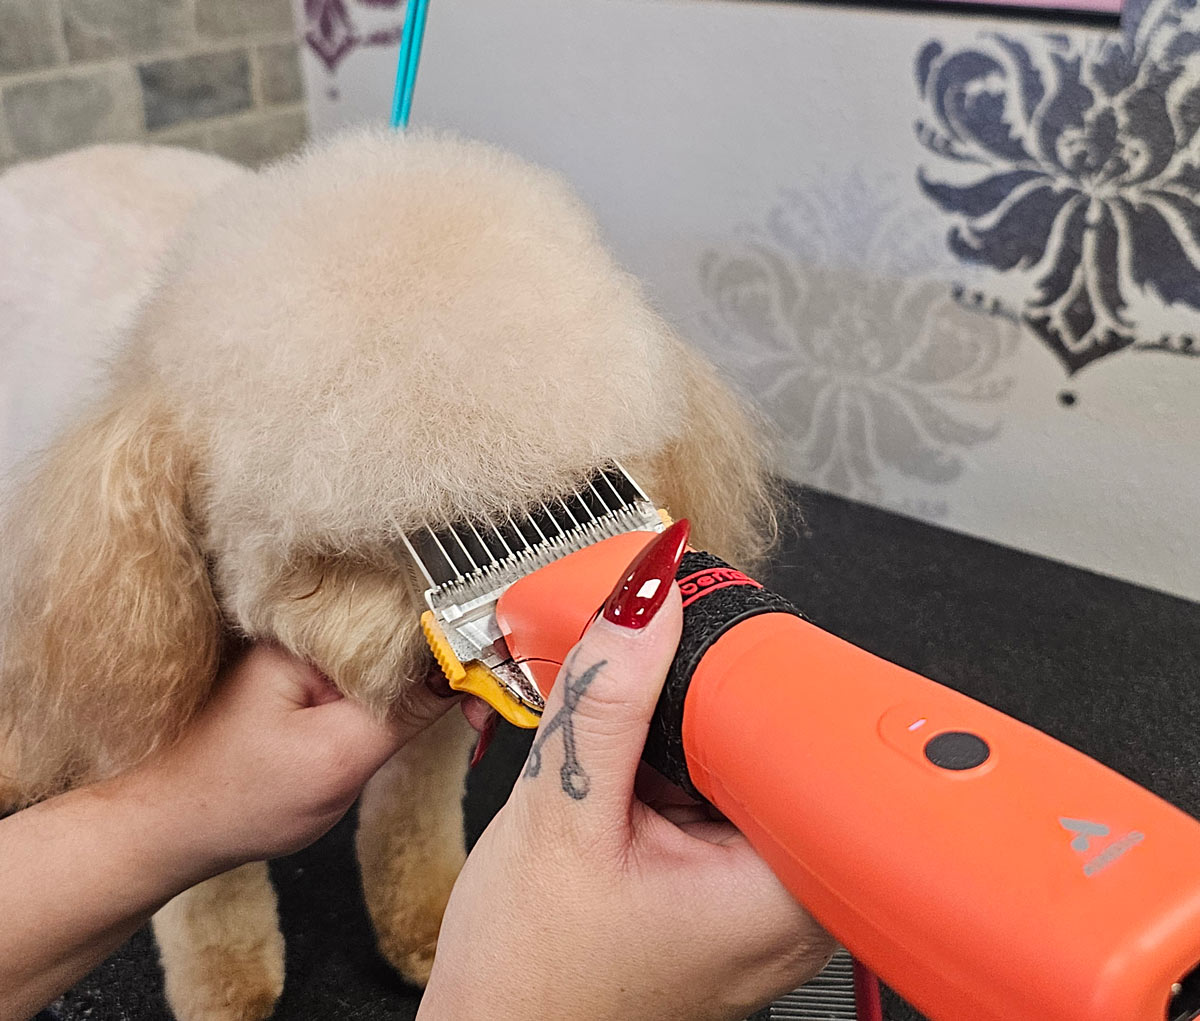
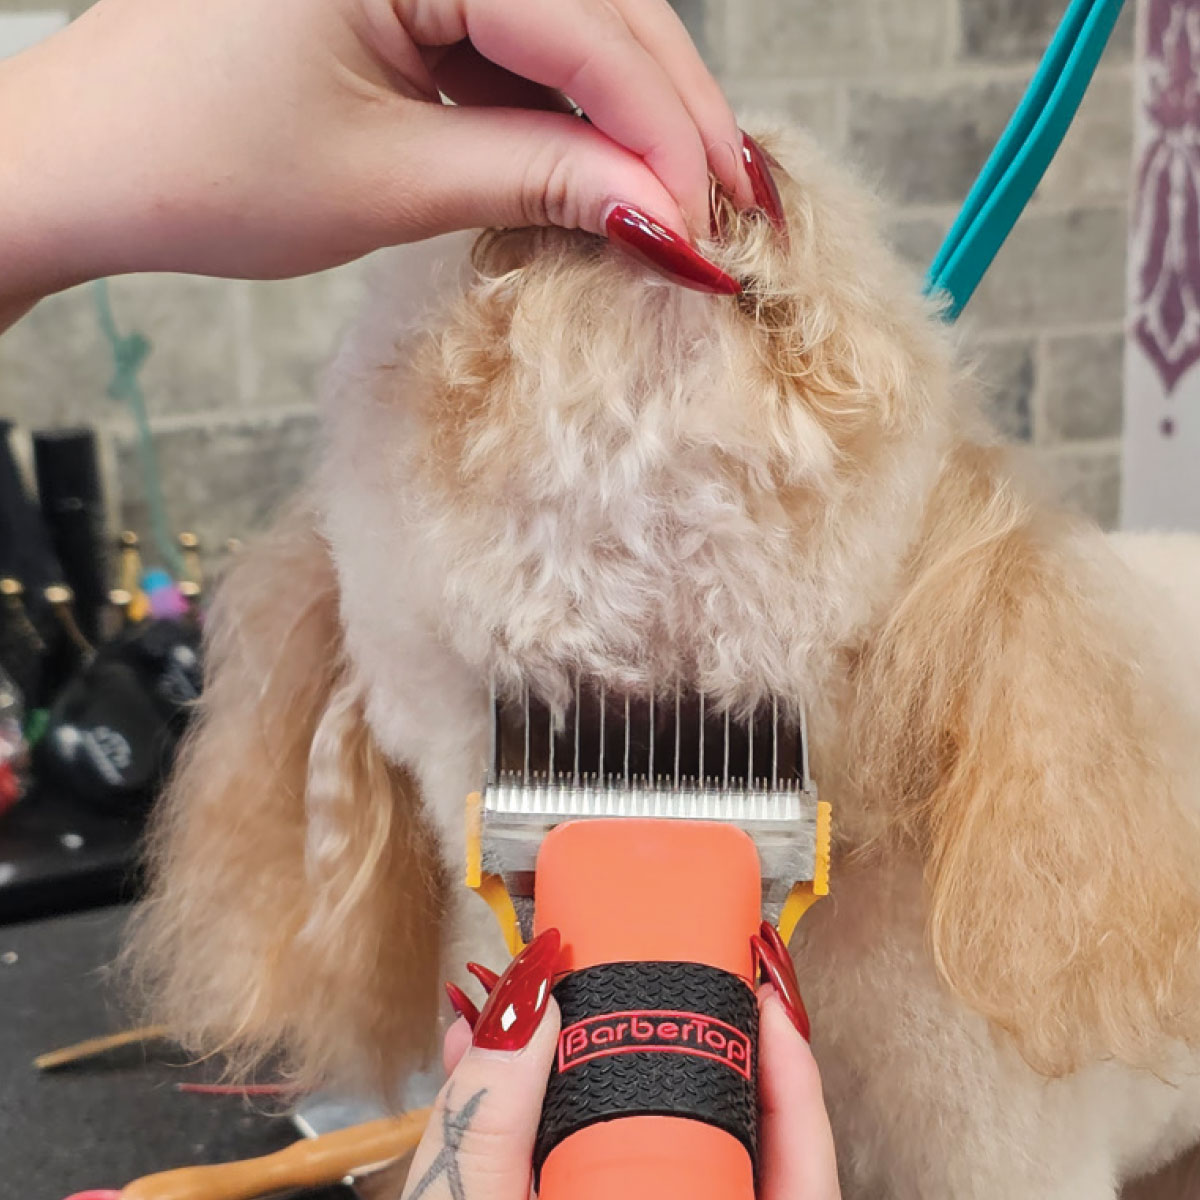
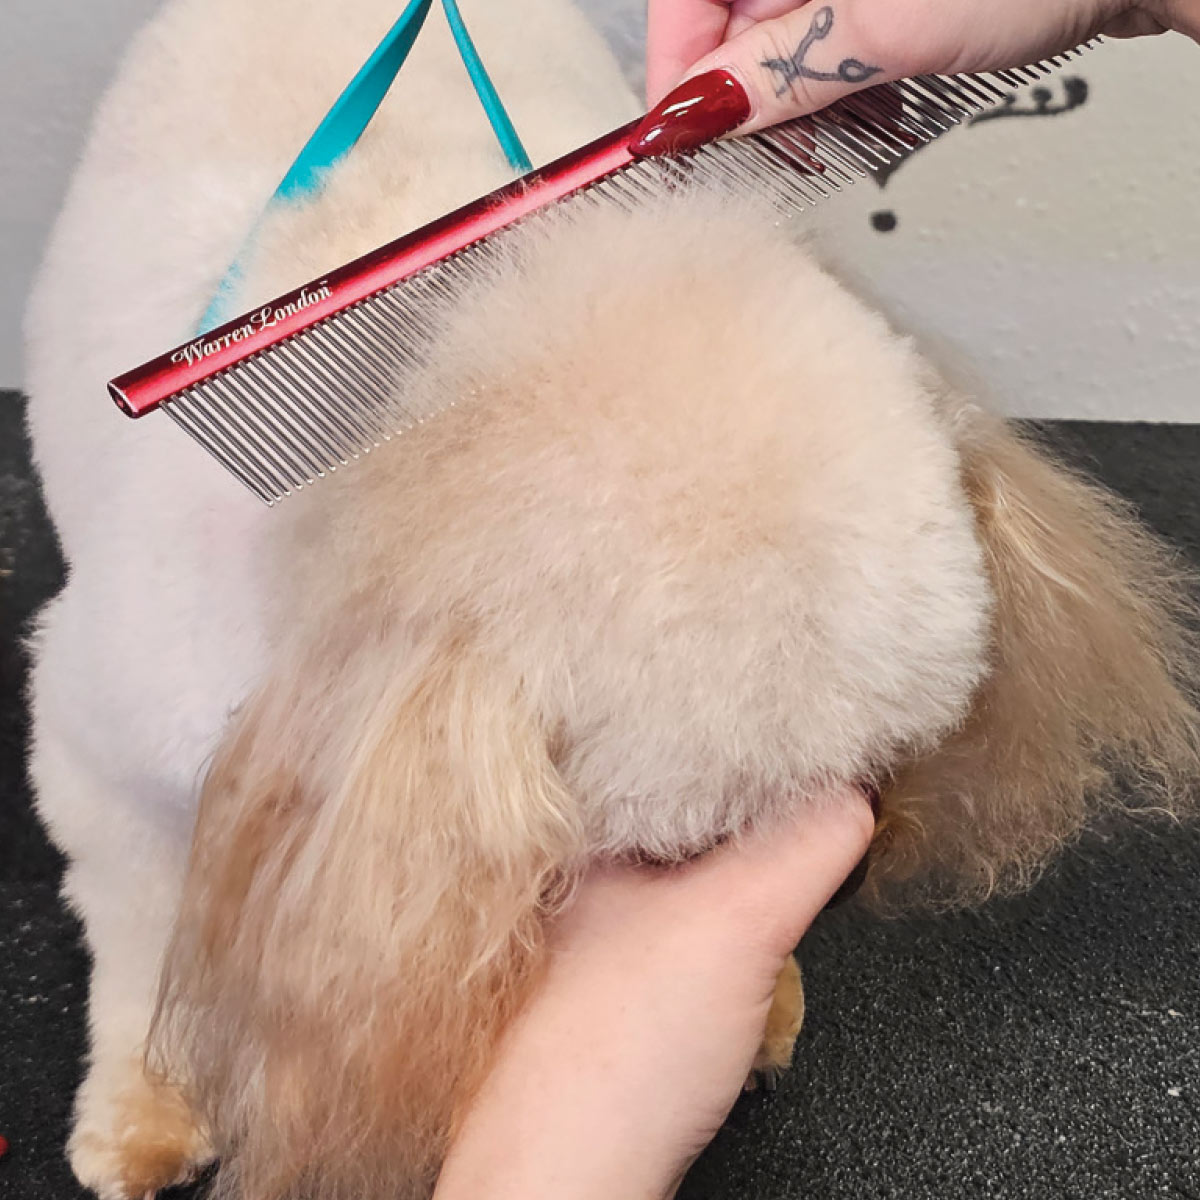

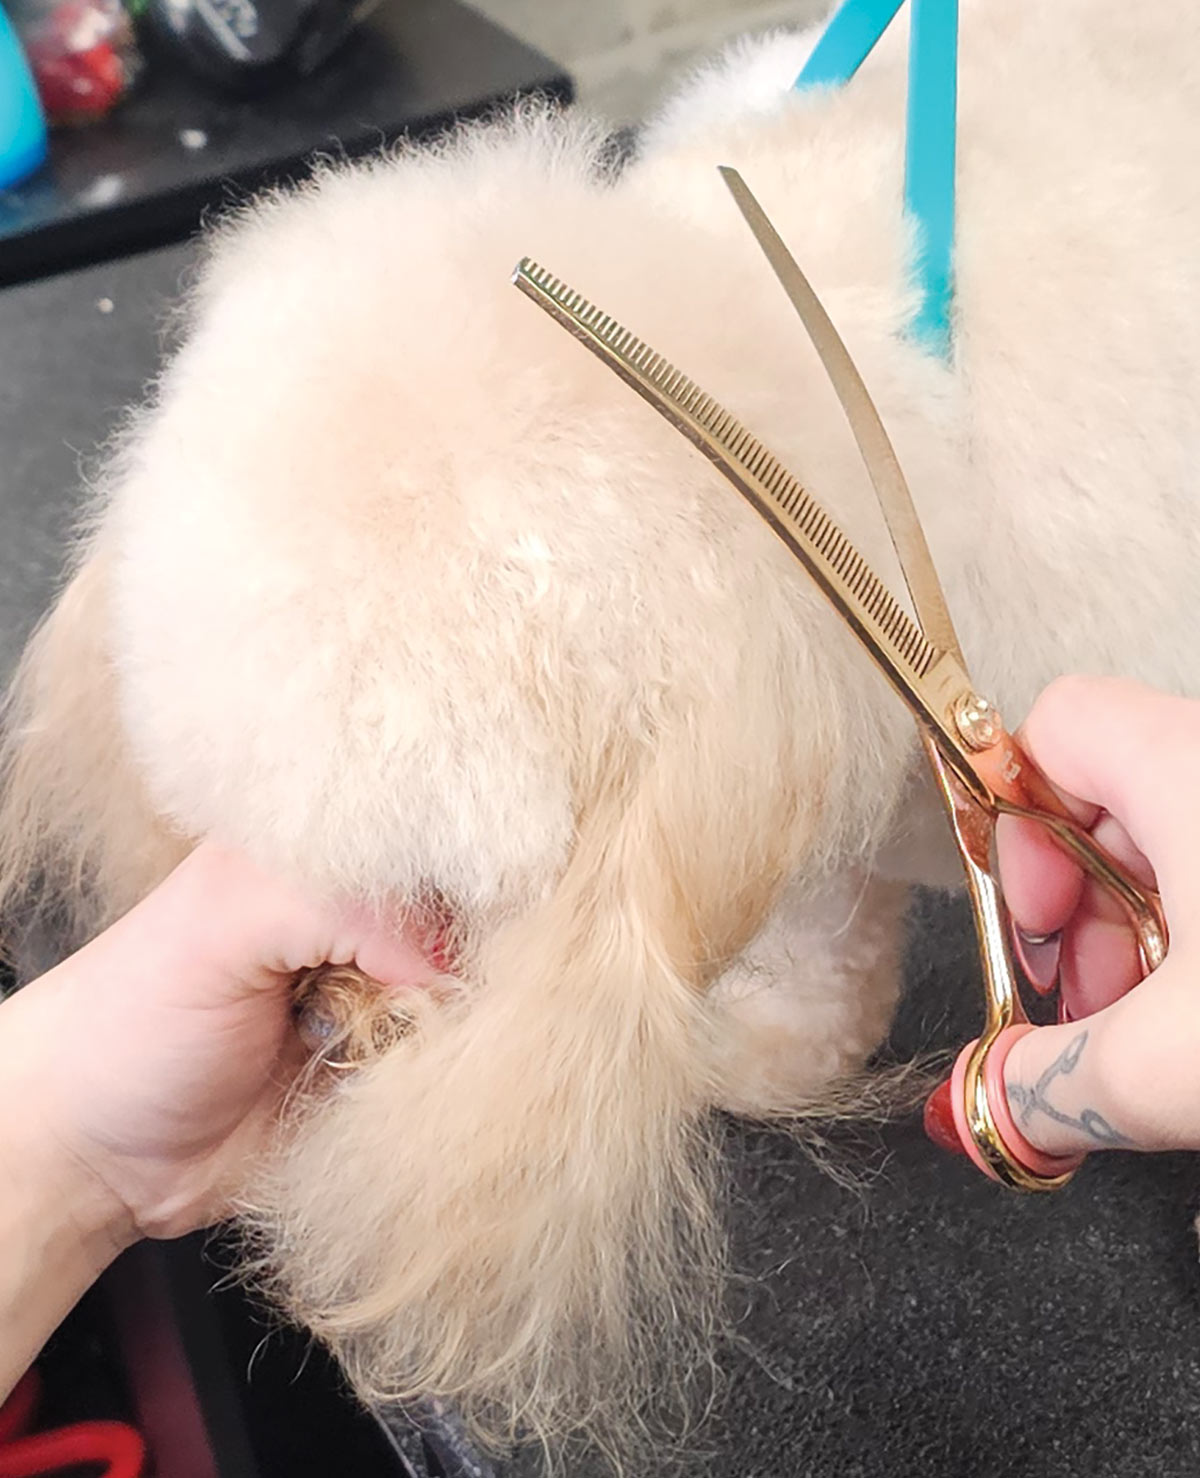
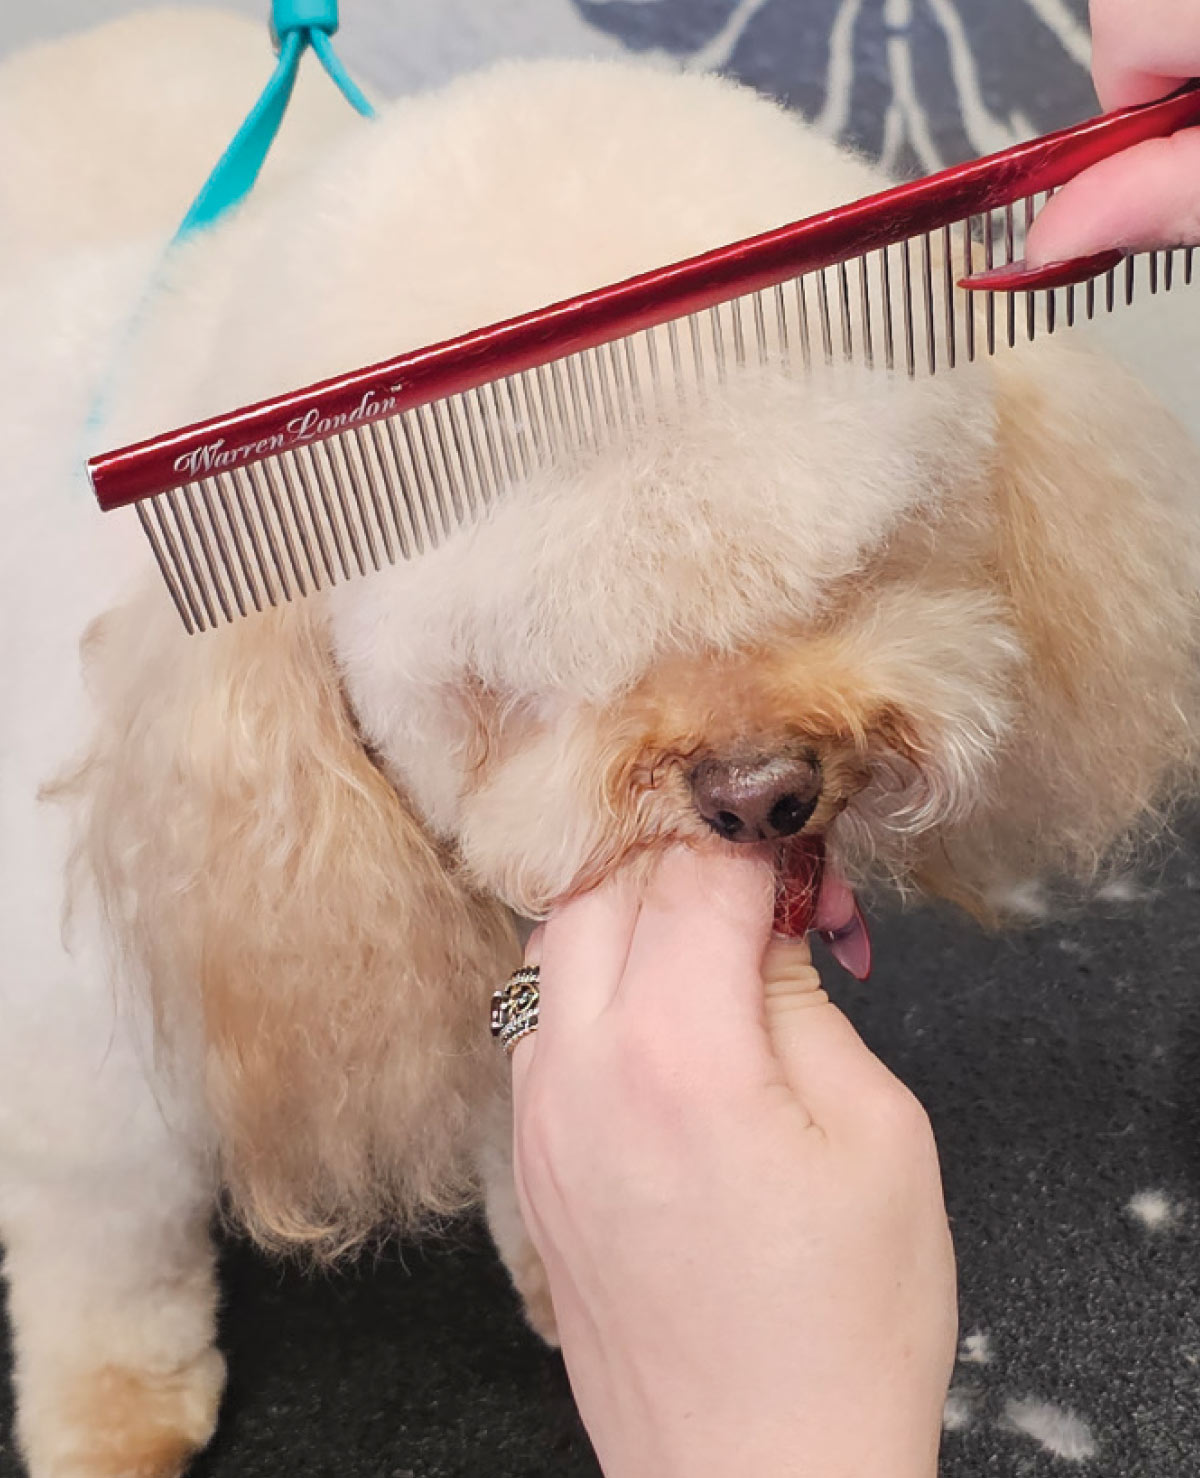
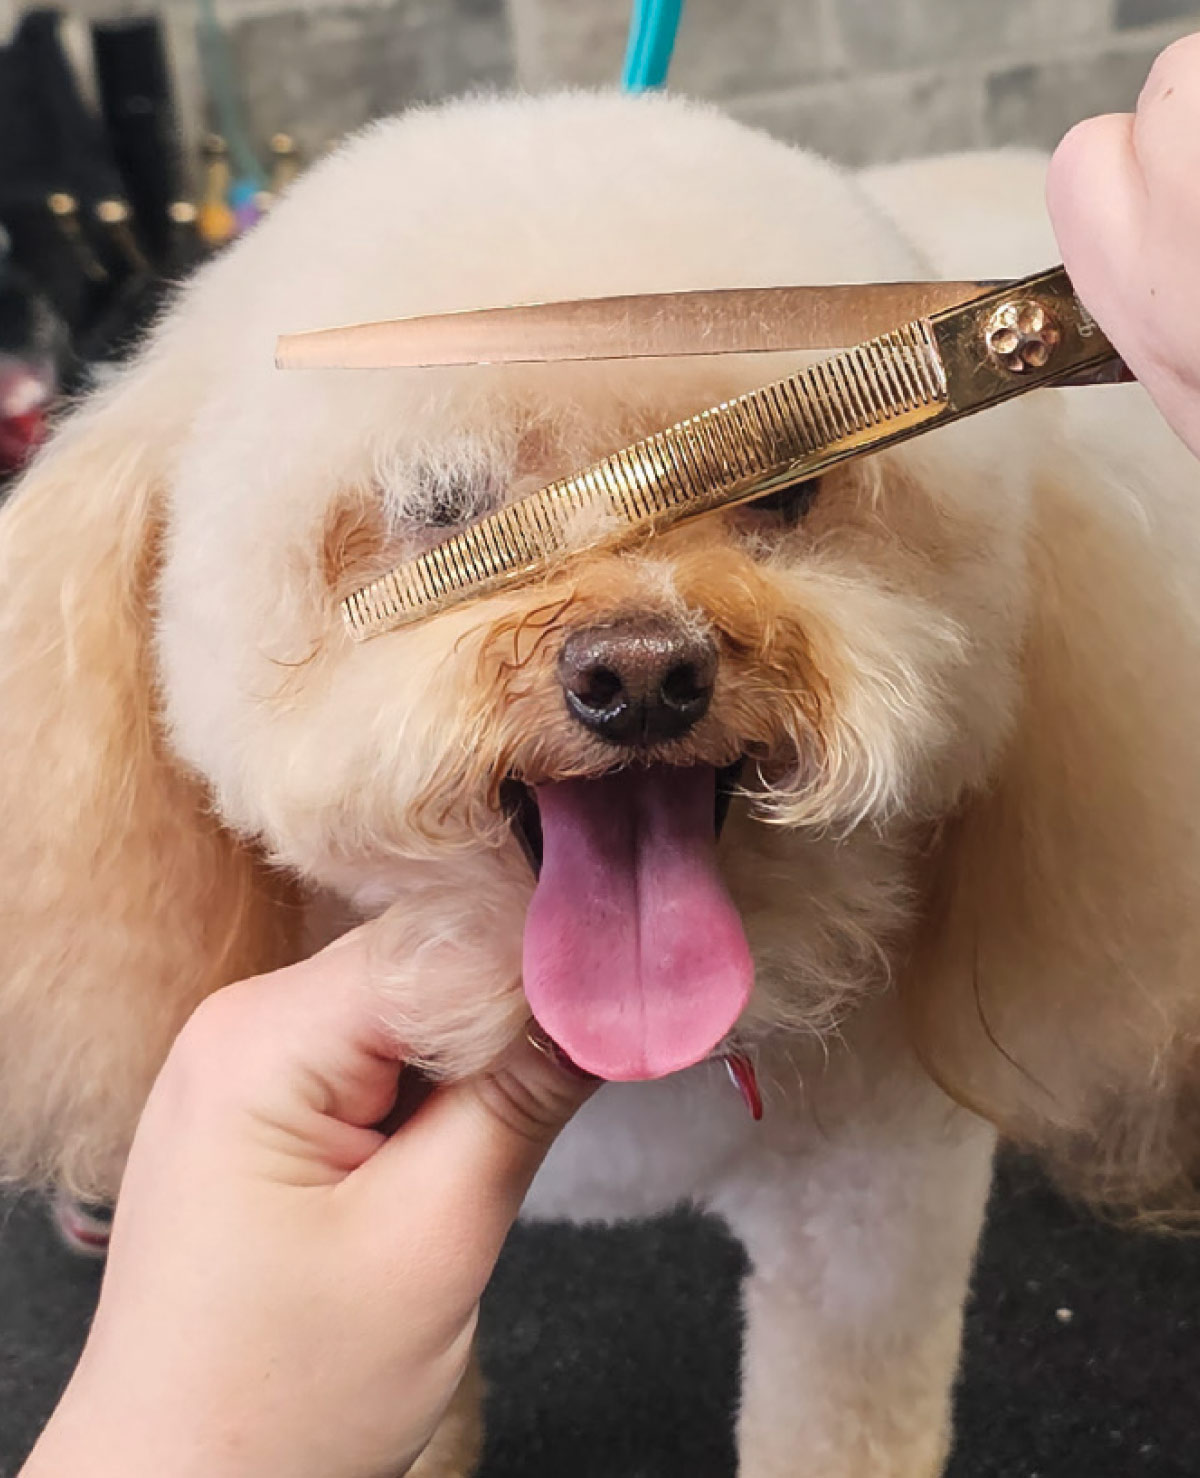
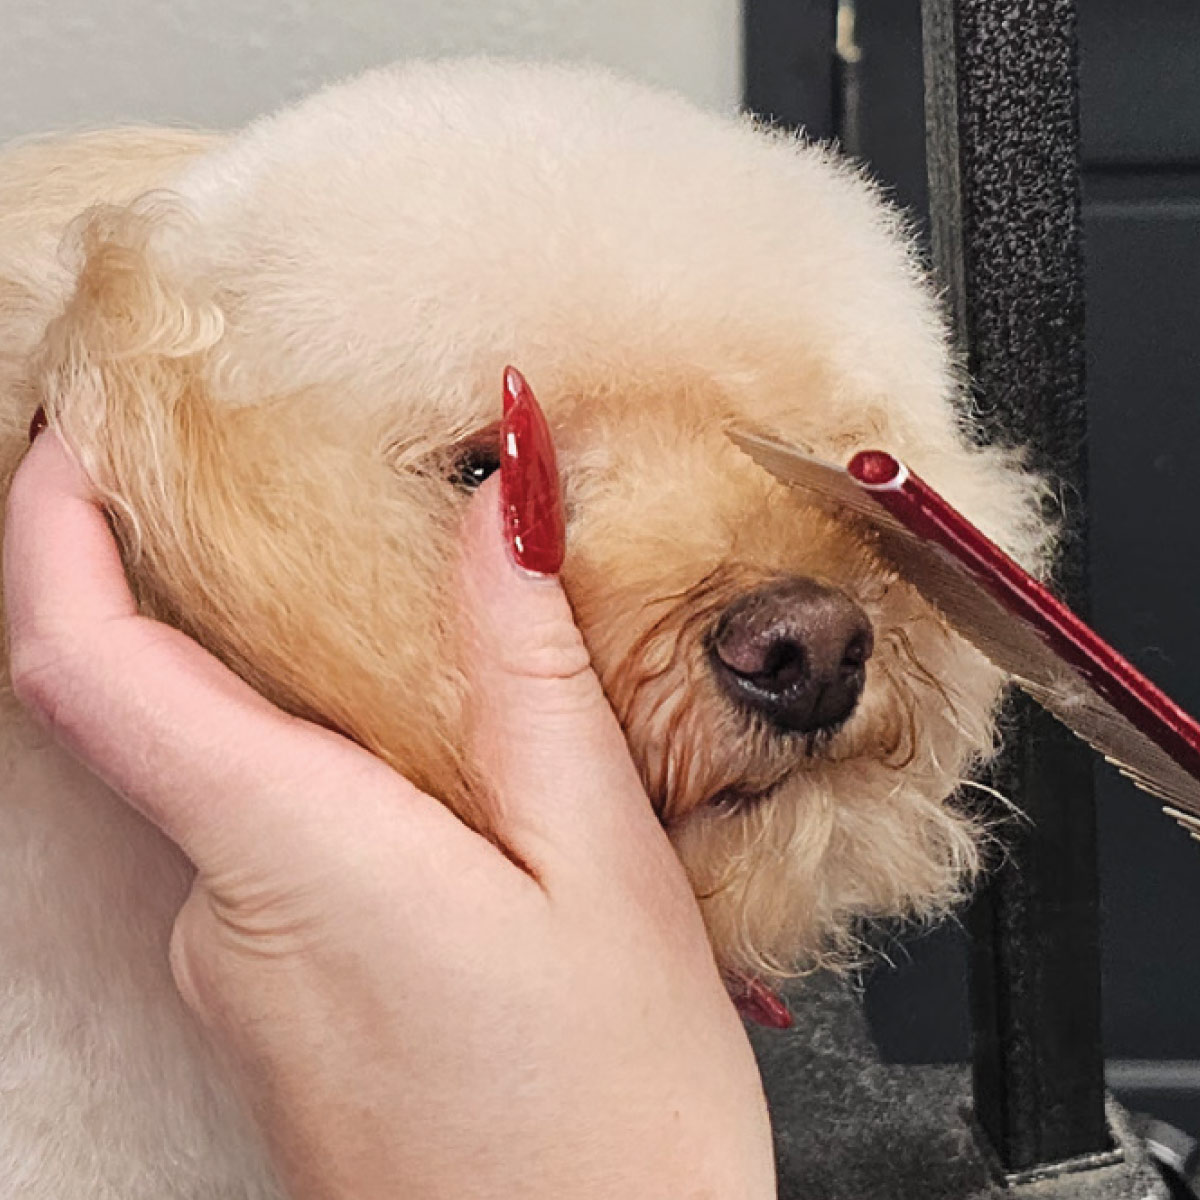
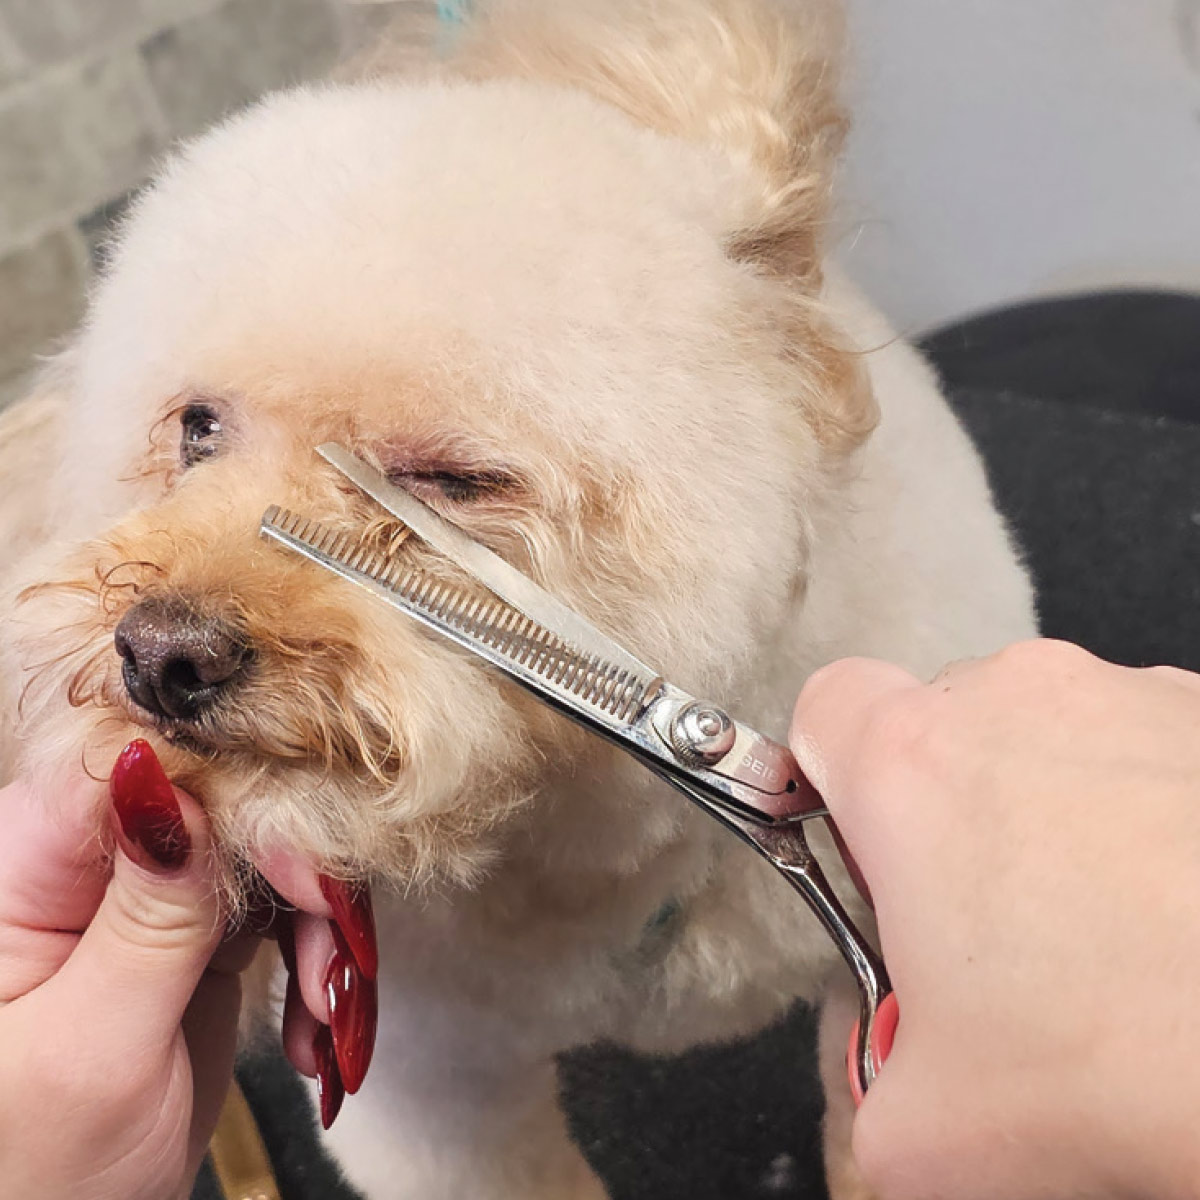
Fig. 11) Tighten the hair up from the chin up to create a smile shape using a curved thinner.
You’ve likely been asked to do this head style many times, but now you can whip it up with confidence and speed no matter the coat type or size!
You’ve likely been asked to do this head style many times, but now you can whip it up with confidence and speed no matter the coat type or size!