

by Blake Hernandez
 hile the most important thing to accomplish during a dog’s prep work is to get them clean, as a professional, we can do so much more to set the coat up for success! Here I will go over the steps of a bath and dry on a drop coat that is sure get your groom off to a good start.
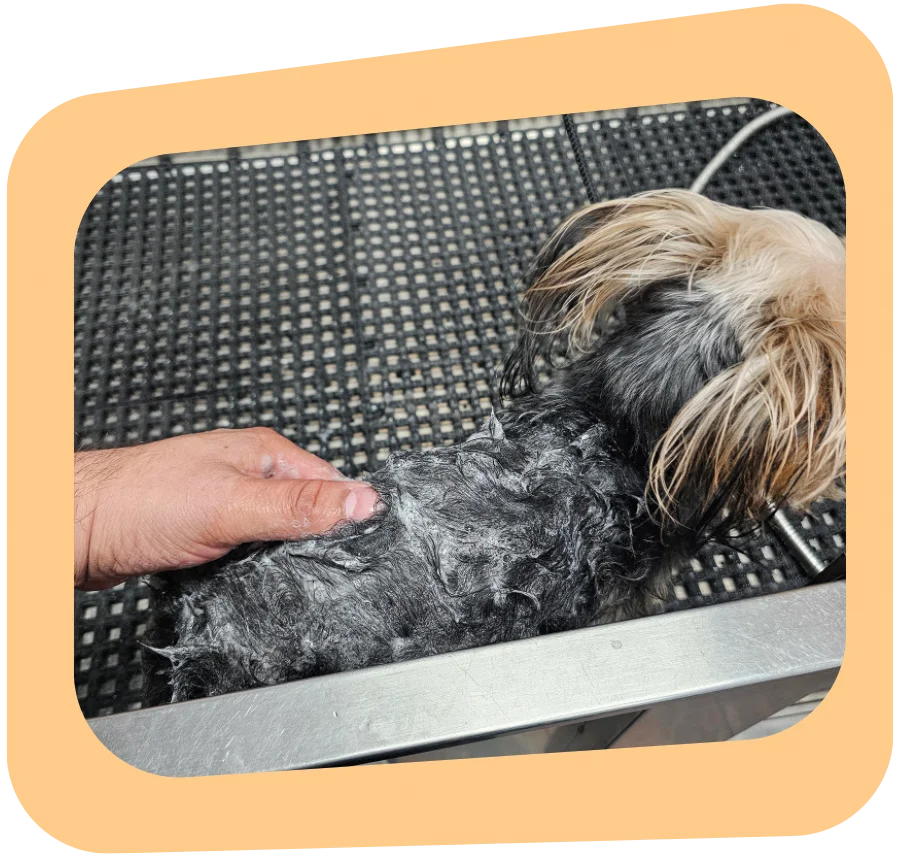
FIG. 1) I always apply pre-mixed shampoo directly on to the coat. I find this gets dogs cleaner because the hairs are not engorged with fresh water but rather with a cleansing shampoo solution. Doing a direct shampoo mix will even be the best choice for those dogs with fleas or skunking.

FIG. 2) In the bathtub between my first bath and my second bath is when I trim nails. This allows the bath to soften the nail for more comfortable trimming. Also, if you do nick the quick of a dog’s nail, a nice cool rinse in the second bath can aid in constricting the blood flow.
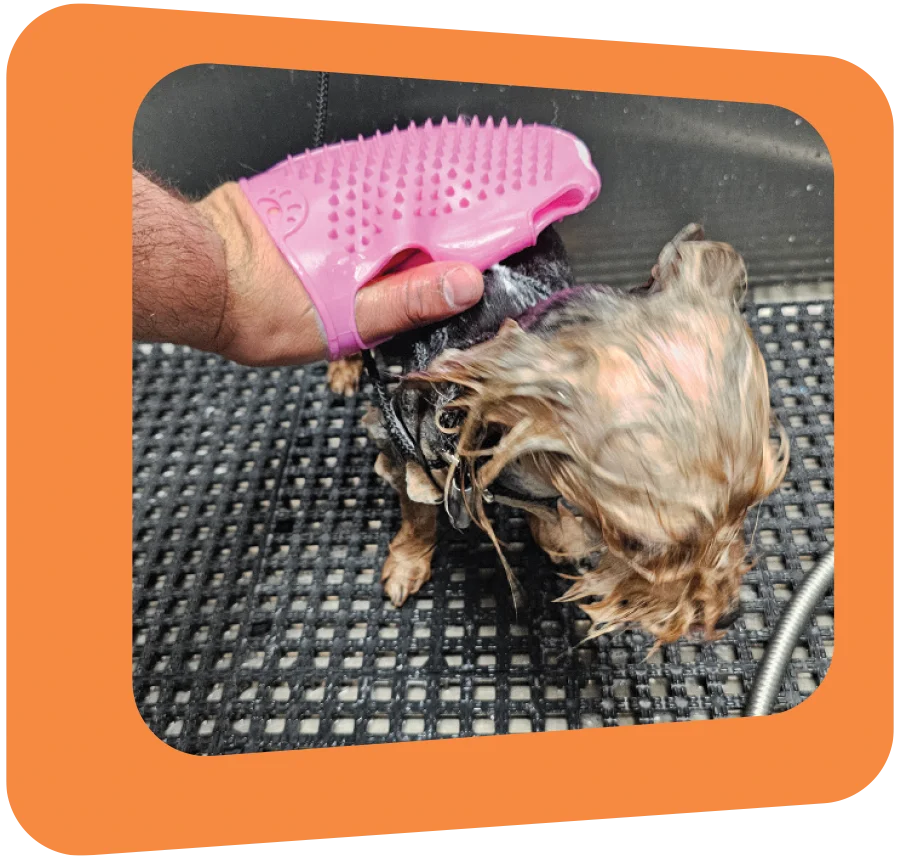
FIG. 3) During the second bath, I like to really suds them up all over with a bathing mitt. This helps remove those dead skin cells from the skin.
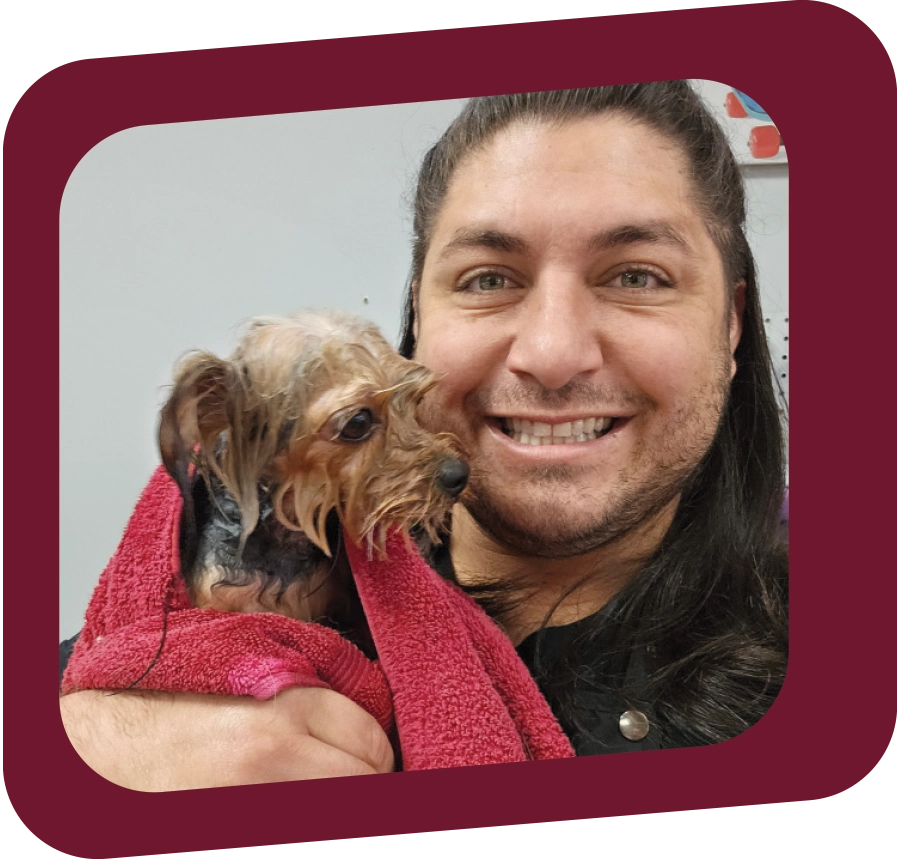
FIG. 4) Once rinsed, wrap and hold the dog in a towel to absorb excess water.
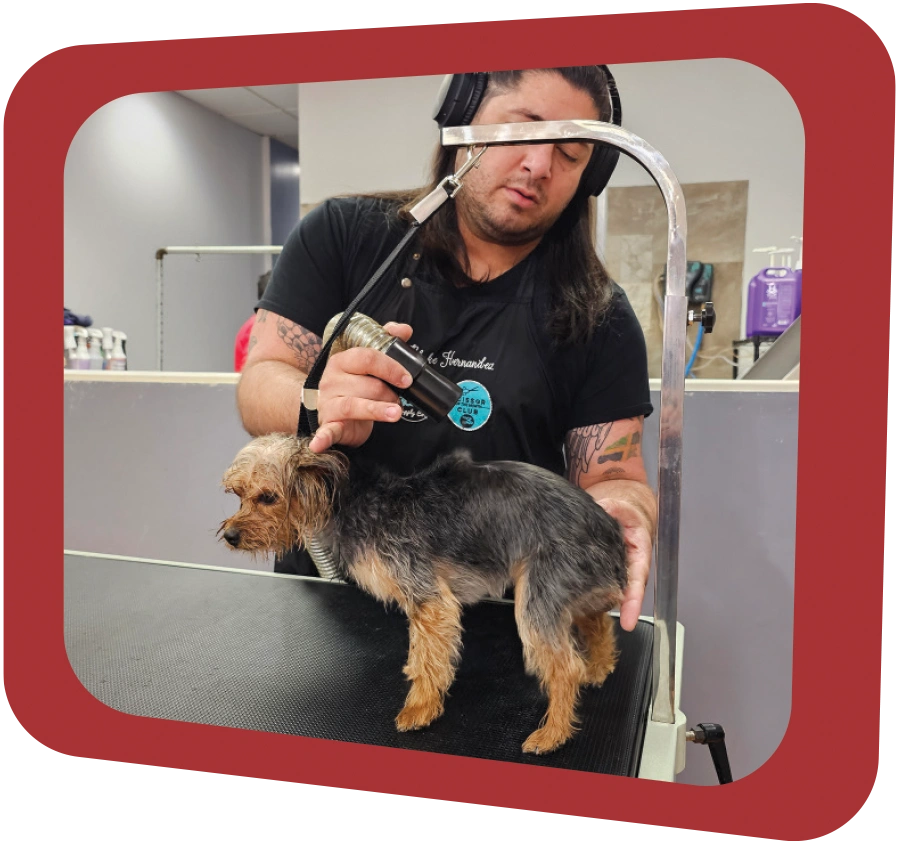
FIG. 5) On drop coats, it is very important to blow and prep the hair in the direction you want it to lay at the end. In the case of this dog, I start by blow-drying the back down towards the rear.
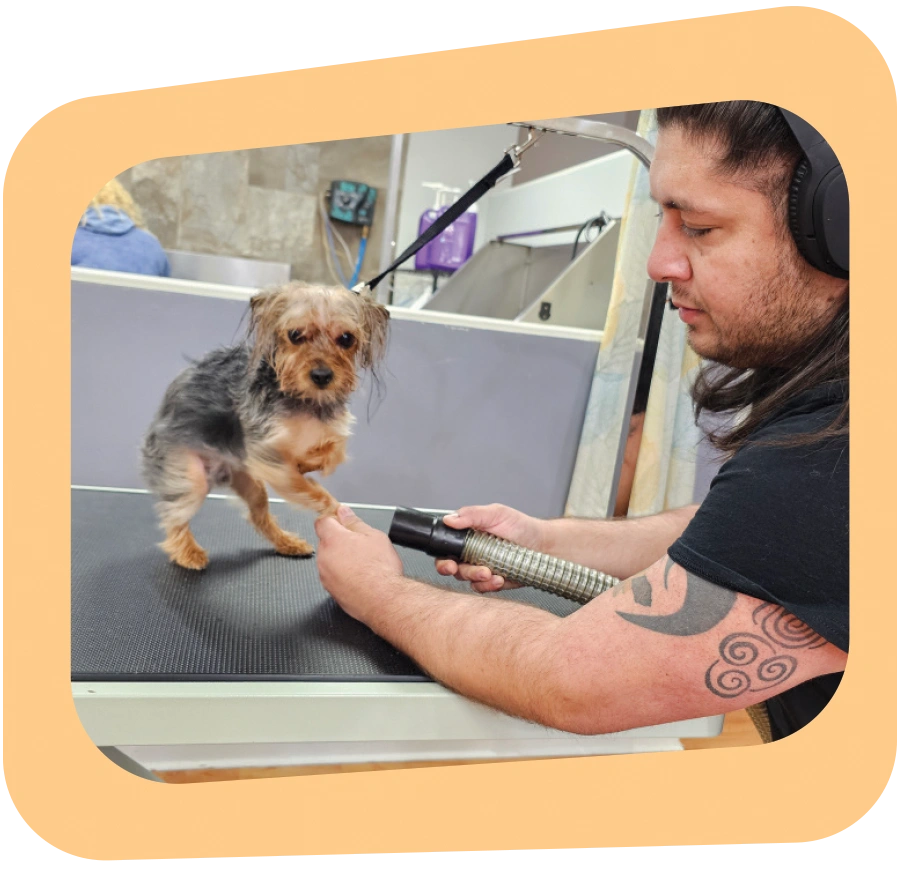
FIG. 6) On the legs, I dry them upward or reversed so I can get lift at the root to support a fuller-looking leg.
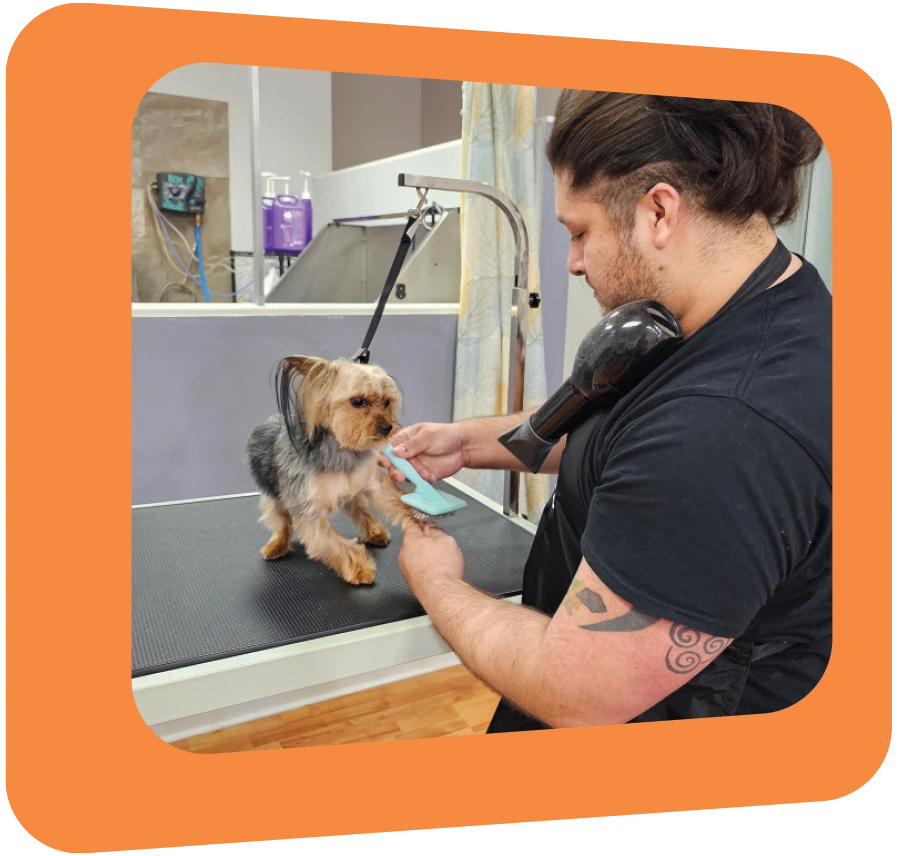
FIG. 7) Next you will “hot dry” or “stretch dry” the coat. This requires heat and tension, so I like to use a hand-held hair dryer tucked under my chin so that I have both hands free.
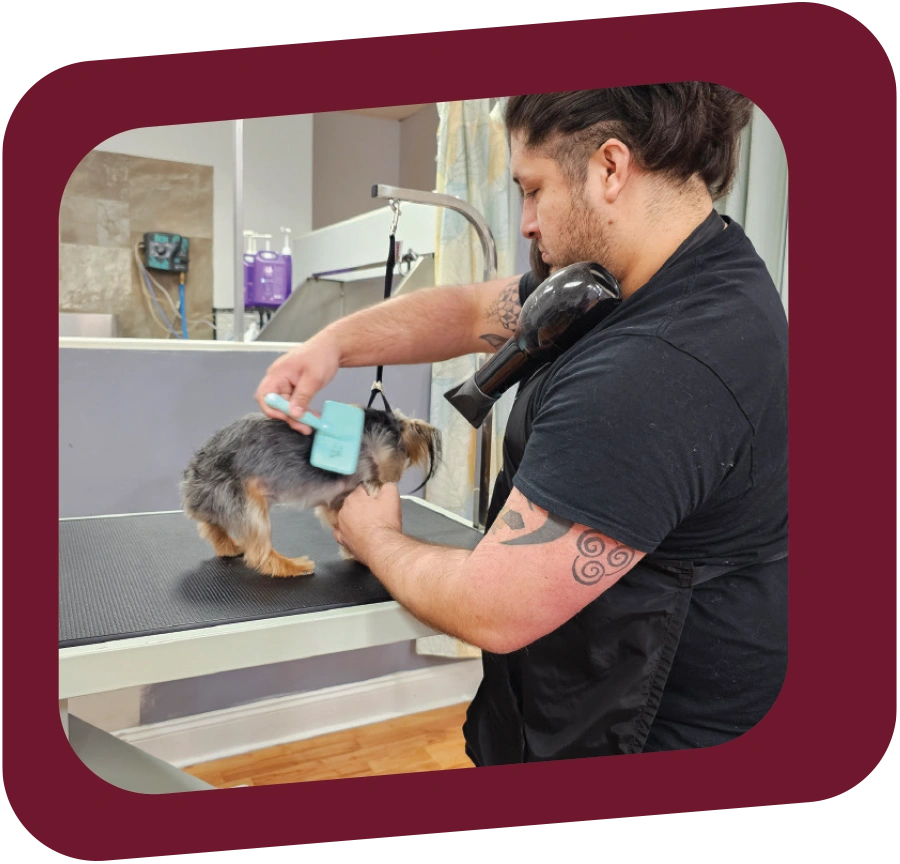
FIG. 8) Creating tension with my brush and using the heat from the dryer, I’m able to straighten those back hairs down so they look silky smooth.
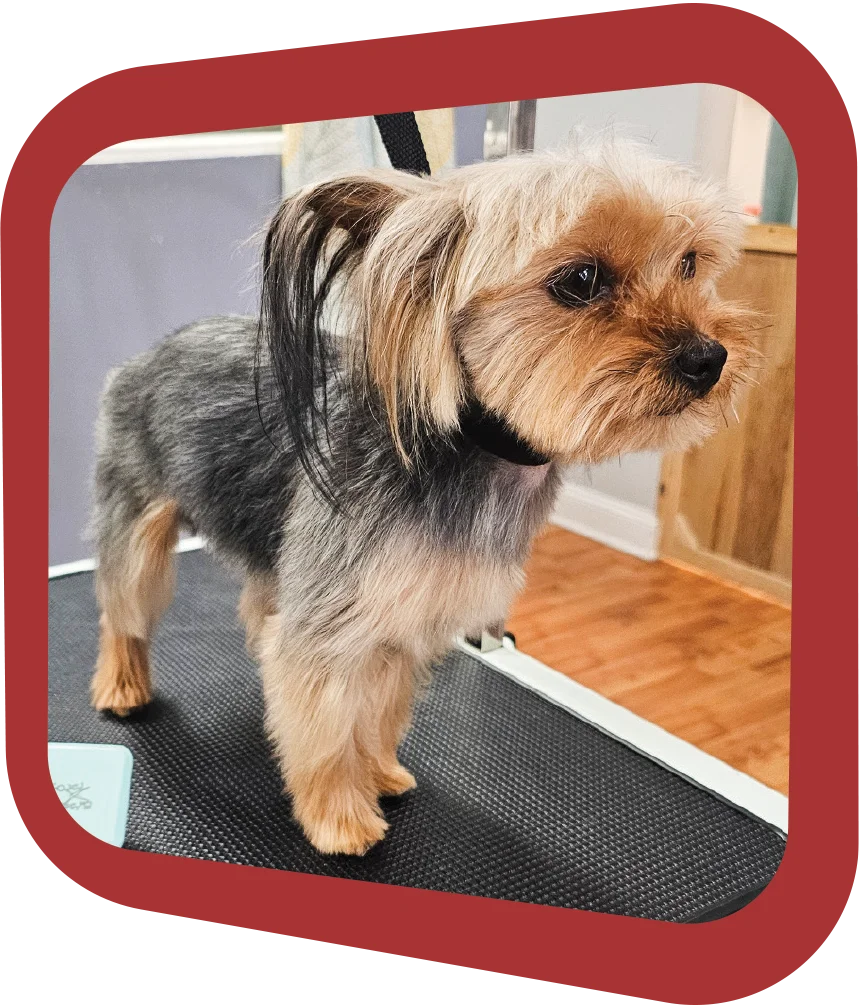
Now you have a dog that is fluffy where you want it and smooth where it counts so you are set up to execute the perfect haircut! Prepping is just as important as the finished groom, and taking the time to prep the hair specifically for your desired end result is key.

