
by Blake Hernandez
 good bath and prep work are absolutely fundamental to any quality finished haircut, but the handling and safety of the pet are paramount. Here we will cover the bath and pre-grooming prep on a wire-coated terrier mix, step by step, to get you setup for the perfect finish.
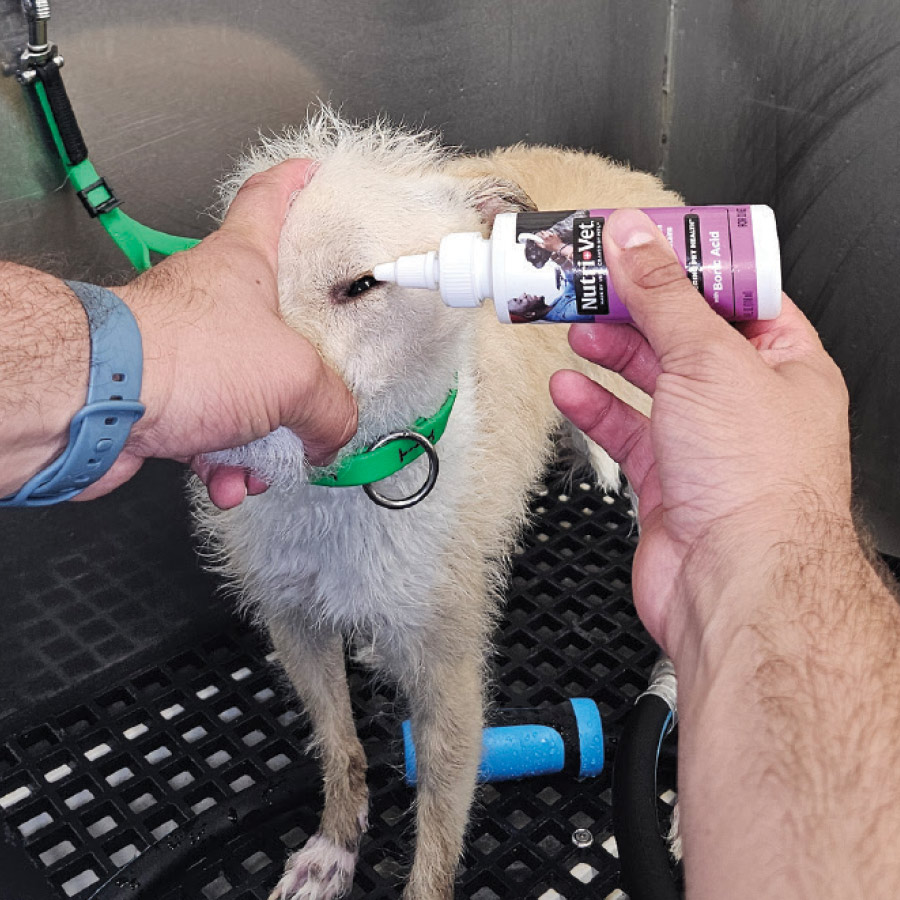
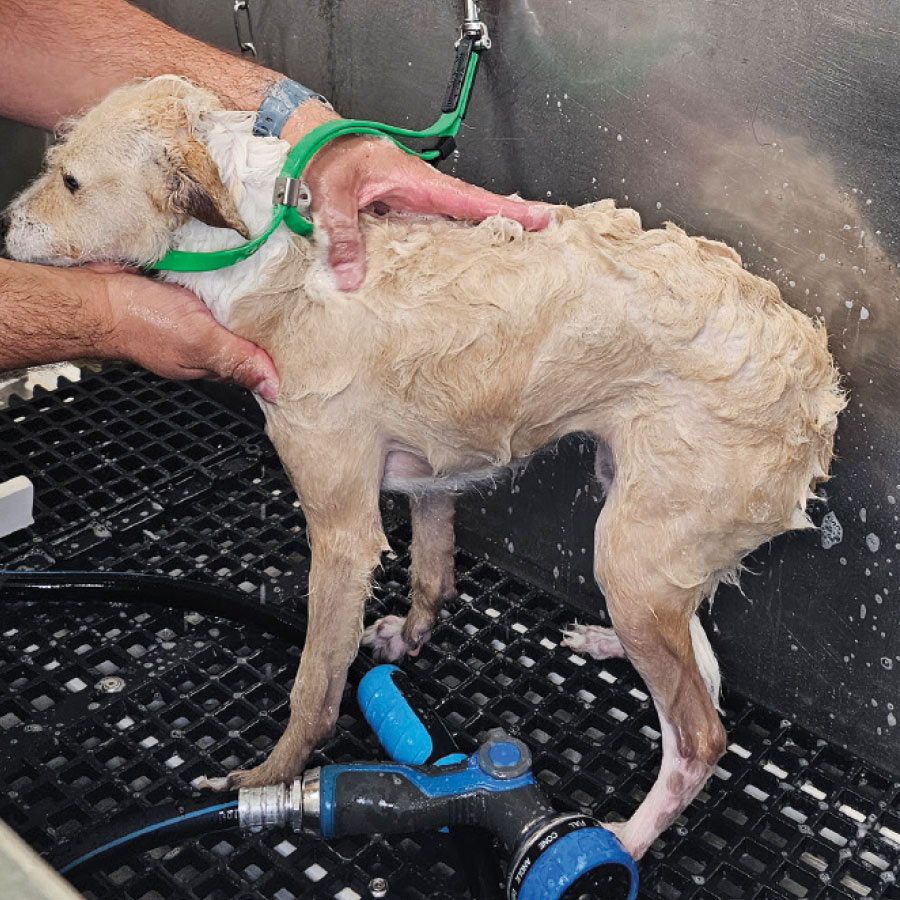
FIG. 1) I always start a bath by protecting the dog’s eyes. These saline drops contain boric acid which helps neutralize any shampoo that might accidentally manage its way into the eyes.
FIG. 2) While the dog is still dry, I apply a pre-diluted shampoo. I do this because wetting the dog first makes the product less effective and can leave some areas of the dog cleaner than others. Just a hand-scrub is sufficient on this coat type.
FIG. 2) While the dog is still dry, I apply a pre-diluted shampoo. I do this because wetting the dog first makes the product less effective and can leave some areas of the dog cleaner than others. Just a hand-scrub is sufficient on this coat type.
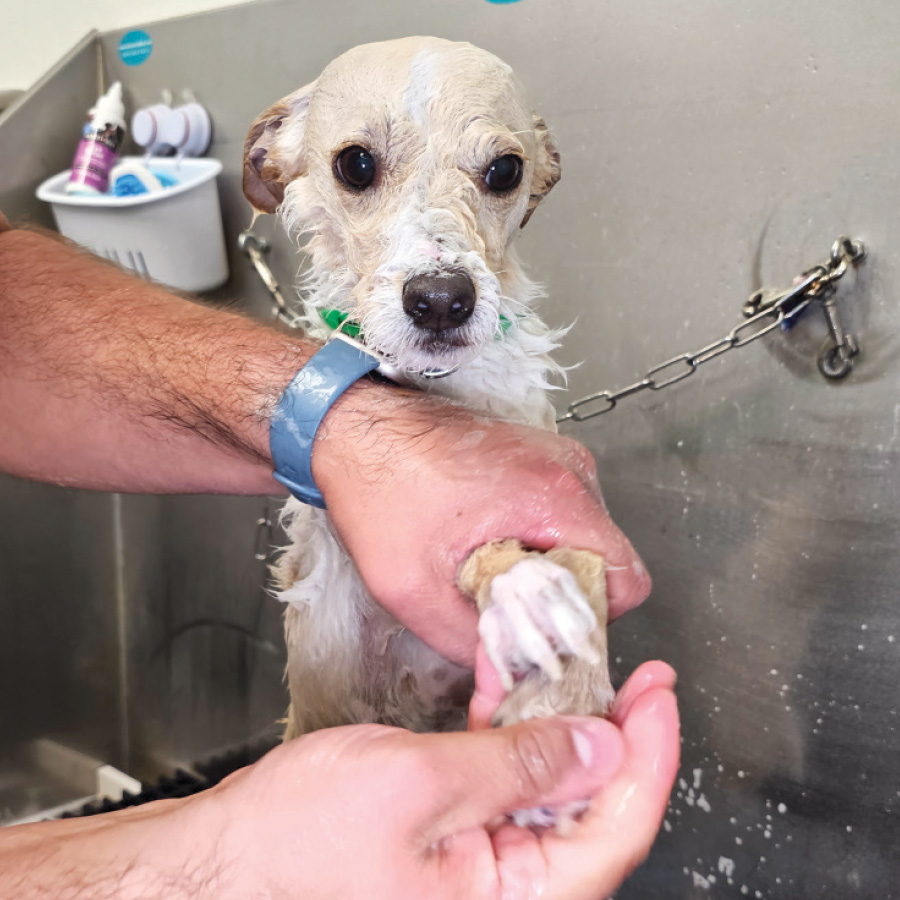
FIG. 4) The paws are the most common area to make it through the prepping process without getting fully cleaned, so take extra time to scrub the feet.
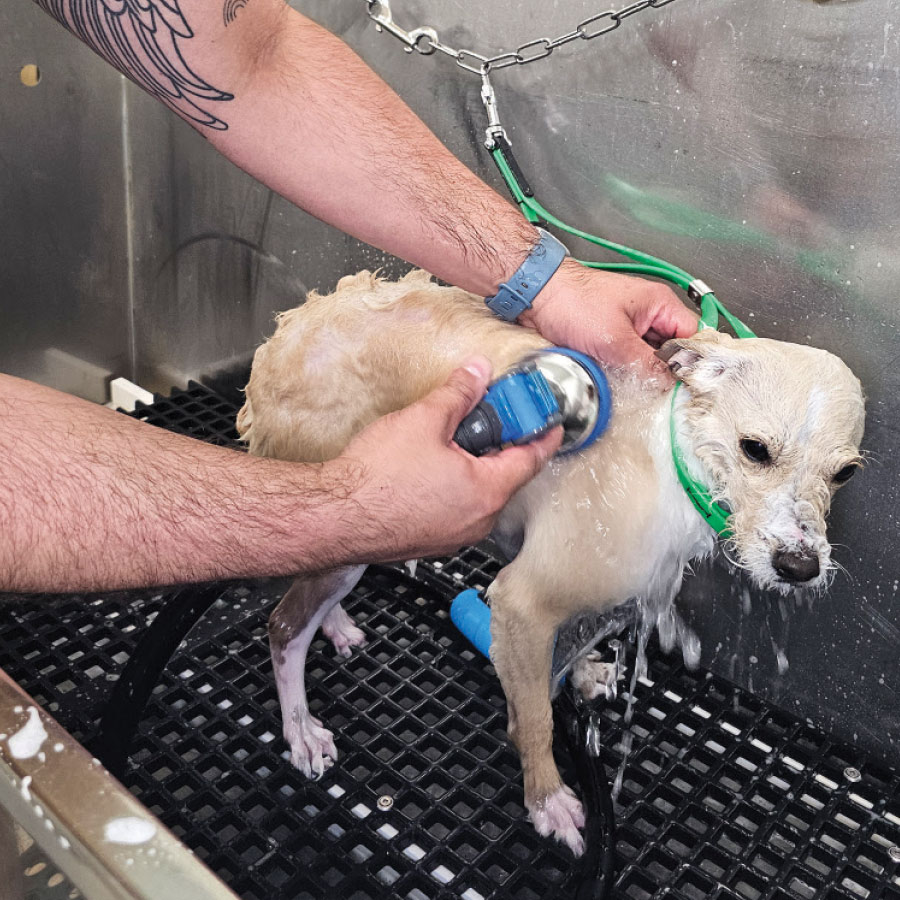
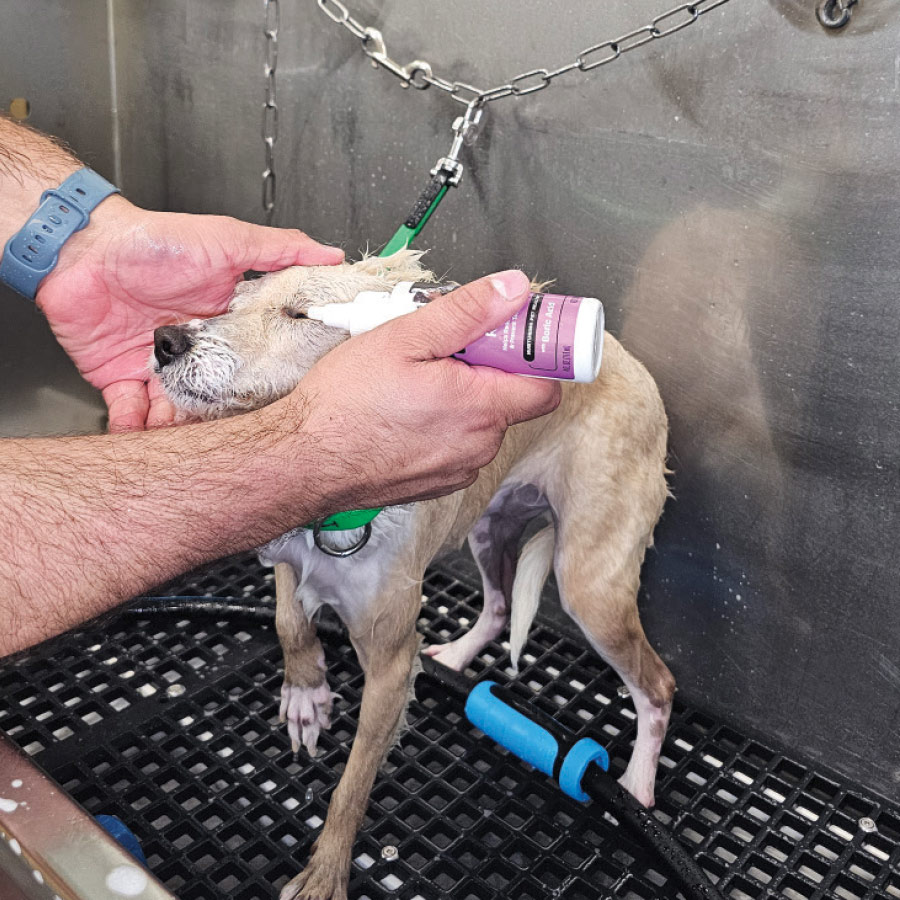
FIG. 6) I then finish the bath with more eye rinse solution.
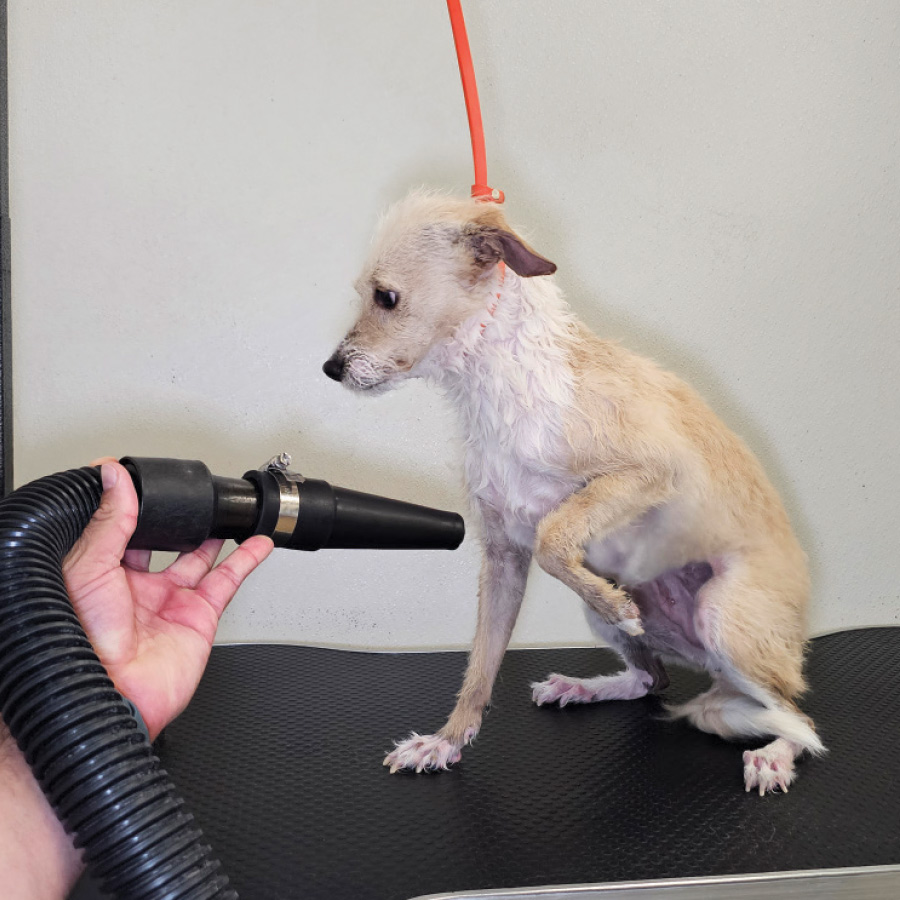
FIG. 8) Force-dry the coat in the direction that it grows for a smoother end result.
FIG. 10) While working on the chest, the closer the nozzle is to the skin, the less blowback they get in their face and they will likely let you accomplish more.

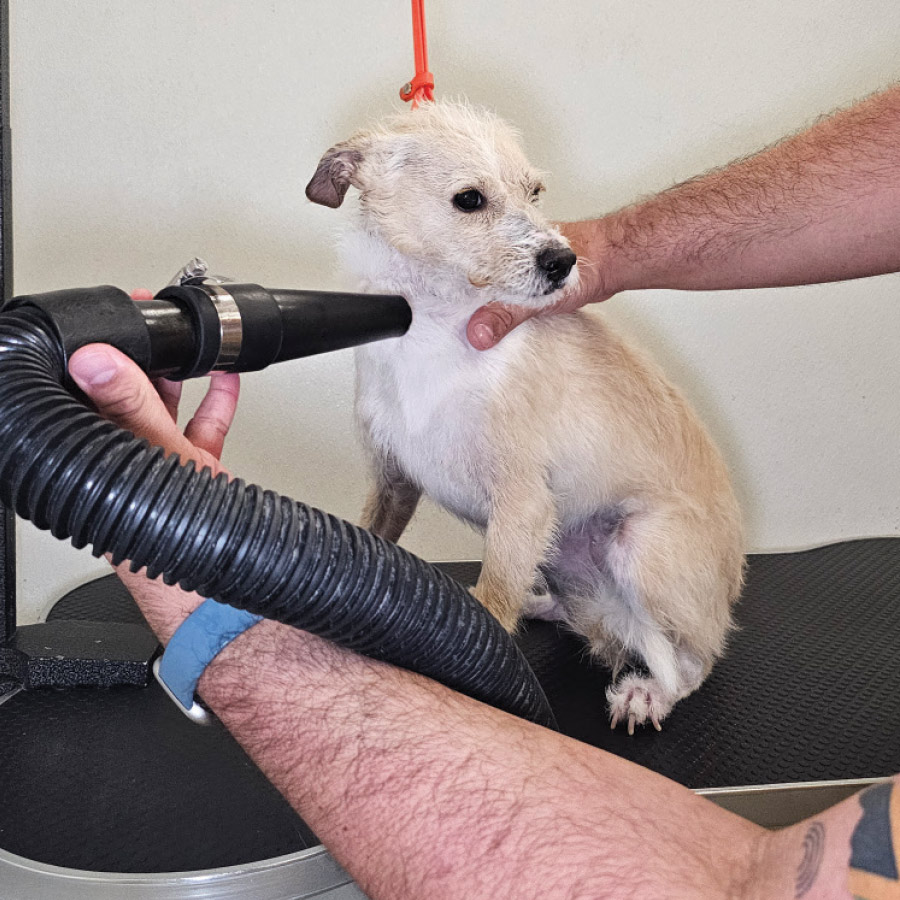
FIG. 12) To get the face dry safely, remove your condenser nozzle and avoid the eyes and ear canals. Cotton balls in the ears can help with the latter.
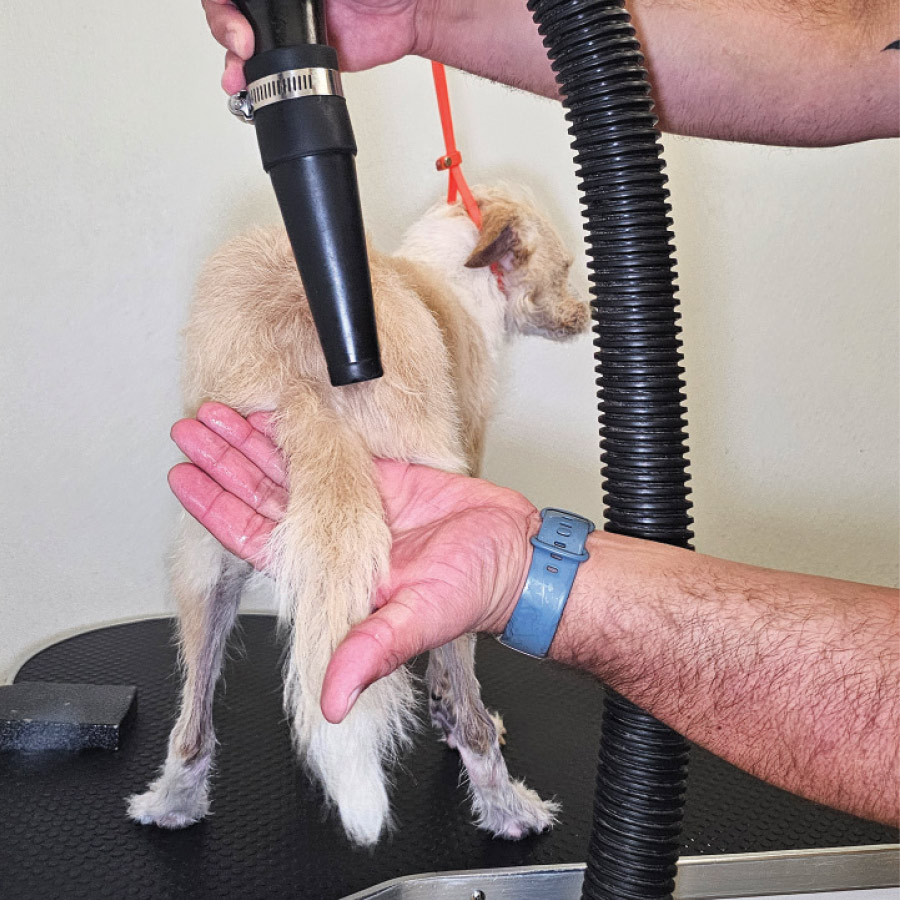
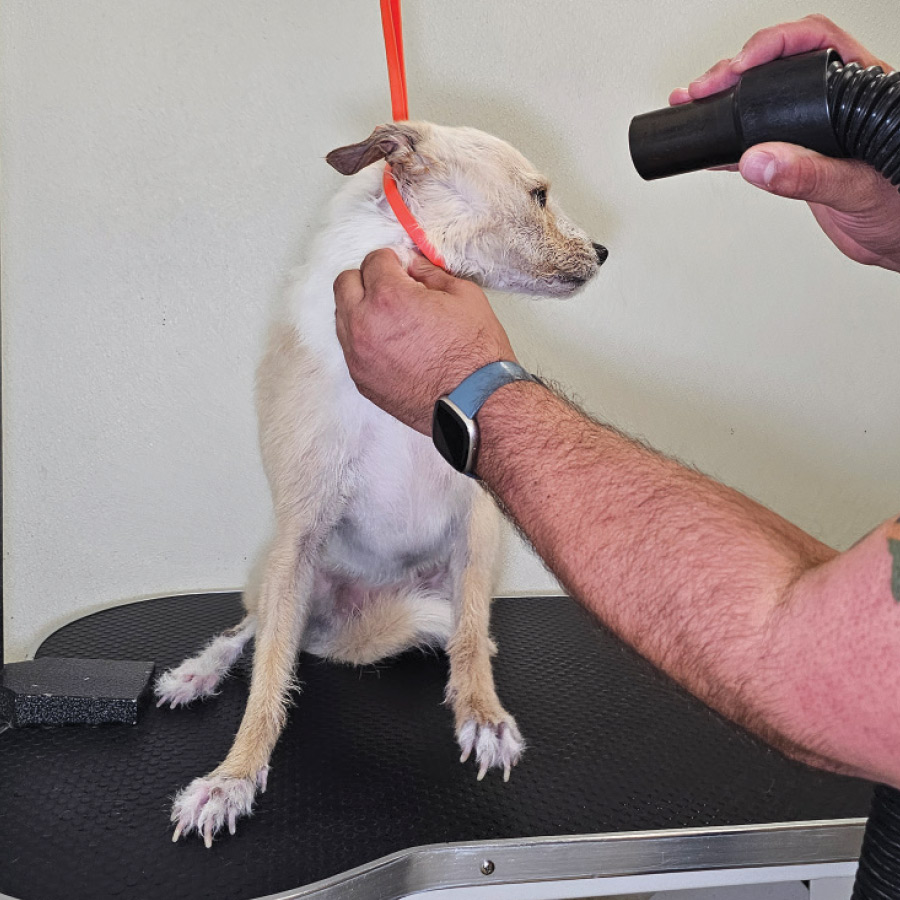
FIG. 14) The bottom of the paw pads can be shaved with a #10 all the way down to a #30, depending on the dog’s sensitivity.
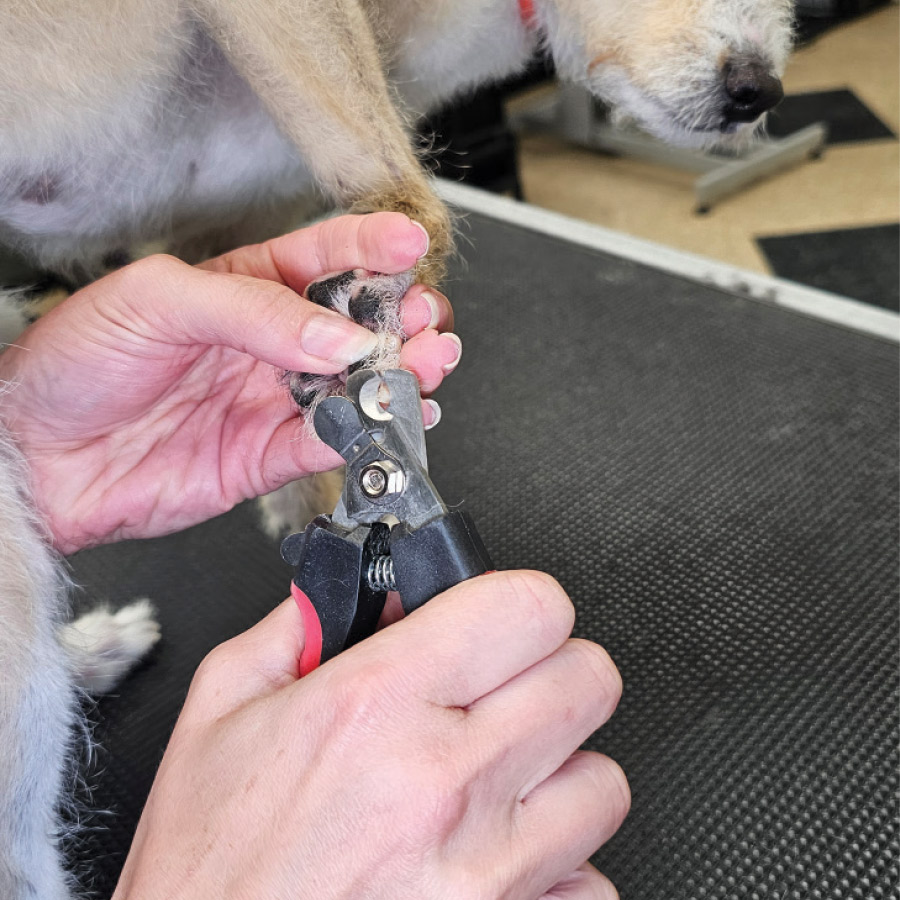

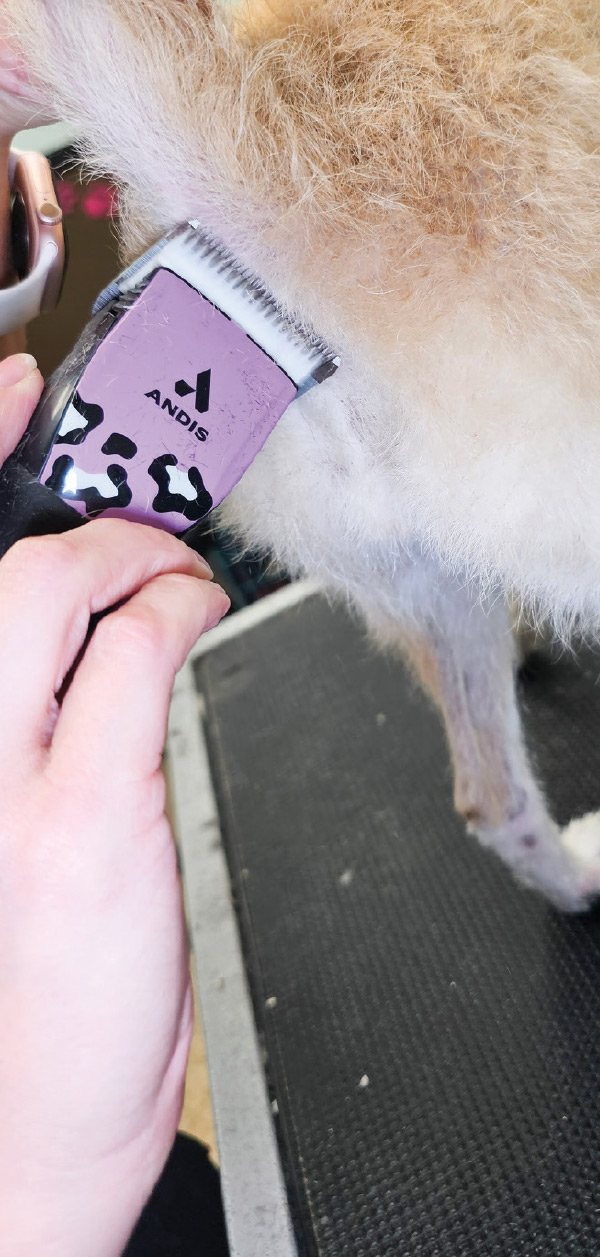
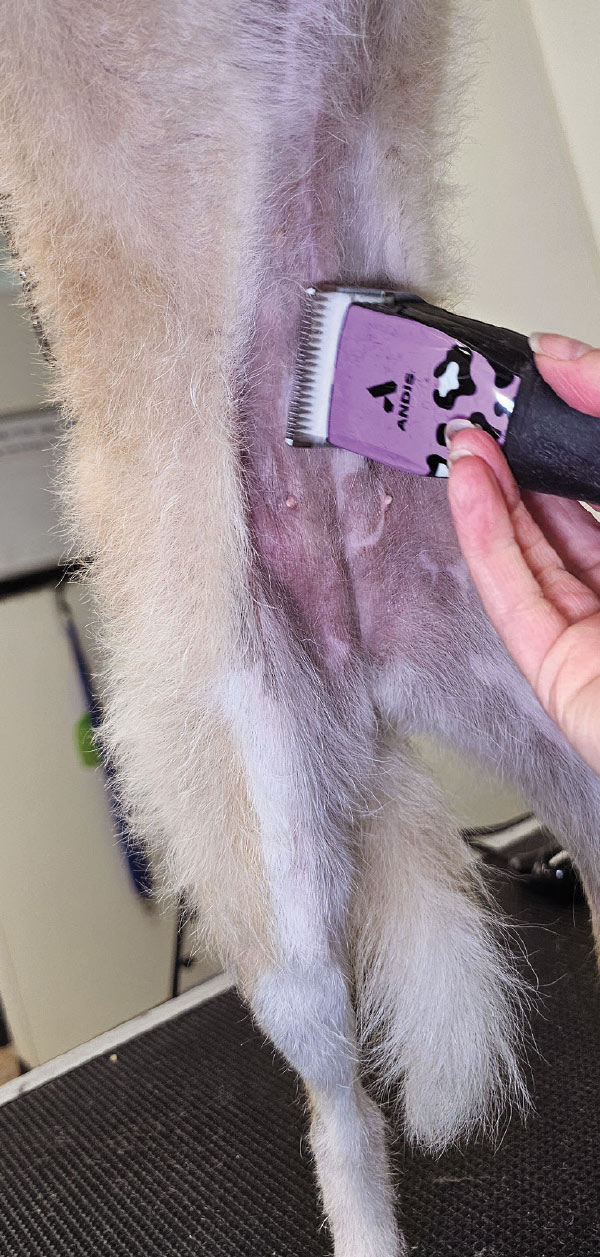
FIG. 16) The belly sanitary is easiest to execute by lifting the dog’s front legs while standing in front of them. Any hair on the belly that is growing in the direction towards where you are positioned is sanitary hair and can be clipped. The inner thighs should not be shaved down unless necessary or requested.
Depending on the dog you are working on, this may conclude the groom. If not, you can begin the remainder of the haircut based on owner preference. Either way, you are now equipped with the tools for a perfect and safe prep for any pup!