small black and tan dog before grooming
small black and tan dog after grooming
medium-coat mutt natural neaten-up
by Kelsey Ann Sexton

'A' dropcap 
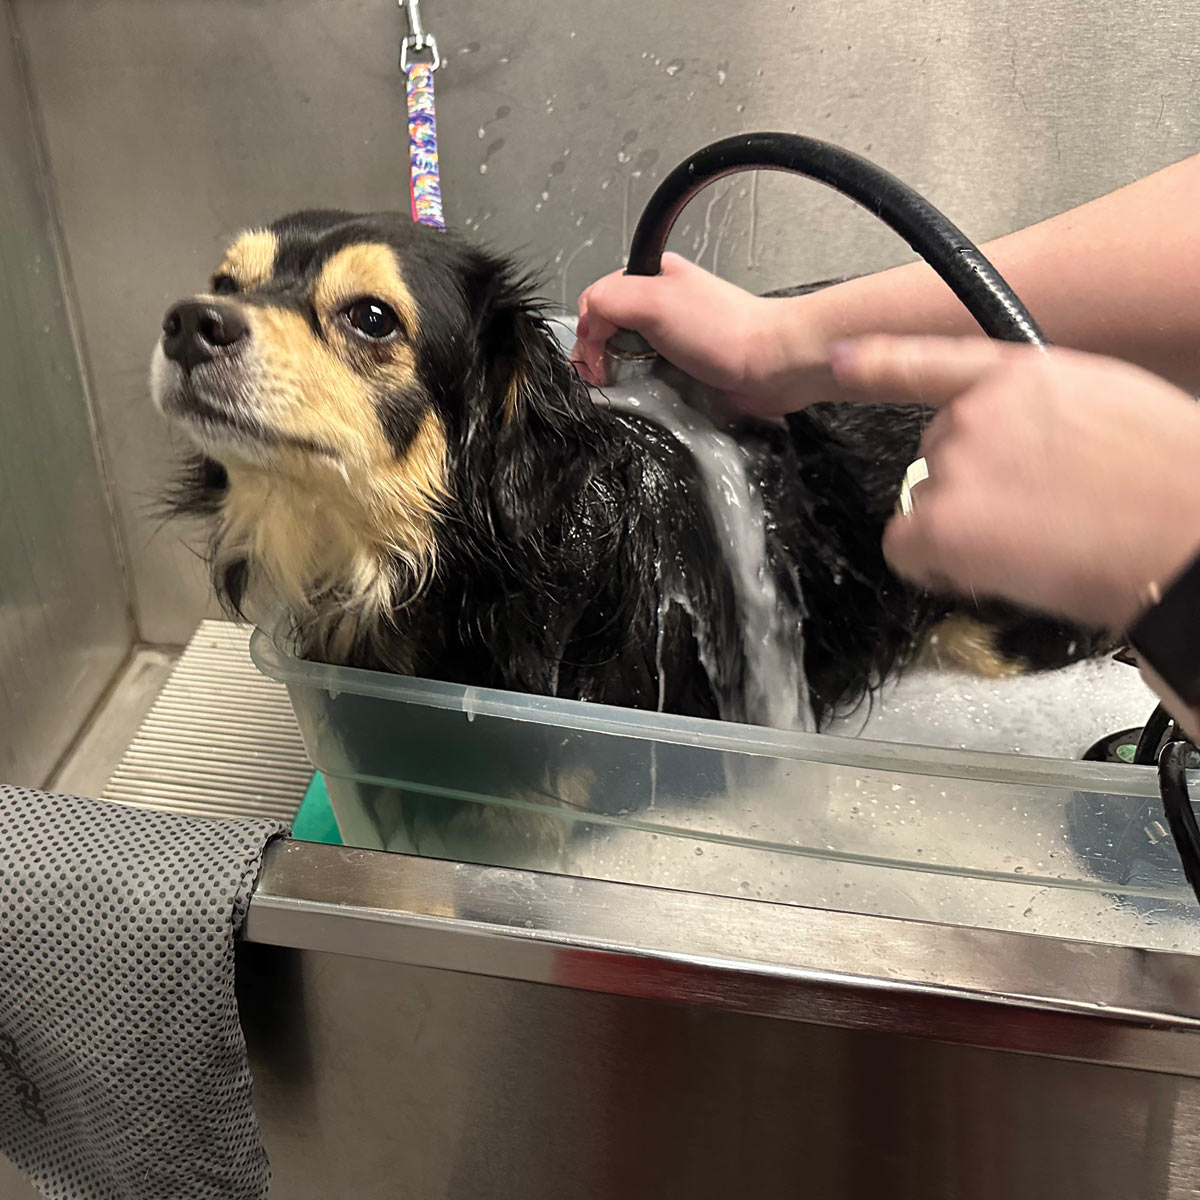
popular belief amongst pet owners of flat-coated dogs with undercoat and furnishings is that these pets just need a bath and brush-out. But as professional pet groomers, we know how much care all coat types need, regardless of the owner’s trimming preference. And once you master this coat type, it is something you can really “wow” your clients with!

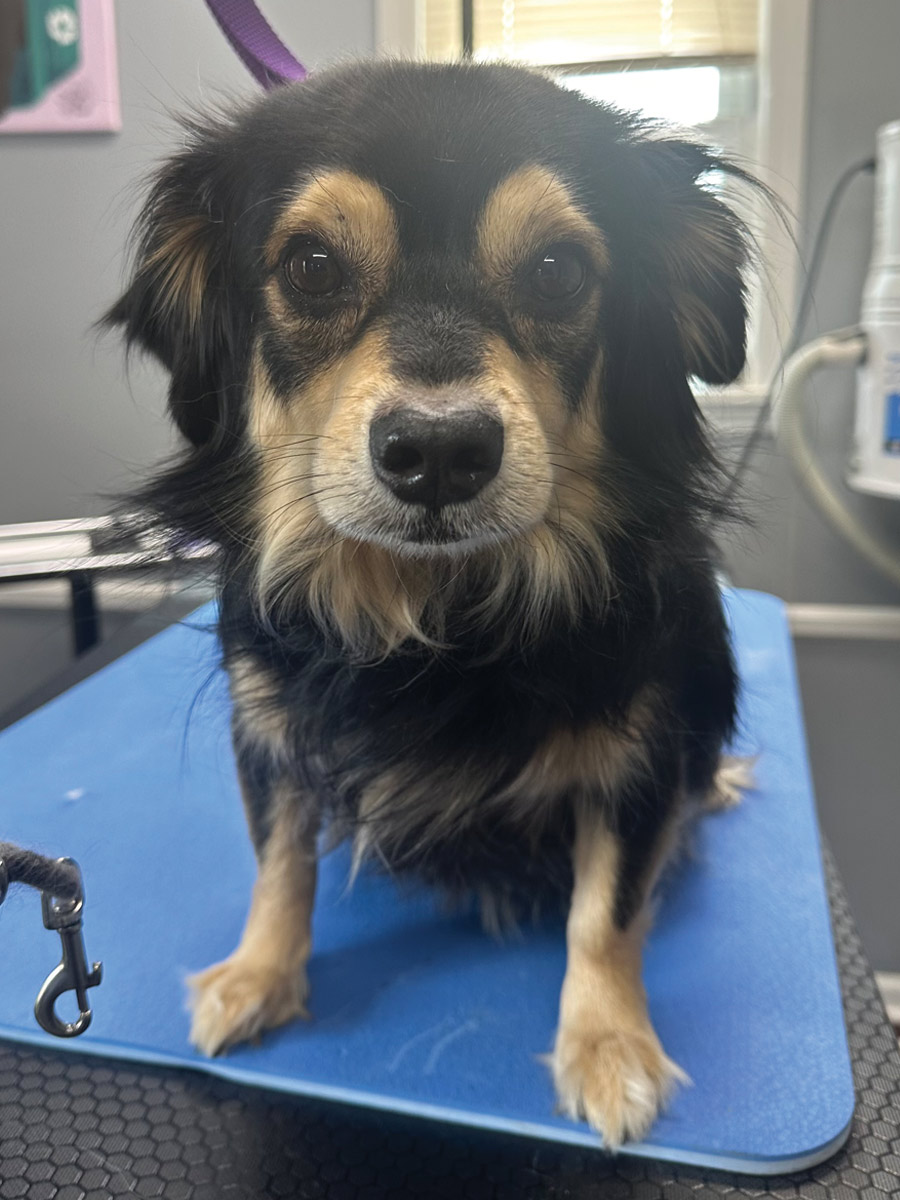
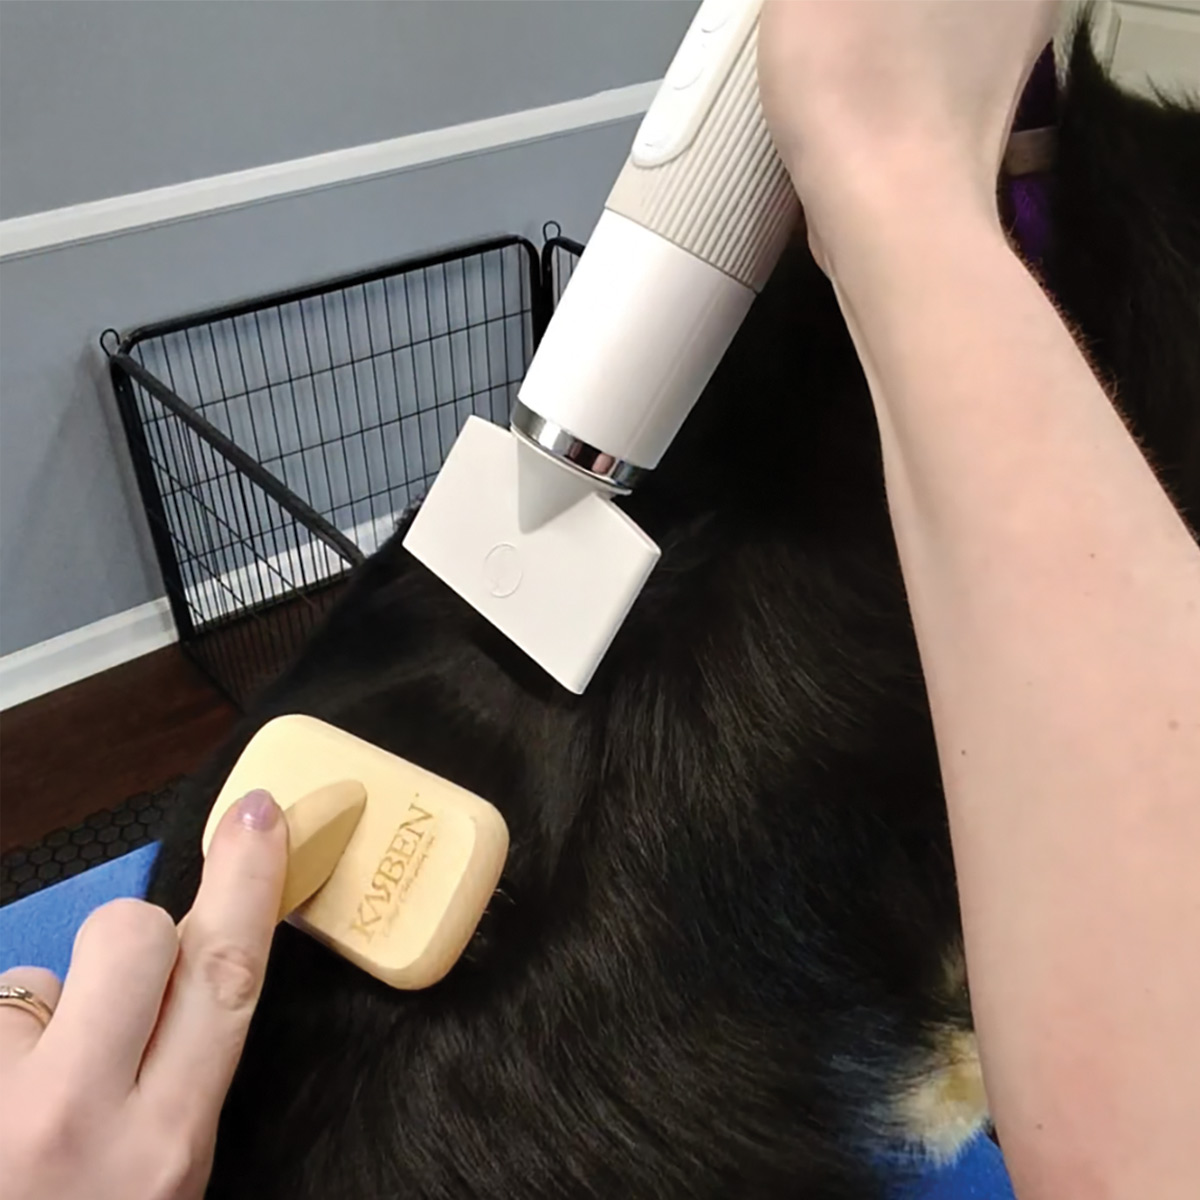
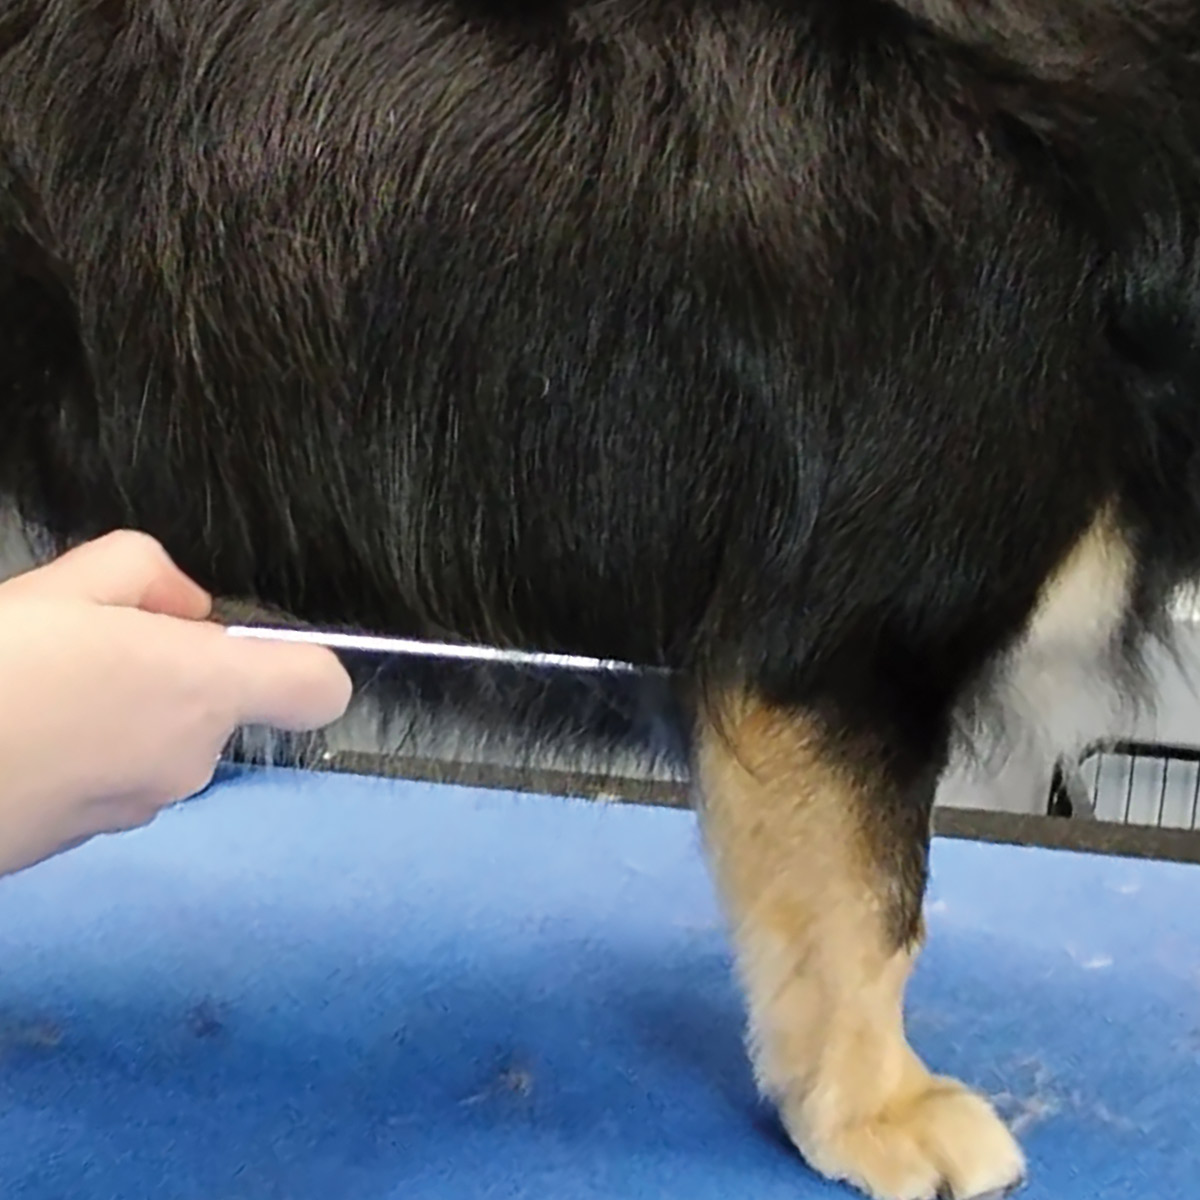
This trim was done on a medium-coated mutt whose owner likes to keep him as natural-looking as possible, but still easy to maintain.

Fig 1) Feel the dog from nose to toes, checking for trouble zones that feel thicker or seem to be shedding with an immediate touch.

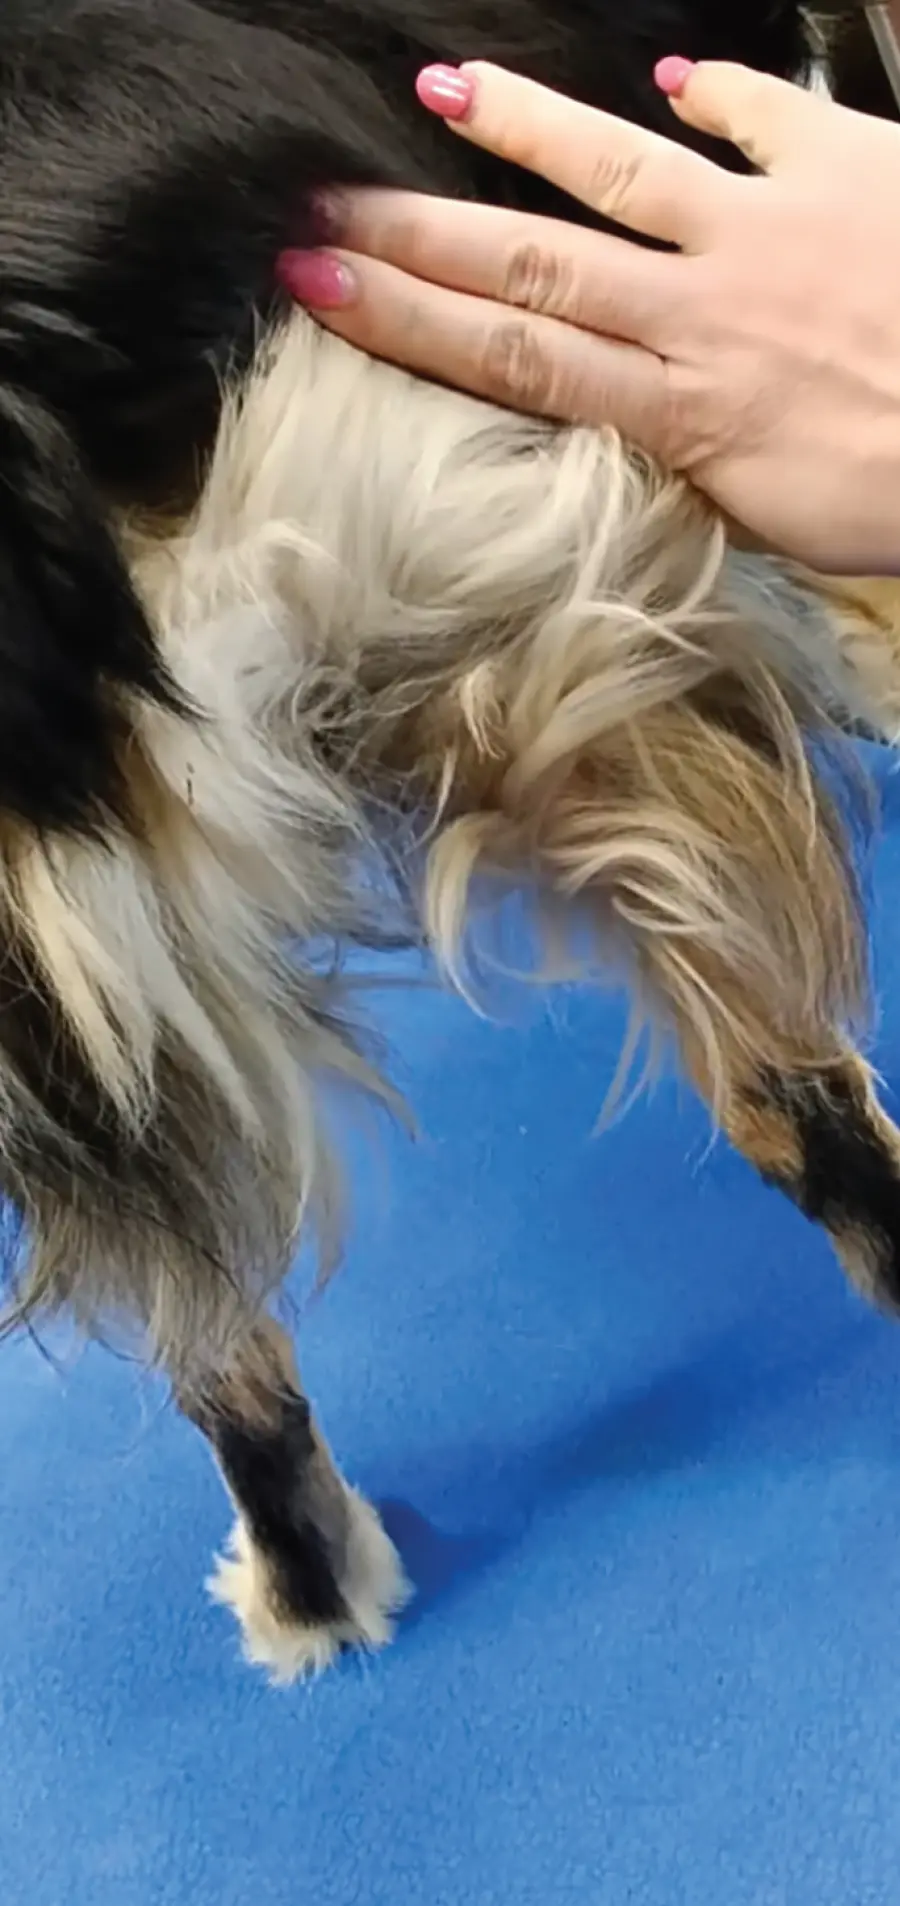
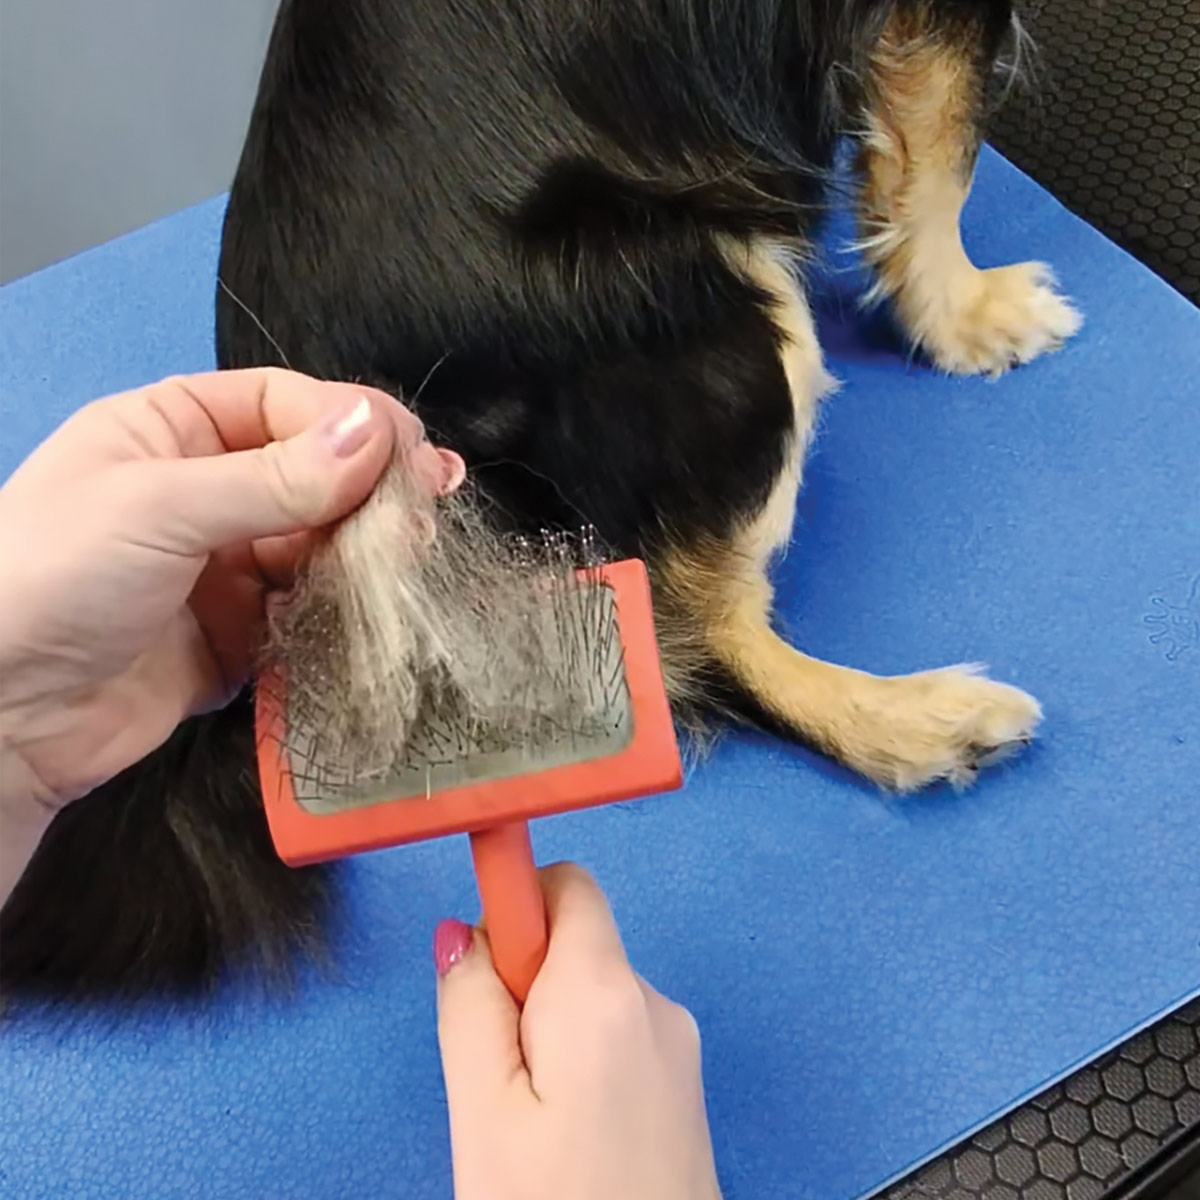
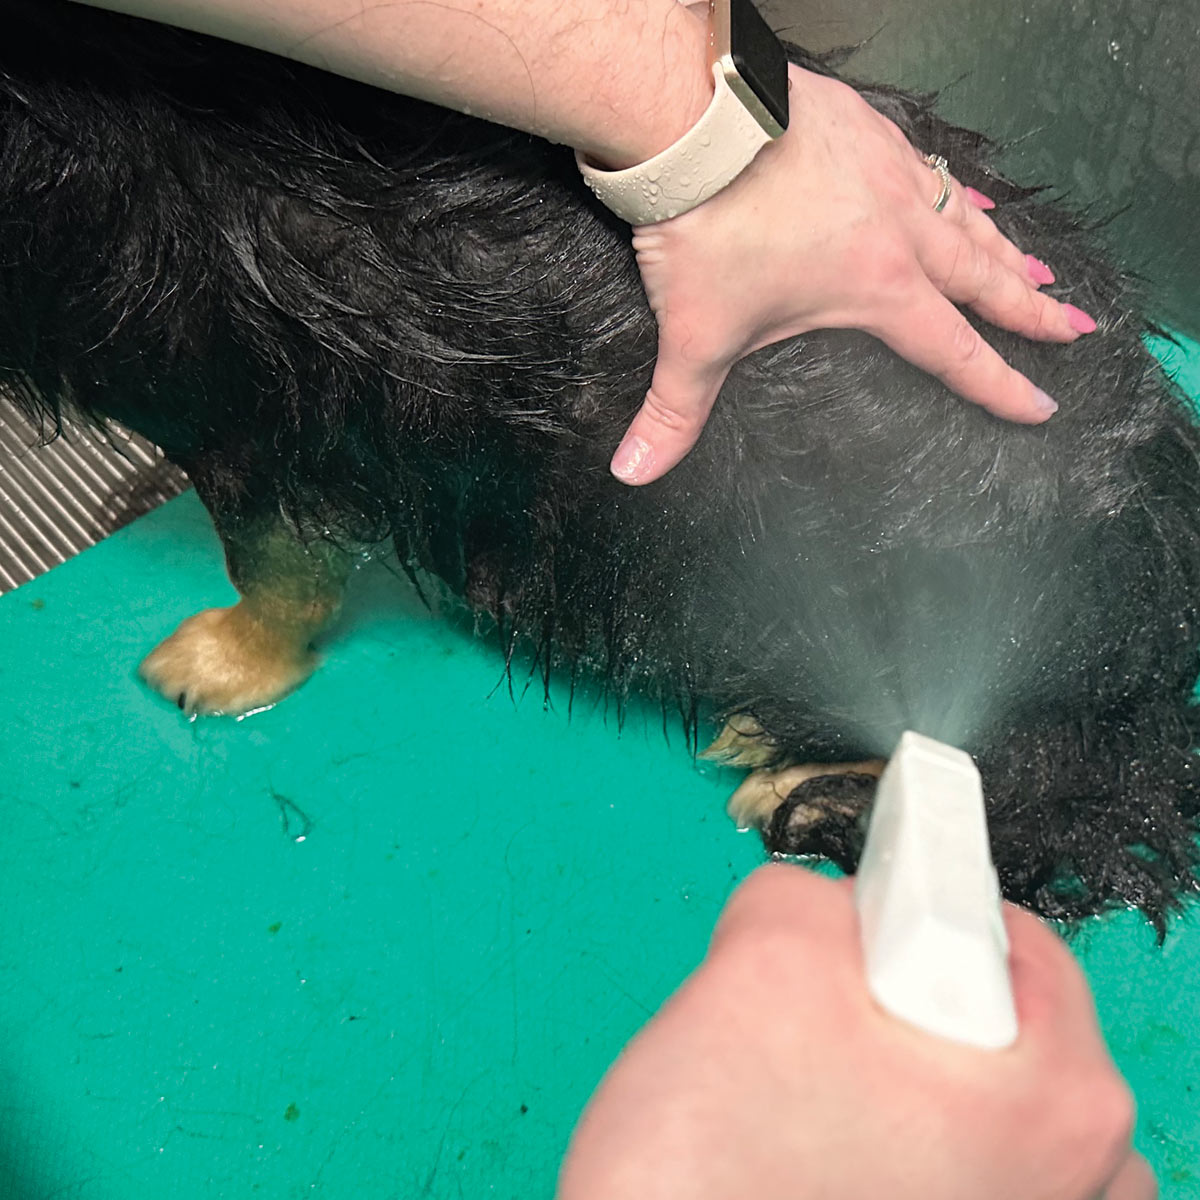
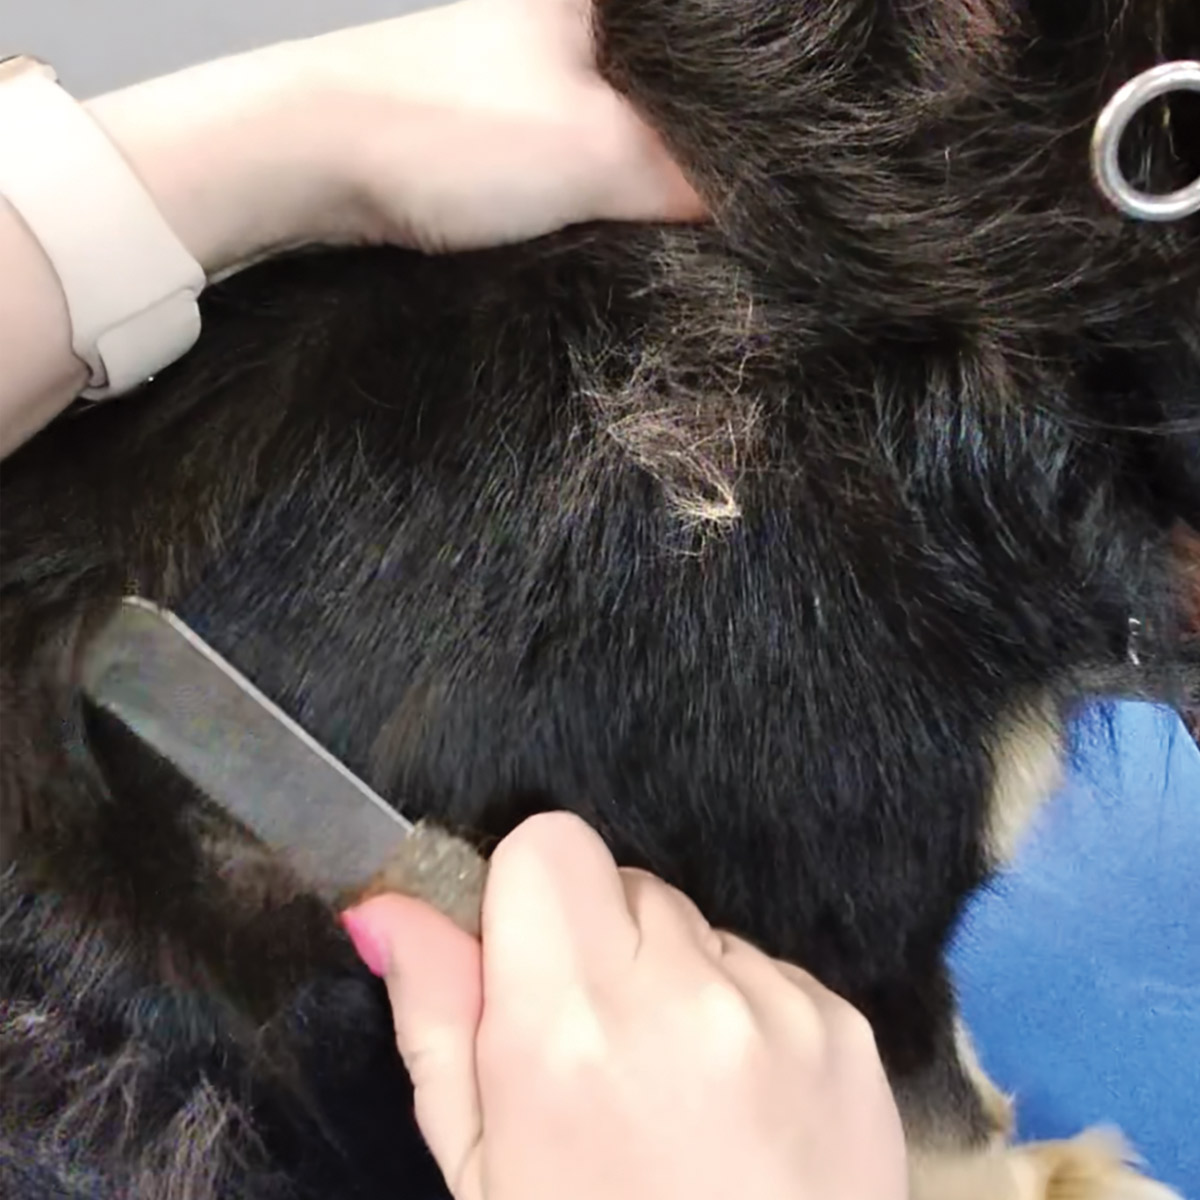
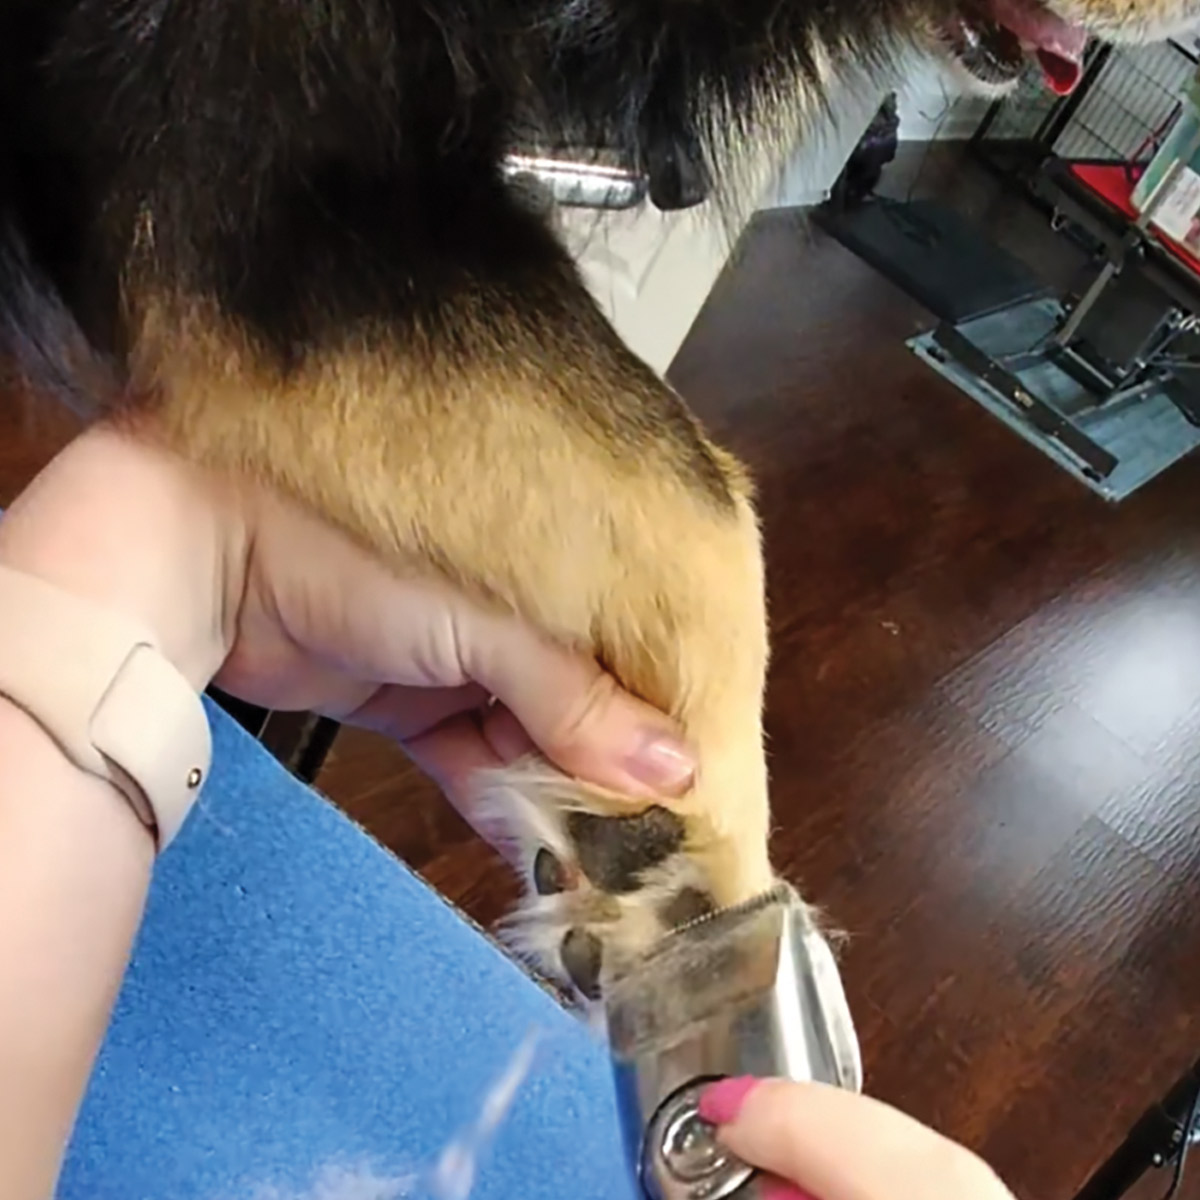
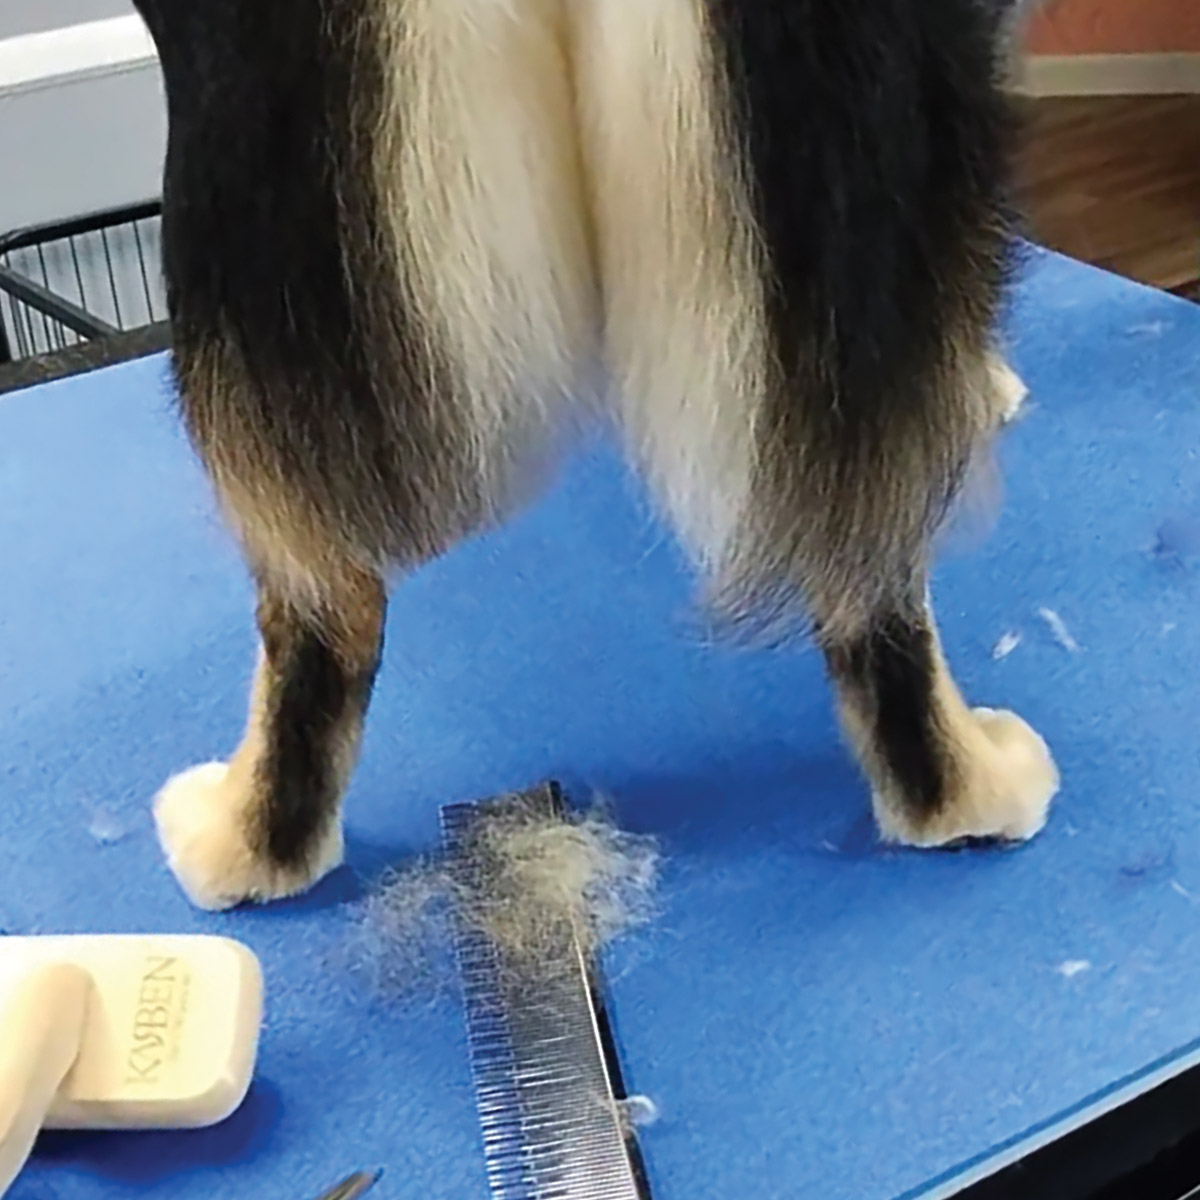
Fig 2) Remove severe matting before the bath.

side view of black and tan dog's fur before grooming session
hand showing matting in fur near black and tan dog's hind legs
hand pulling fur off of detangling brush
small black and tan dog receiving bath in metal sink tub
Fig 3) The difference between actual matting and tangled undercoat is that dead coat is soft and will work out; tangles are hard and will be in wads threaded together.
Fig 4) Let tools and products do the work in the tub. I like to use the “close-open-close” method, which is a conditioning treatment before shampoo, then finishing with a conditioning spray after rinsing.
hand pulling fur off of detangling brush
Fig 3) The difference between actual matting and tangled undercoat is that dead coat is soft and will work out; tangles are hard and will be in wads threaded together.
small black and tan dog receiving bath in metal sink tub
Fig 4) Let tools and products do the work in the tub. I like to use the “close-open-close” method, which is a conditioning treatment before shampoo, then finishing with a conditioning spray after rinsing.
hand using shower head to rinse fur on hind legs of small black and tan dog
hand using shower head to rinse fur on small black and tan dog's head
Fig 5) Rinse like there’s no tomorrow! Use your hands to find coat that wants to work out.
Fig 6) Flood the coat to the skin for your final rinse.
hand using shower head to rinse fur on hind legs of small black and tan dog
Fig 5) Rinse like there’s no tomorrow! Use your hands to find coat that wants to work out.
hand using shower head to rinse fur on small black and tan dog's head
Fig 6) Flood the coat to the skin for your final rinse.
hand using spray bottle to spray leave-in conditioner into fur
hand using blow dryer nozzle to dry fur on rear of small black and tan dog
Fig 7) Use a leave-in conditioning spray and towel dry. Don’t scrunch or tousle the hair, just squeegee it.
Fig 8) I like to use the concentrated dryer nozzle first to work the skin cells and dead hair out.
hand using spray bottle to spray leave-in conditioner into fur
Fig 7) Use a leave-in conditioning spray and towel dry. Don’t scrunch or tousle the hair, just squeegee it.
hand using blow dryer nozzle to dry fur on rear of small black and tan dog
Fig 8) I like to use the concentrated dryer nozzle first to work the skin cells and dead hair out.
hand using a blowdryer with a flat nozzle and brush on small black and tan dog
hand using fur rake to flatten fur on the back of a small black and tan dog
Fig 9) Finish with a short, flat nozzle, working the jacket down by starting on the skin and then moving outwards. Brush and thoroughly comb to check for trouble spots when the dog is 95% dry. Then, if possible, add heat or air from a distance at a low velocity and style the hair in the direction you want it to lay.
Fig 10) Some cowlicks won’t going away, but you can card and rake the coat in the direction you want it to lay.
hand using a blowdryer with a flat nozzle and brush on small black and tan dog
Fig 9) Finish with a short, flat nozzle, working the jacket down by starting on the skin and then moving outwards. Brush and thoroughly comb to check for trouble spots when the dog is 95% dry. Then, if possible, add heat or air from a distance at a low velocity and style the hair in the direction you want it to lay.
hand using fur rake to flatten fur on the back of a small black and tan dog
Fig 10) Some cowlicks won’t going away, but you can card and rake the coat in the direction you want it to lay.
hand trimming fur on dog's paw pad
hand using scissors to trim fur around the tip of a dog's paw
Fig 11) Before you start trimming the feet, do the nails so the dog will stand naturally. Use a #10, #15 or #40 blade to remove hair from the paw pads. Don’t “dig in;” just lay the blade parallel and remove whatever hair touches the ground.
Fig 12) Only trim “Grinch feet” and hocks based on the owner’s preference. Here I’m doing a natural foot. To do so, brush down first and trim tight to the nail in the front.
hand trimming fur on dog's paw pad
Fig 11) Before you start trimming the feet, do the nails so the dog will stand naturally. Use a #10, #15 or #40 blade to remove hair from the paw pads. Don’t “dig in;” just lay the blade parallel and remove whatever hair touches the ground.
hand using scissors to trim fur around the tip of a dog's paw
Fig 12) Only trim “Grinch feet” and hocks based on the owner’s preference. Here I’m doing a natural foot. To do so, brush down first and trim tight to the nail in the front.
Scissors shaping the fur around a dog's paw
hand using scissors to trim fur on hind legs of dog
Fig 13) Next you’ll back-brush up and follow the natural foot with curved shears or thinning shears to remove long hairs.
Fig 14) Moving to the rear, clean up the sanitary area first, then trim the bottom of the rear furnishings to the beginning of the hock in a clean, straight line.
Scissors shaping the fur around a dog's paw
Fig 13) Next you’ll back-brush up and follow the natural foot with curved shears or thinning shears to remove long hairs.
hand using scissors to trim fur on hind legs of dog
Fig 14) Moving to the rear, clean up the sanitary area first, then trim the bottom of the rear furnishings to the beginning of the hock in a clean, straight line.
comparison between trimmed and untrimmed hind leg of dog
scissors trimming the underbelly of dog
Fig 15) Trim the inside of the back legs equally right between the rectum, then shape up the rear naturally by taking out anything sticking out on the sides of each view from the profile and rear views.
Fig 16) For natural trims you won’t take a lot off the underline, just tidy up any whispy areas.
comparison between trimmed and untrimmed hind leg of dog
Fig 15) Trim the inside of the back legs equally right between the rectum, then shape up the rear naturally by taking out anything sticking out on the sides of each view from the profile and rear views.
scissors trimming the underbelly of dog
Fig 16) For natural trims you won’t take a lot off the underline, just tidy up any whispy areas.
face of small black and tan dog after being trimmed
Fig 17) For the finishing touches, go over the dog’s shorter hairs with a magnetic stripper fine carding tool. I like to use a stone for the soft hairs at the ears. Then use a boar or nylon brush to lay the hair down and give that nice natural finish.

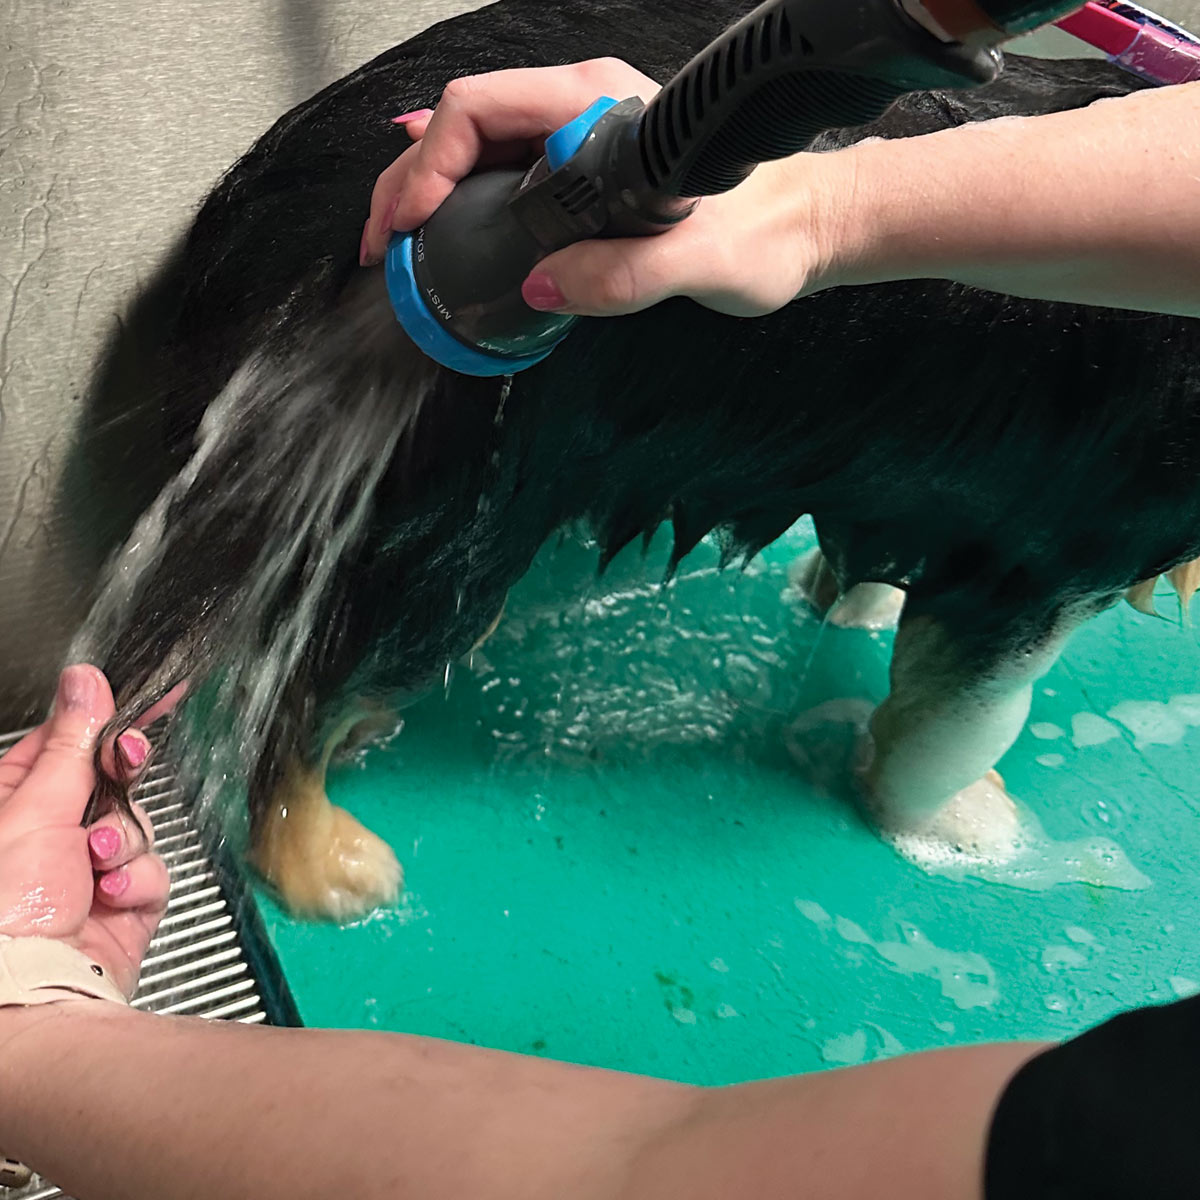
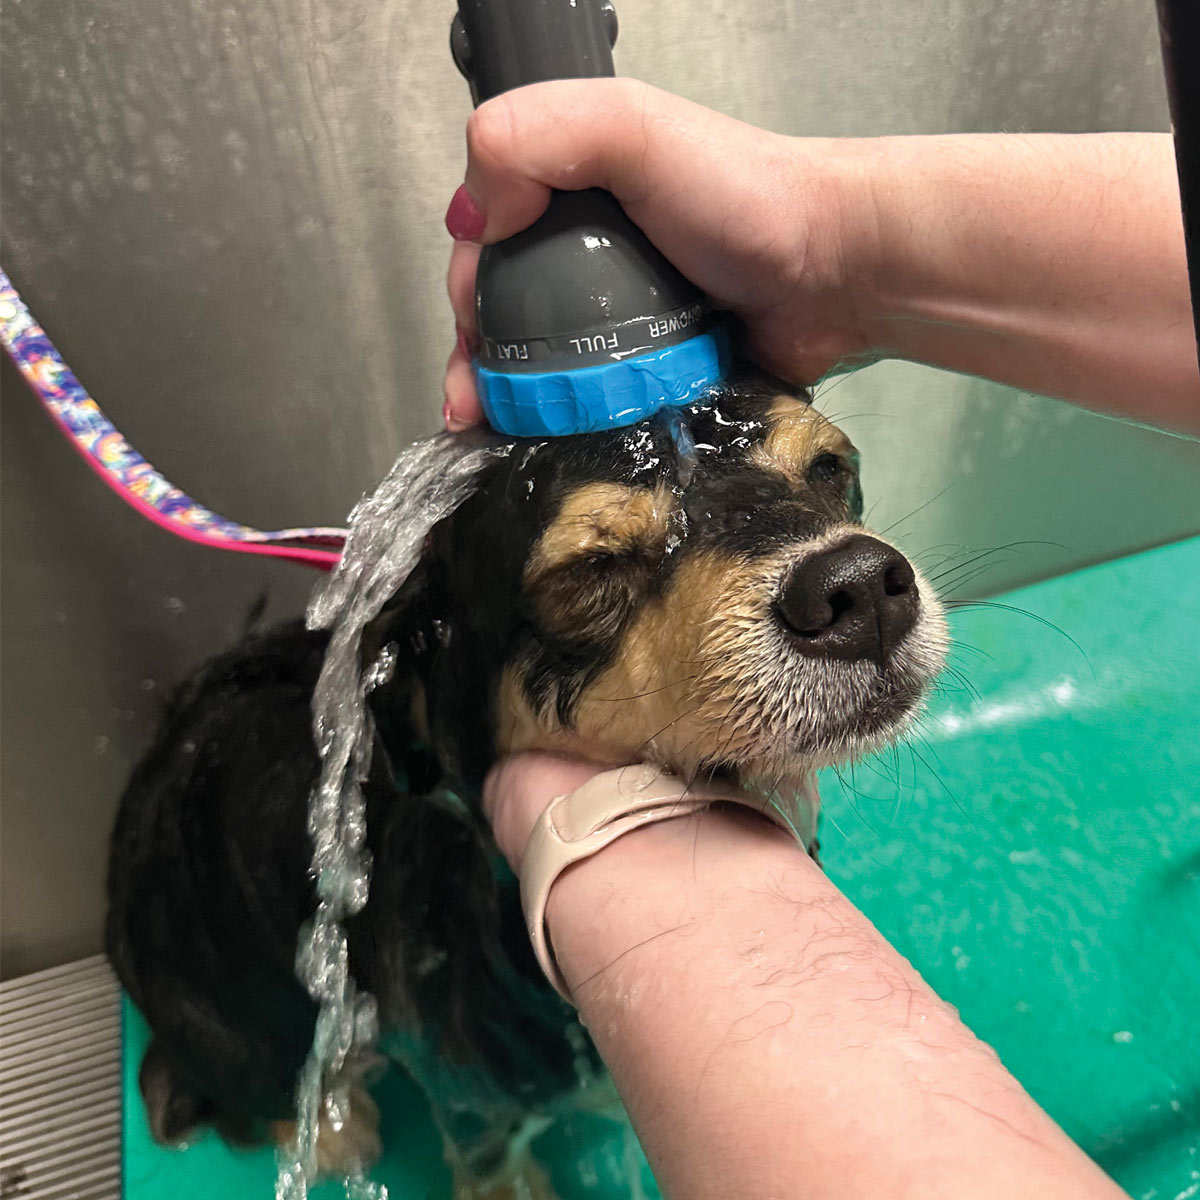
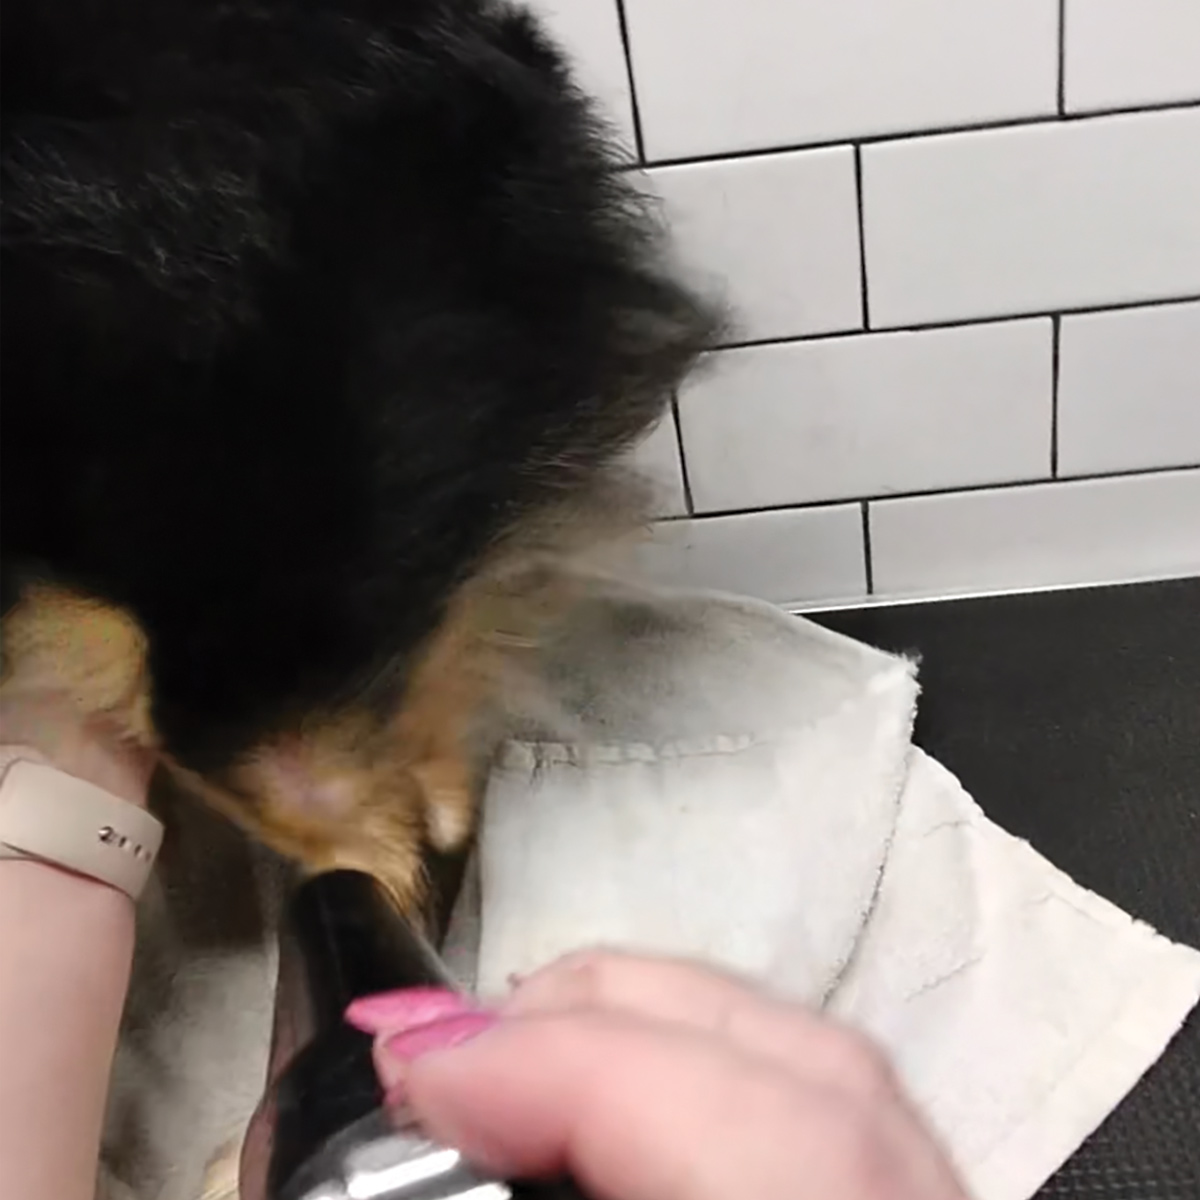
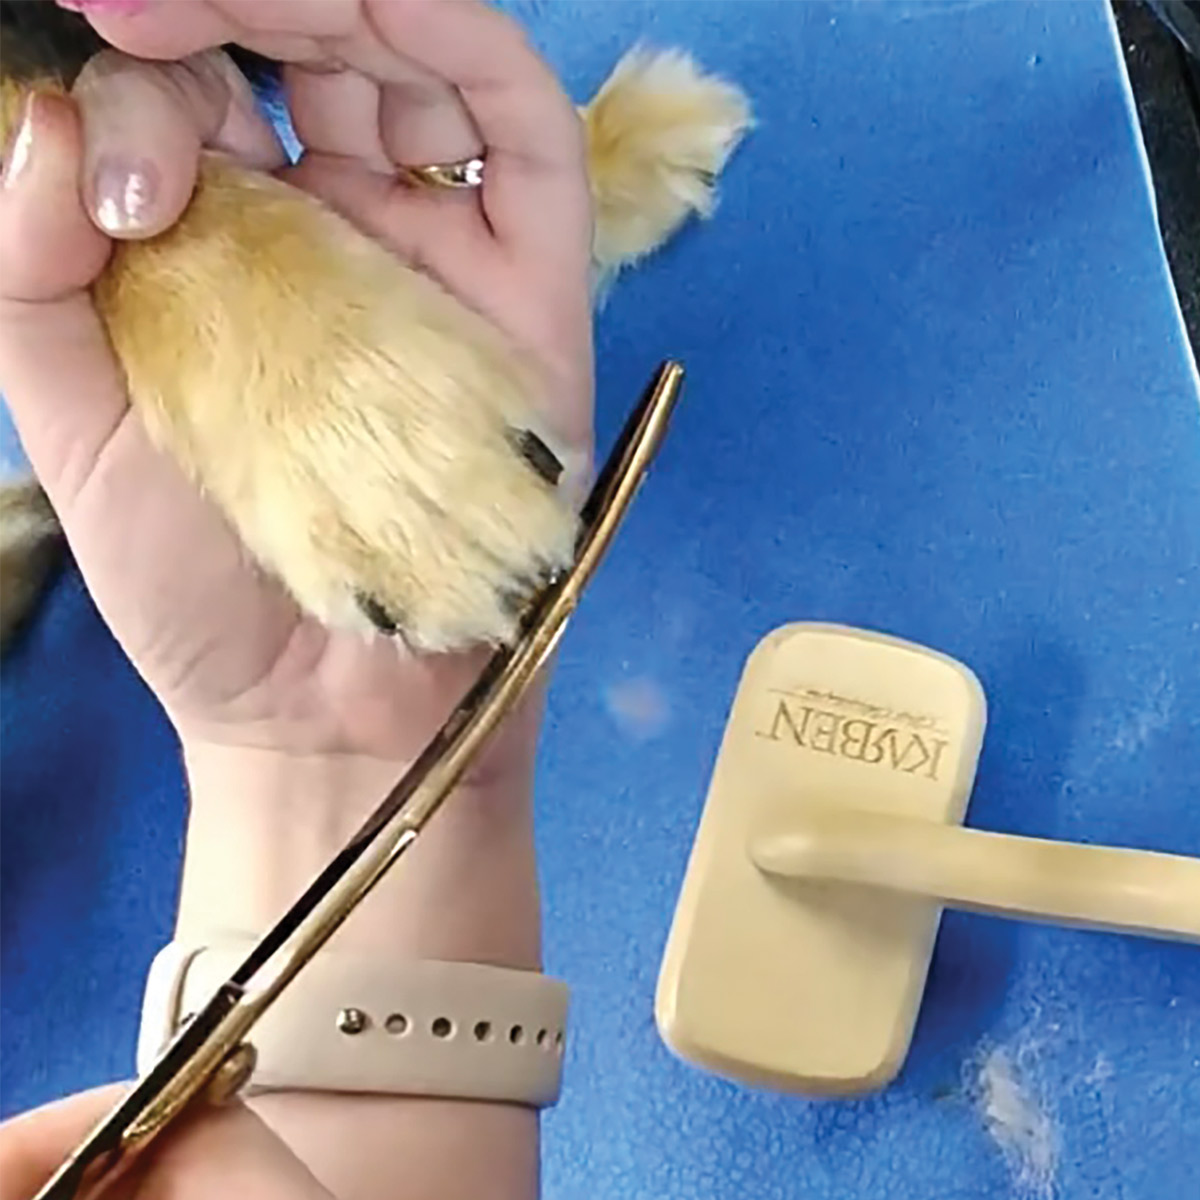
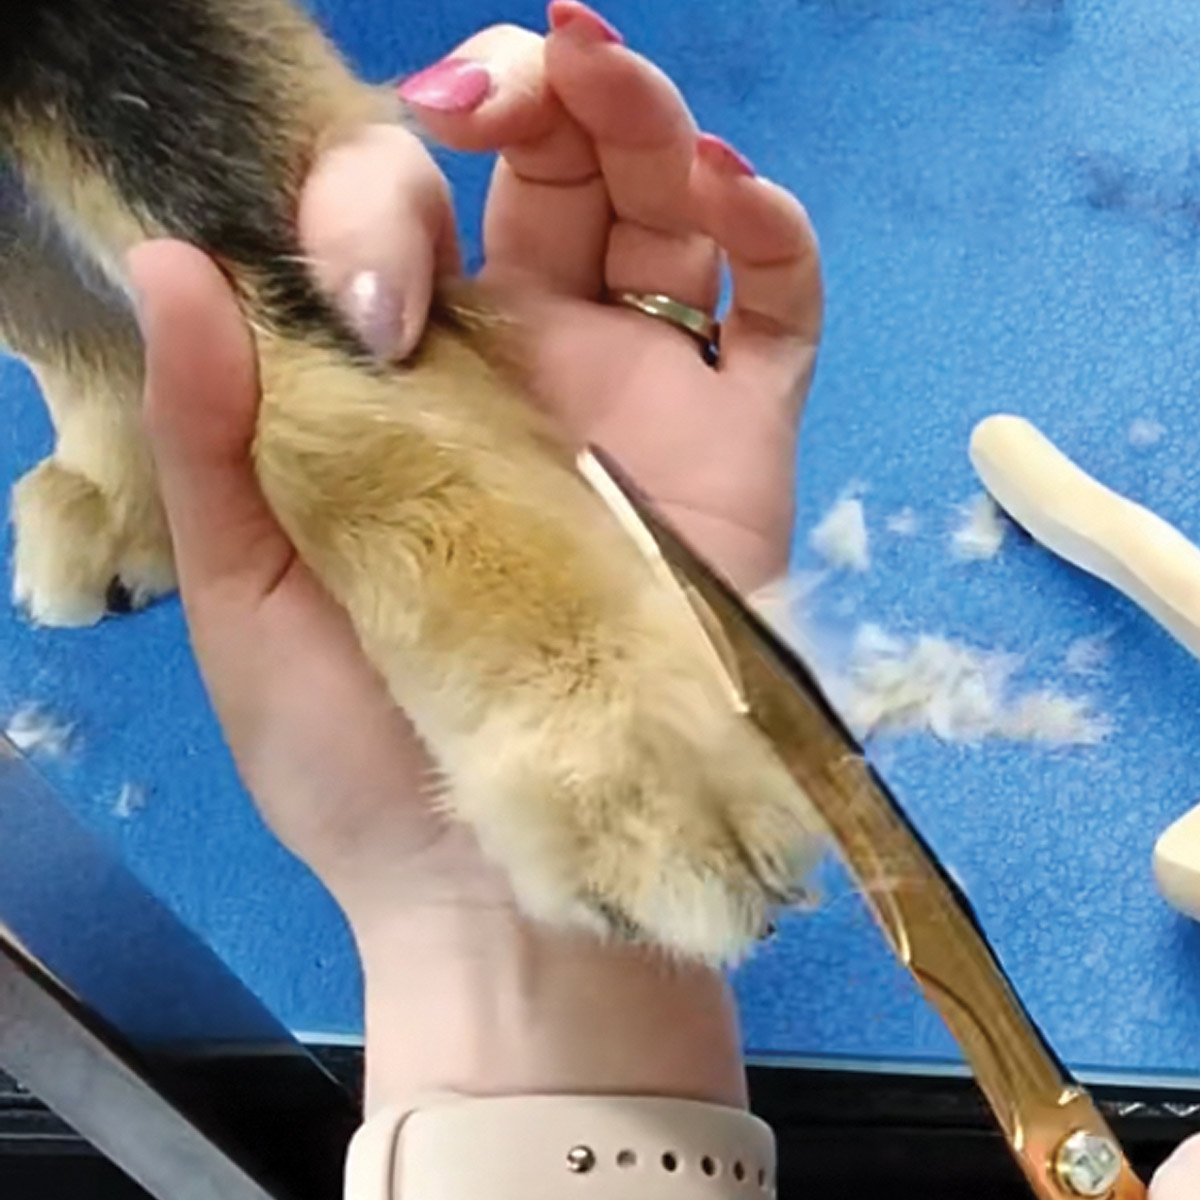
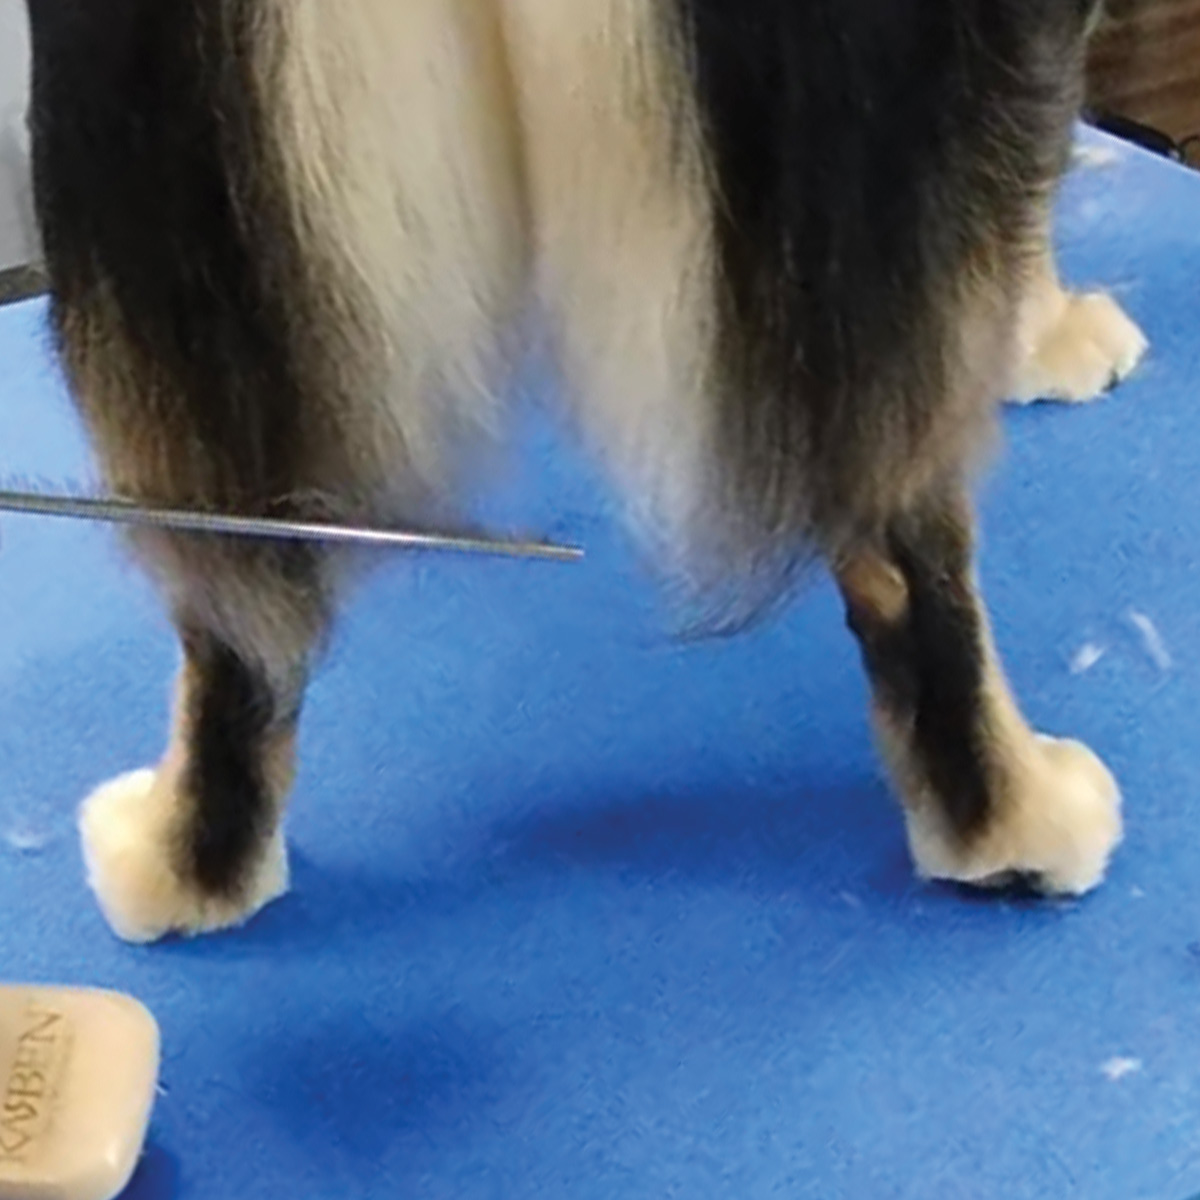
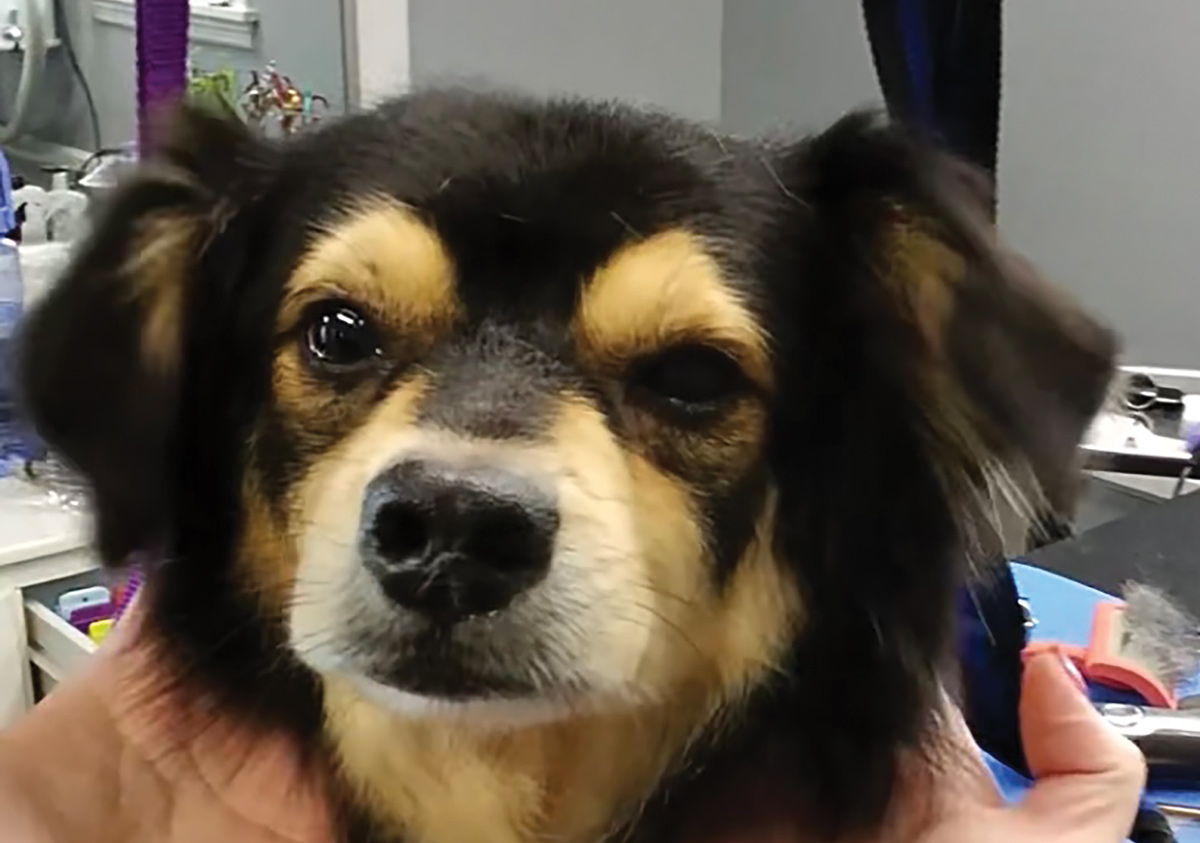
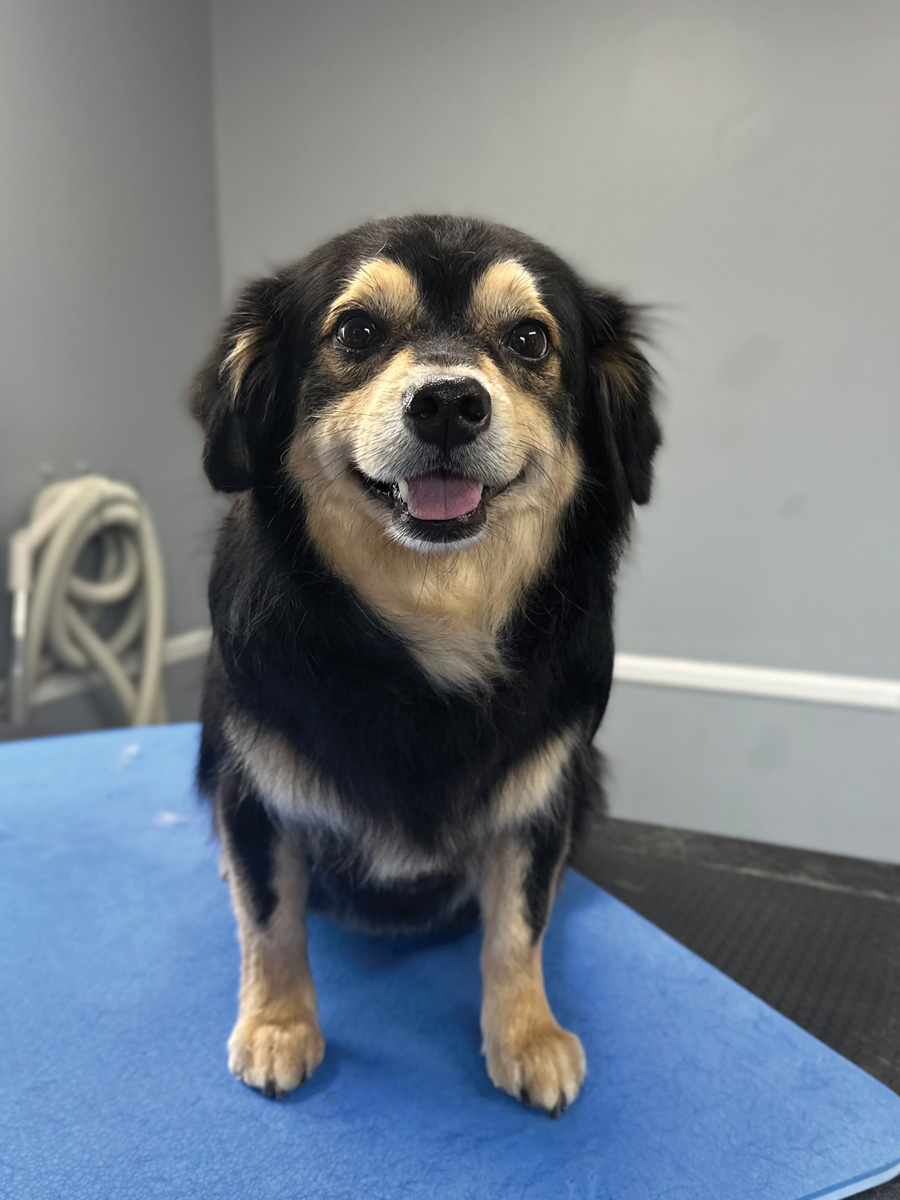
These types of dogs can be so satisfying to work with because they look as if their hair just grows that way! But as groomers, we know that there is a lot more that goes into it. By adding these extra steps, we can take this service from “just a bath and brush” to a beautiful, natural full groom!