by Lynn Paolillo
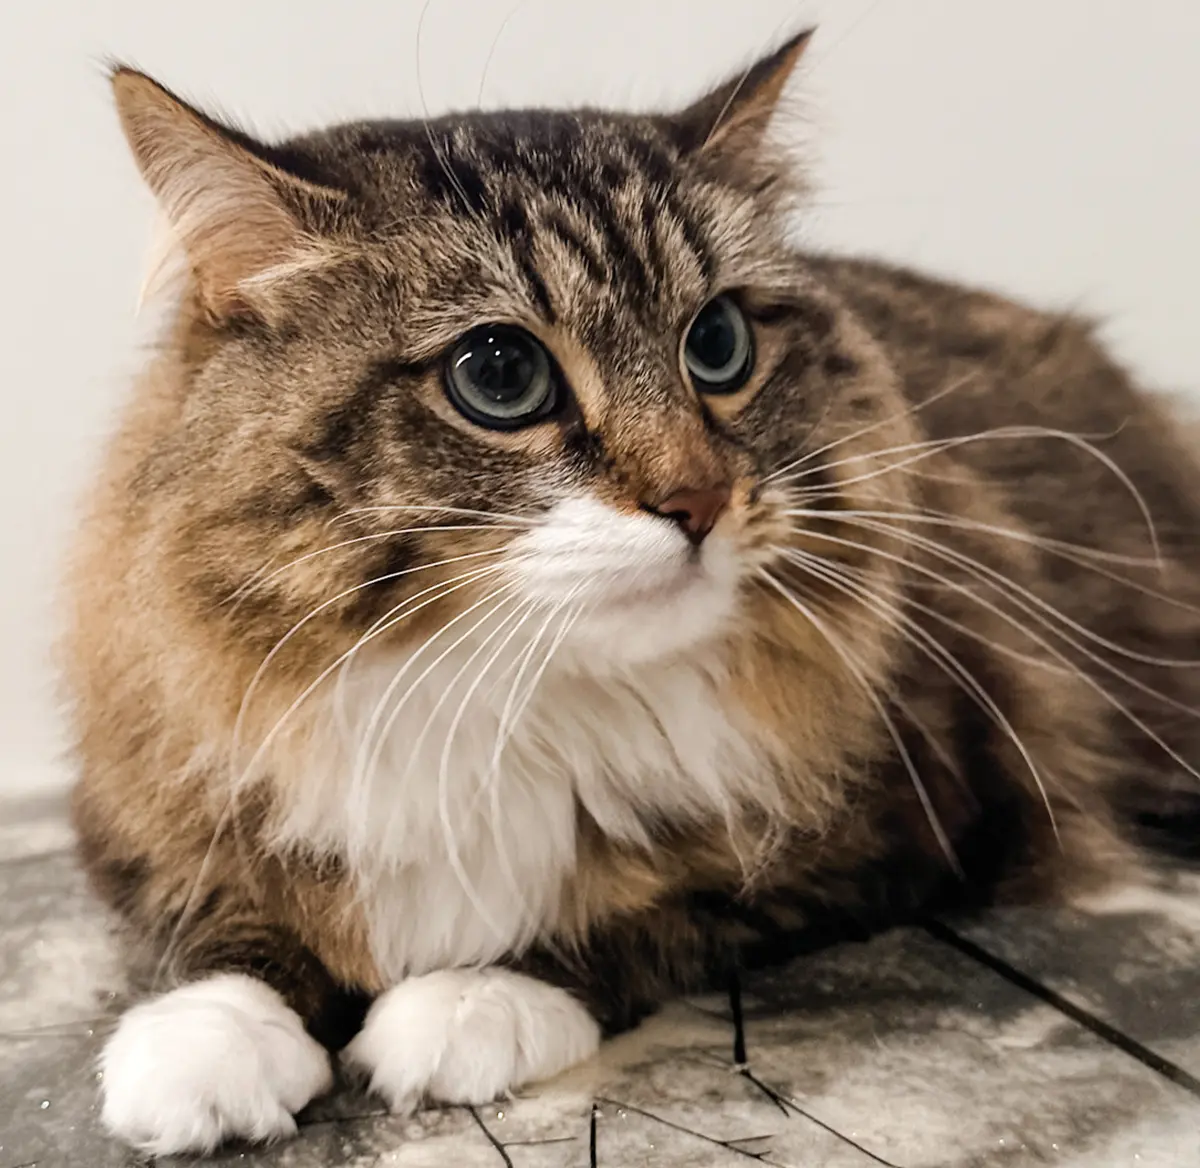
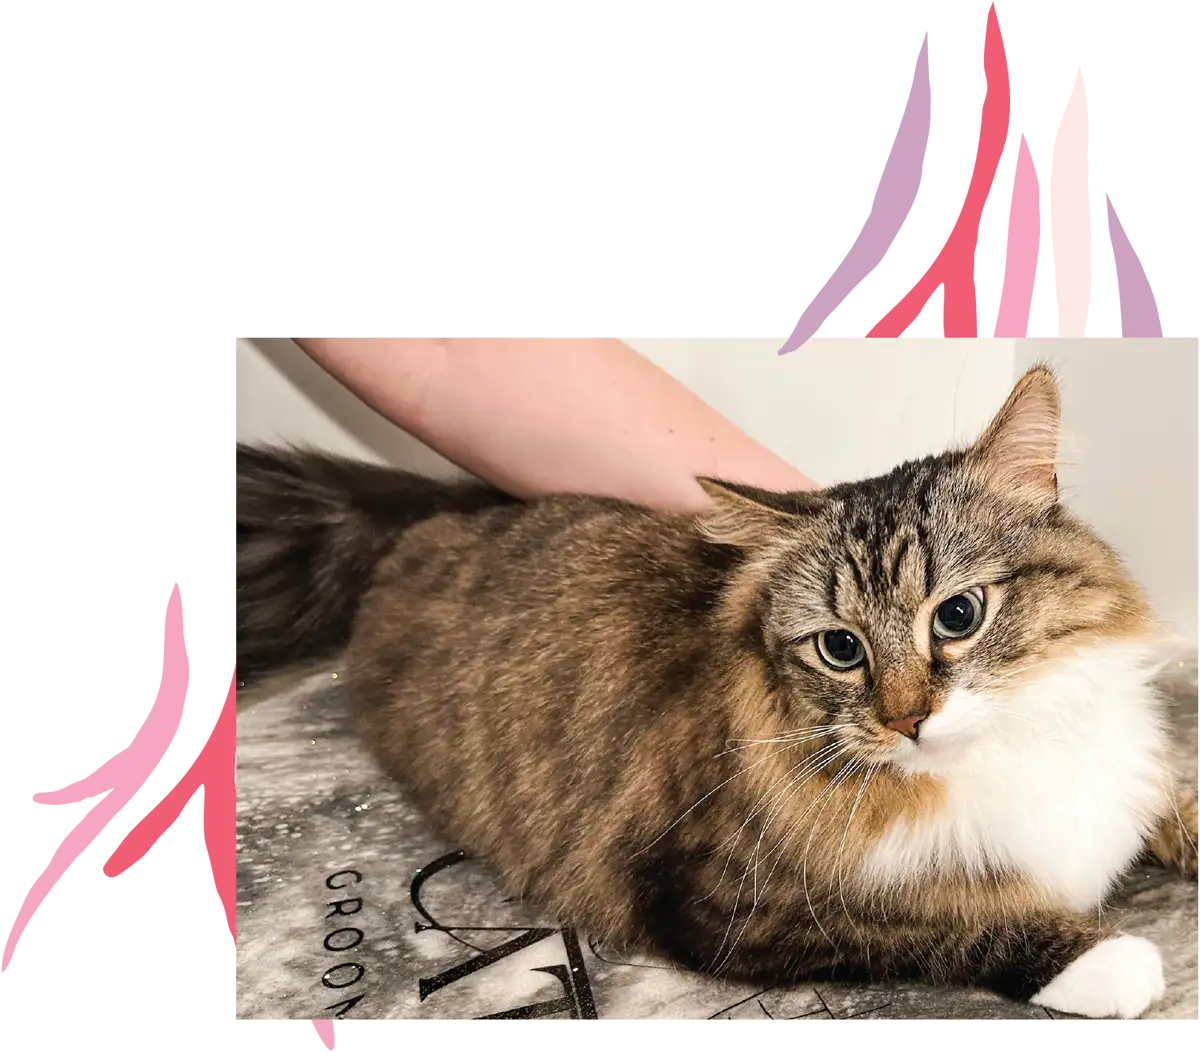
 onghaired cats require regular grooming maintenance to prevent matting, but many are also heavy shedders. This tutorial, demonstrated on Lady, a Brown Mackerel Tabby and White Domestic Longhair that comes in for grooming every 10-12 weeks, shows a full bath, blow-dry and comb-out that gently removes the most dead hair.
This style of muzzle allows me to monitor the cat’s face and breathing, and also doesn’t put too much pressure around their whiskers and face. Some cats want to feel hidden and others want to not be touched, so finding an appropriate muzzle for different cats’ needs is imperative.
Fig 2) Nails should be trimmed to an appropriate length by holding the paws in natural positions.


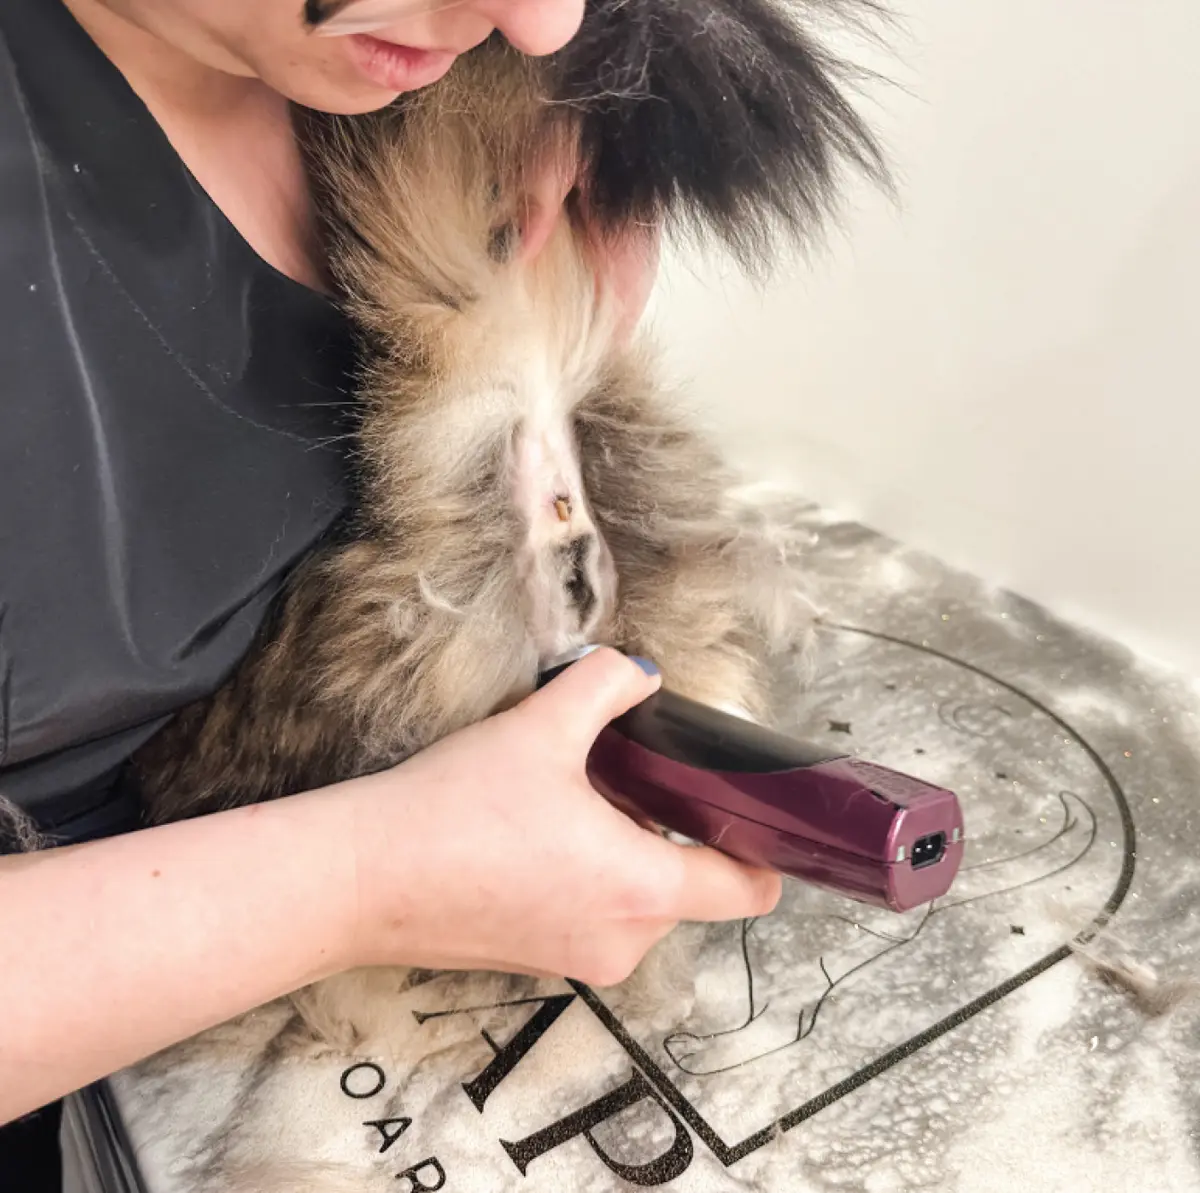
Fig 4) To continue the sanitary trim between the rear legs, I gently but firmly hold the cat across my lap. Quick, deliberate strokes with the clipper limit how long I have to hold the cat while still getting the sanitary trim finished.
Fig 5) Longhaired cats also tend to have long, fluffy hair growing between their paw pads, which are called toe tufts. Using the same #10 blade, skim the hair so that it is trimmed flush with the paw pads. Do not dig in between their paw pads or toes, as their skin is fragile and can be nicked easily.
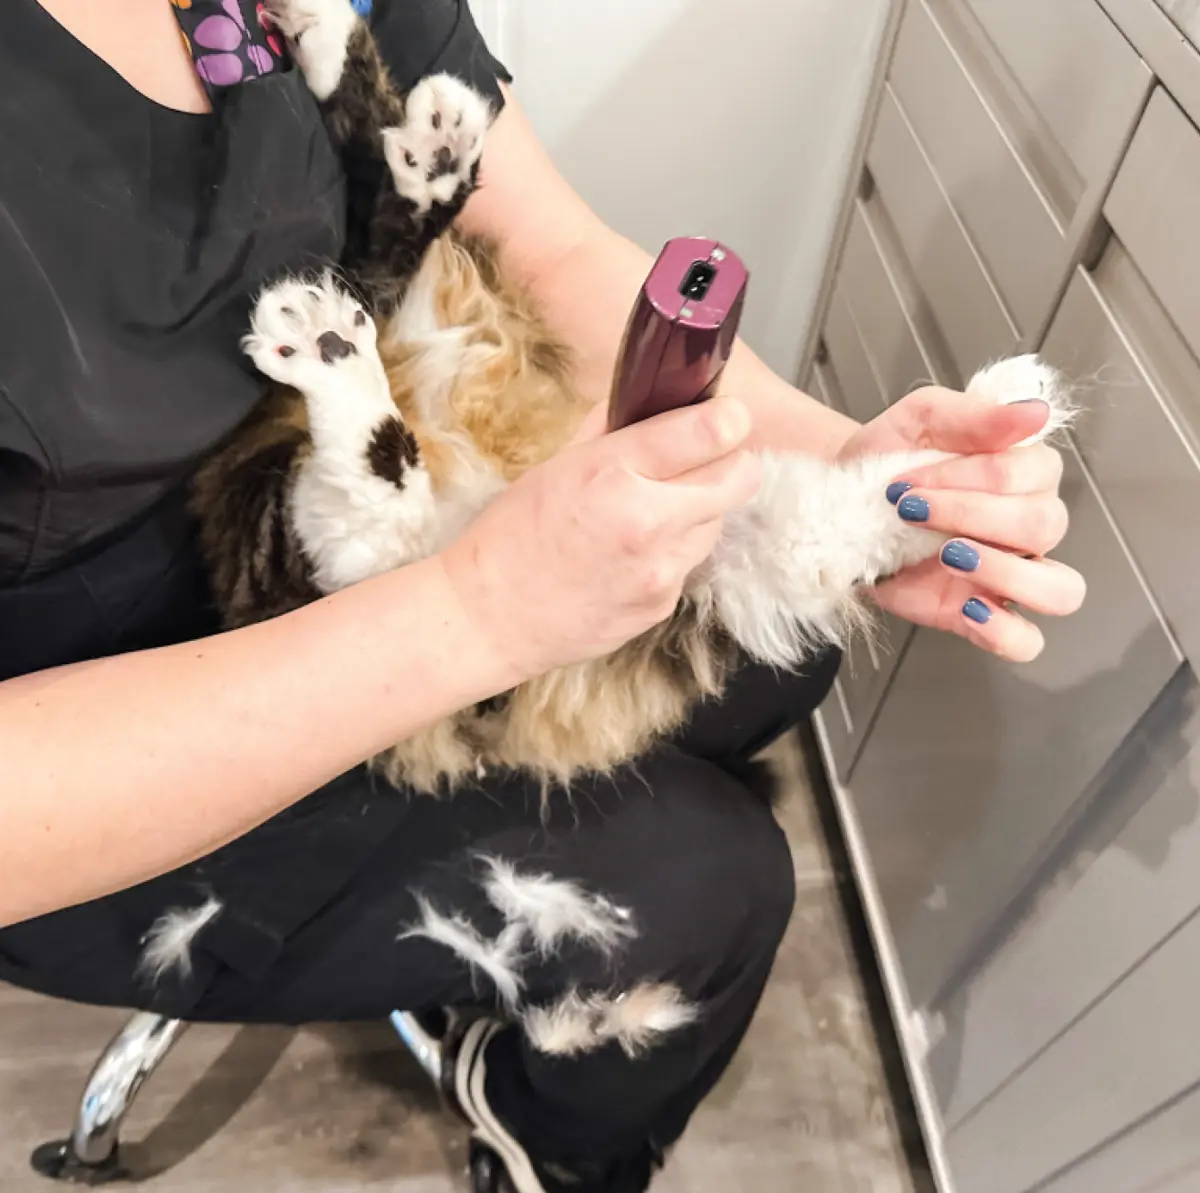
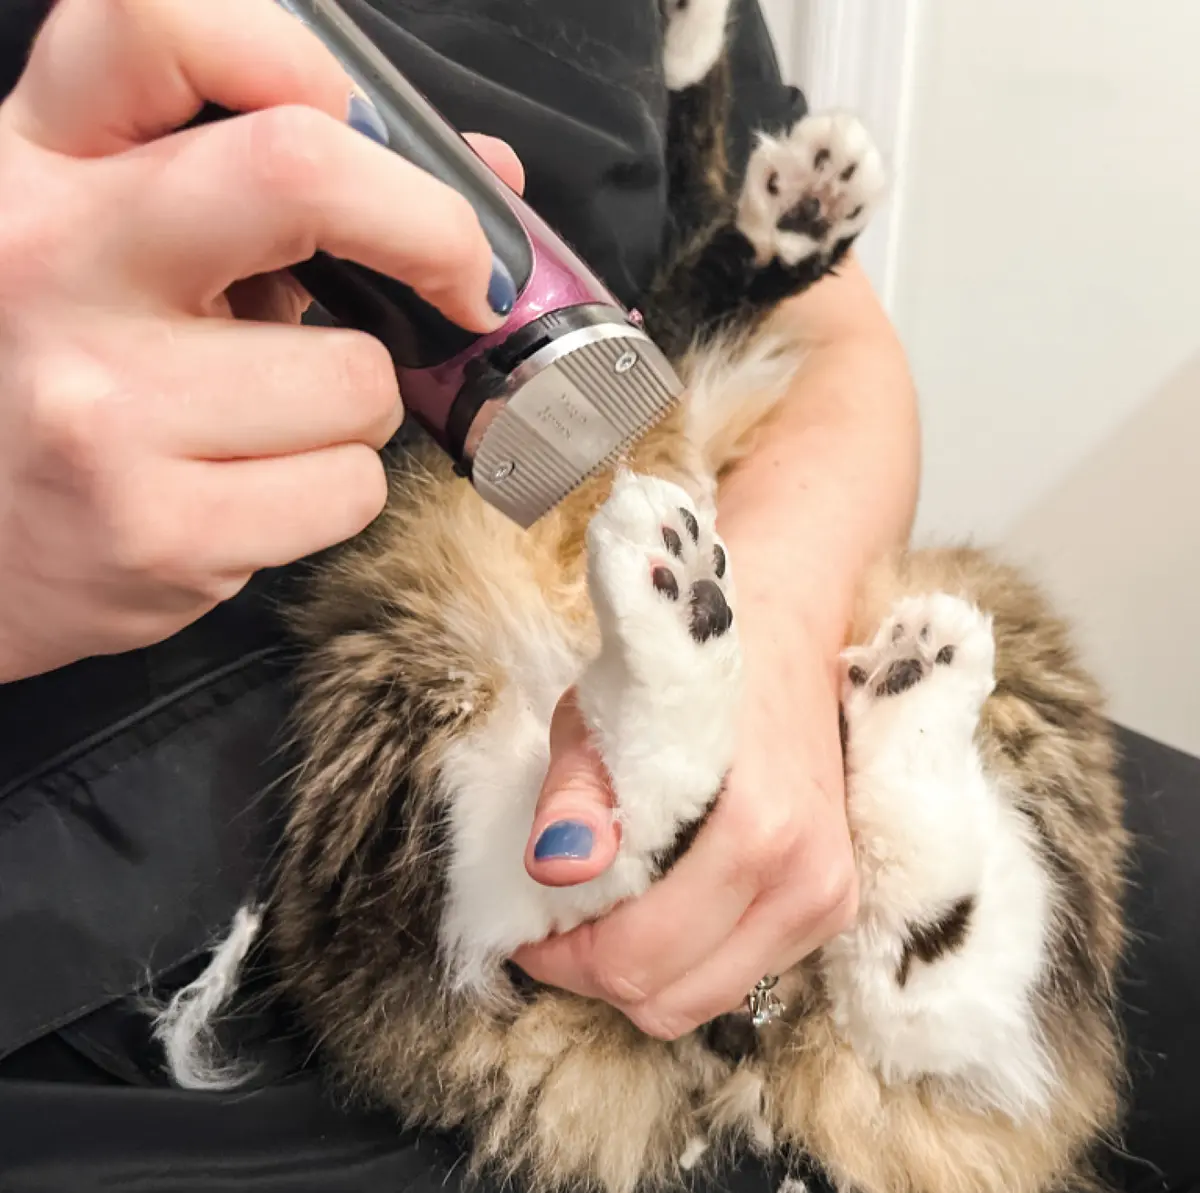

Fig 7) Hold the water nozzle close to the skin and slightly angled towards the rear. Rinse in the direction the hair grows to “push” the dead hair out. The scrubbing with shampoos, pressure, angle and direction of the water flow will encourage more hair to release in the tub.
Fig 8) Starting at the back and working your way down, use gravity to make sure all areas of the cat are fully rinsed, especially the underside, armpits and between the rear legs.
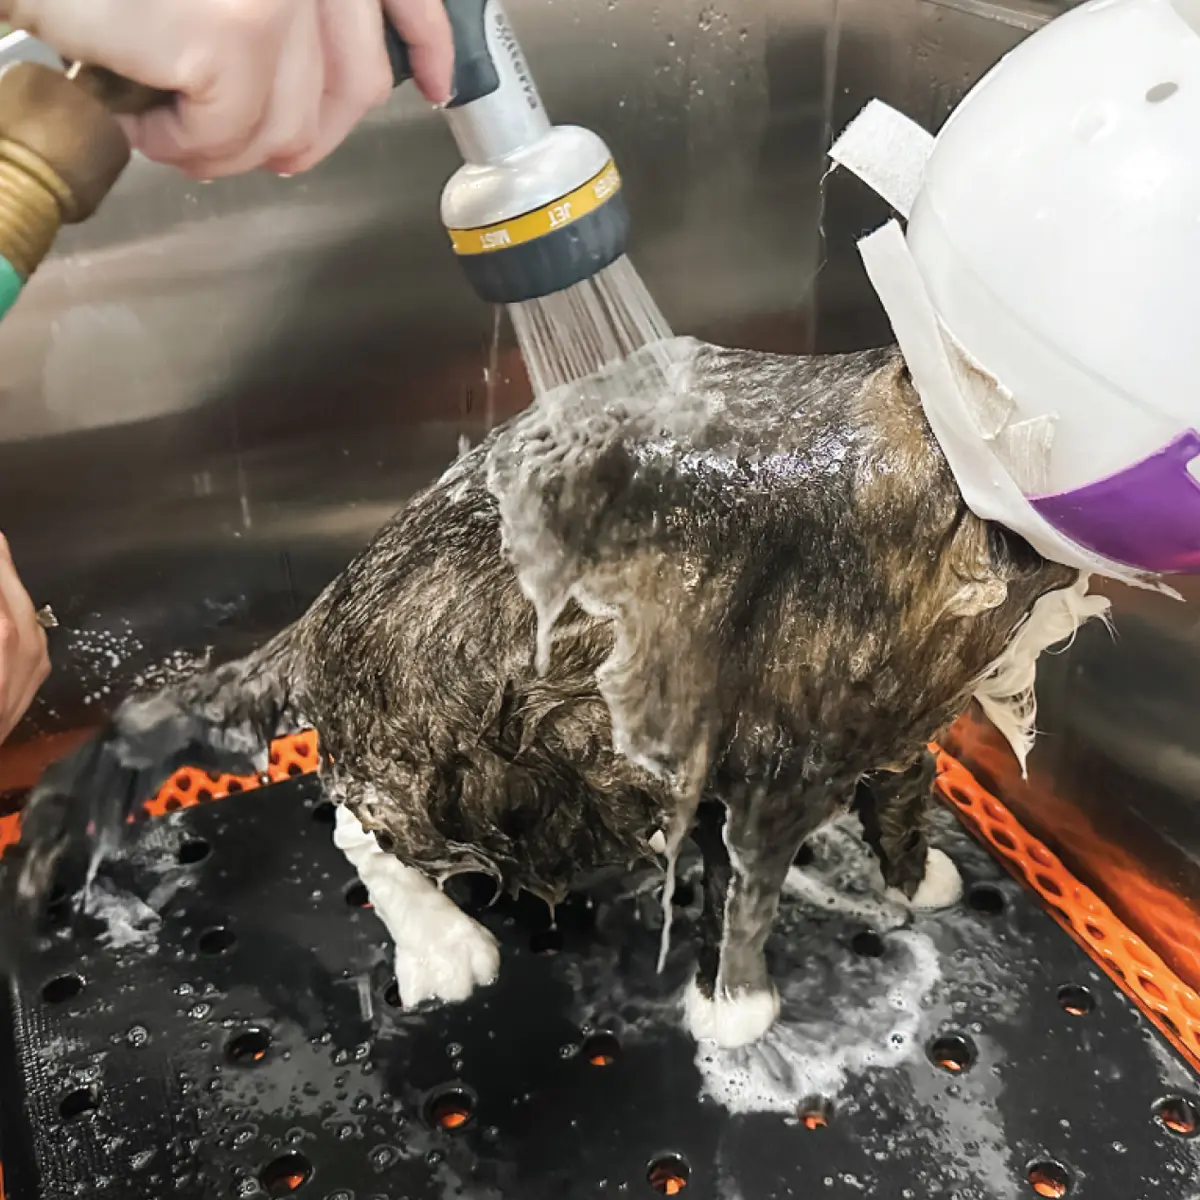
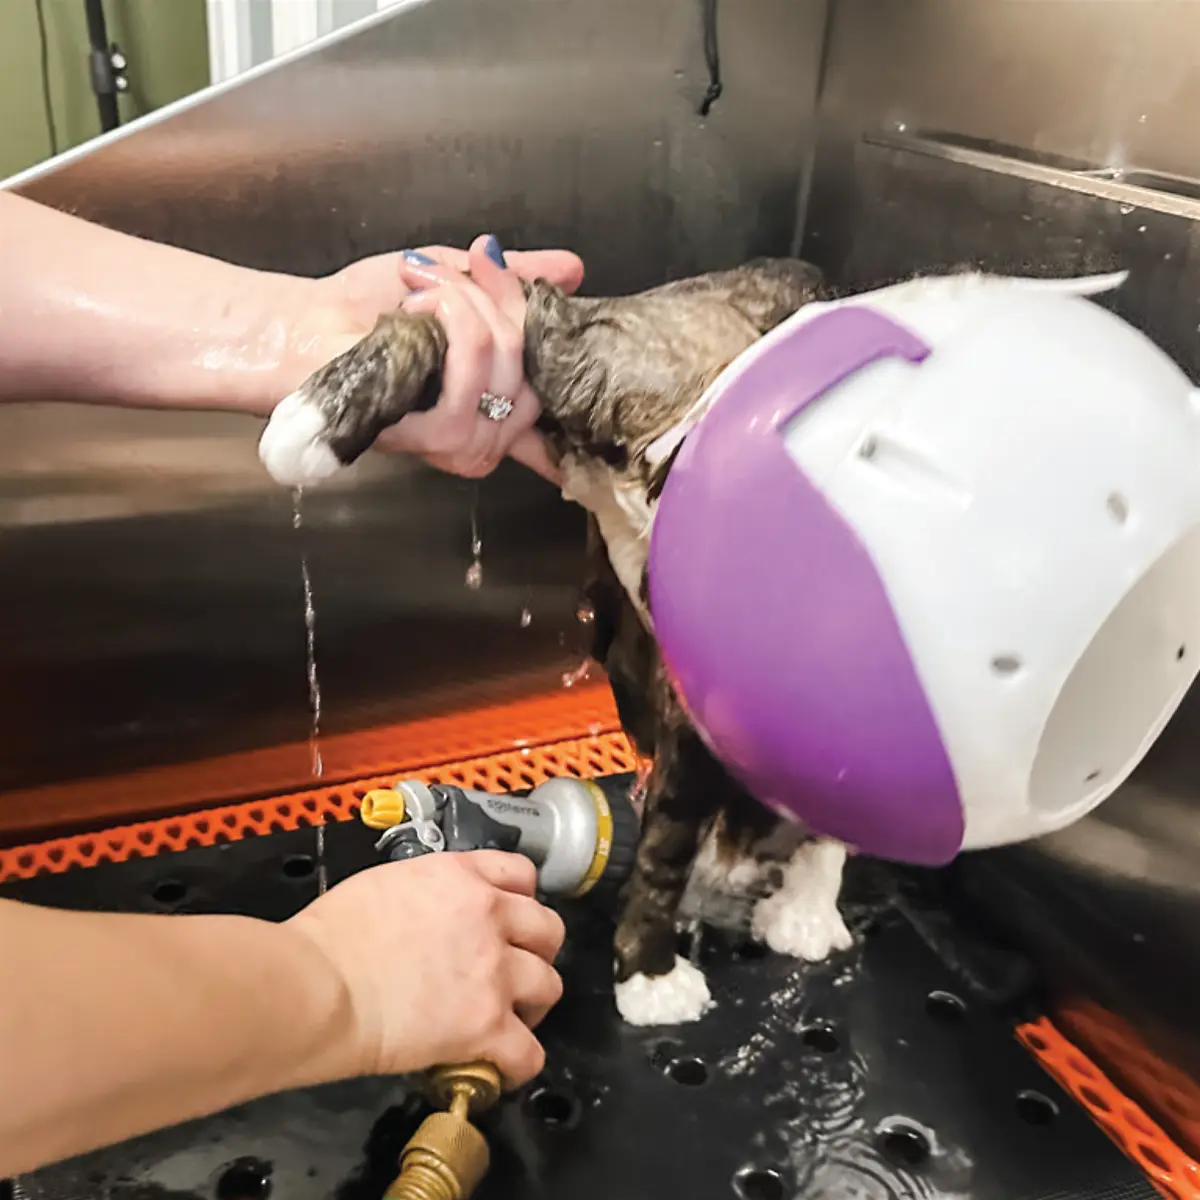
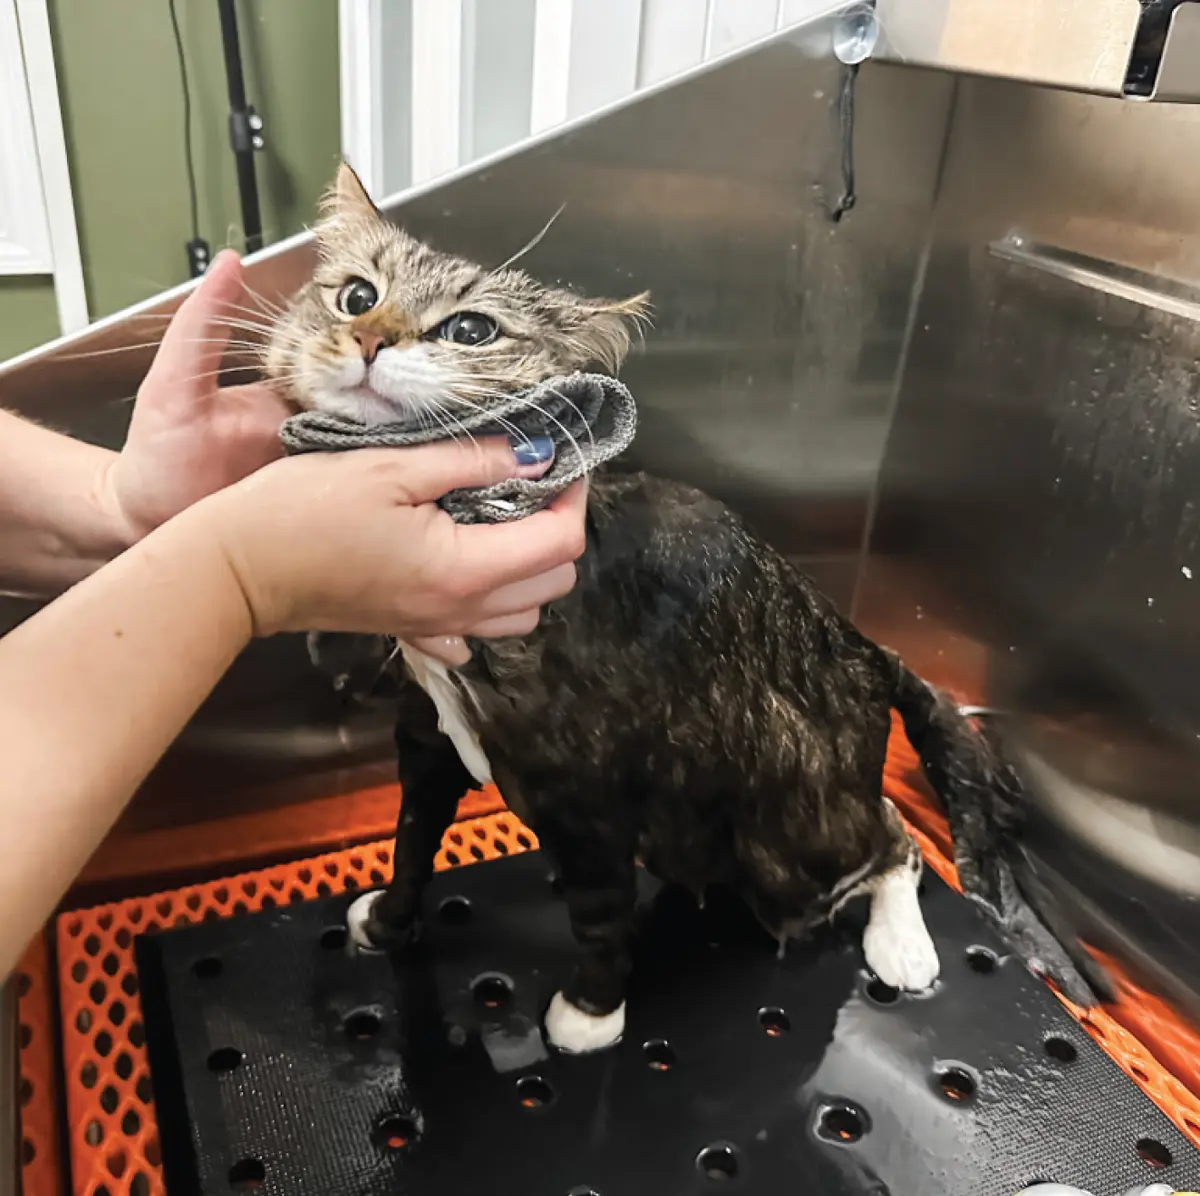
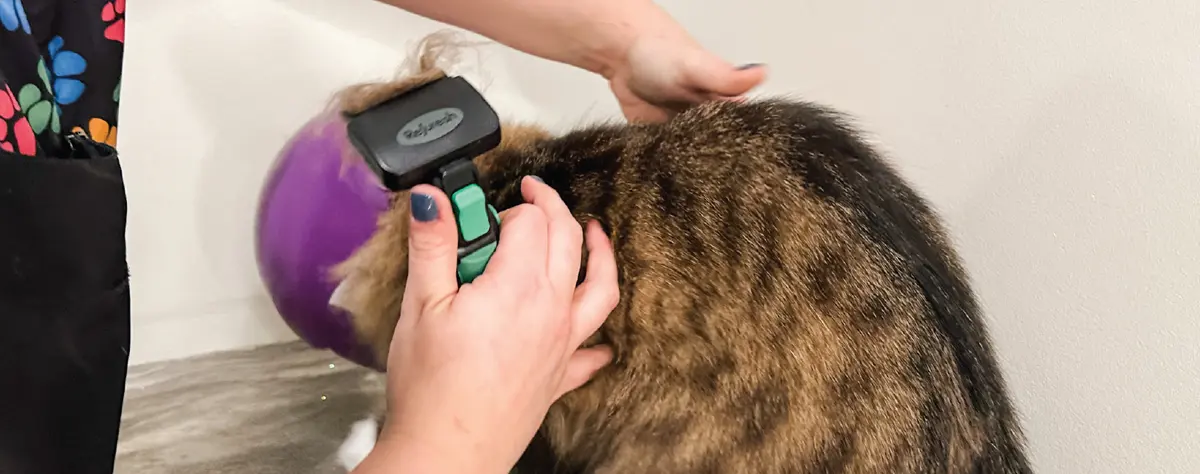
Fig 11) Using cotton balls and a cat-safe ear cleaner, gently wipe out each ear. Make sure to remove any visible gunk or debris without digging into the ear canal. Ear cleaners also have a drying agent, so using them after the bath helps to dry any drops of water that might have gotten into the cat’s ears.
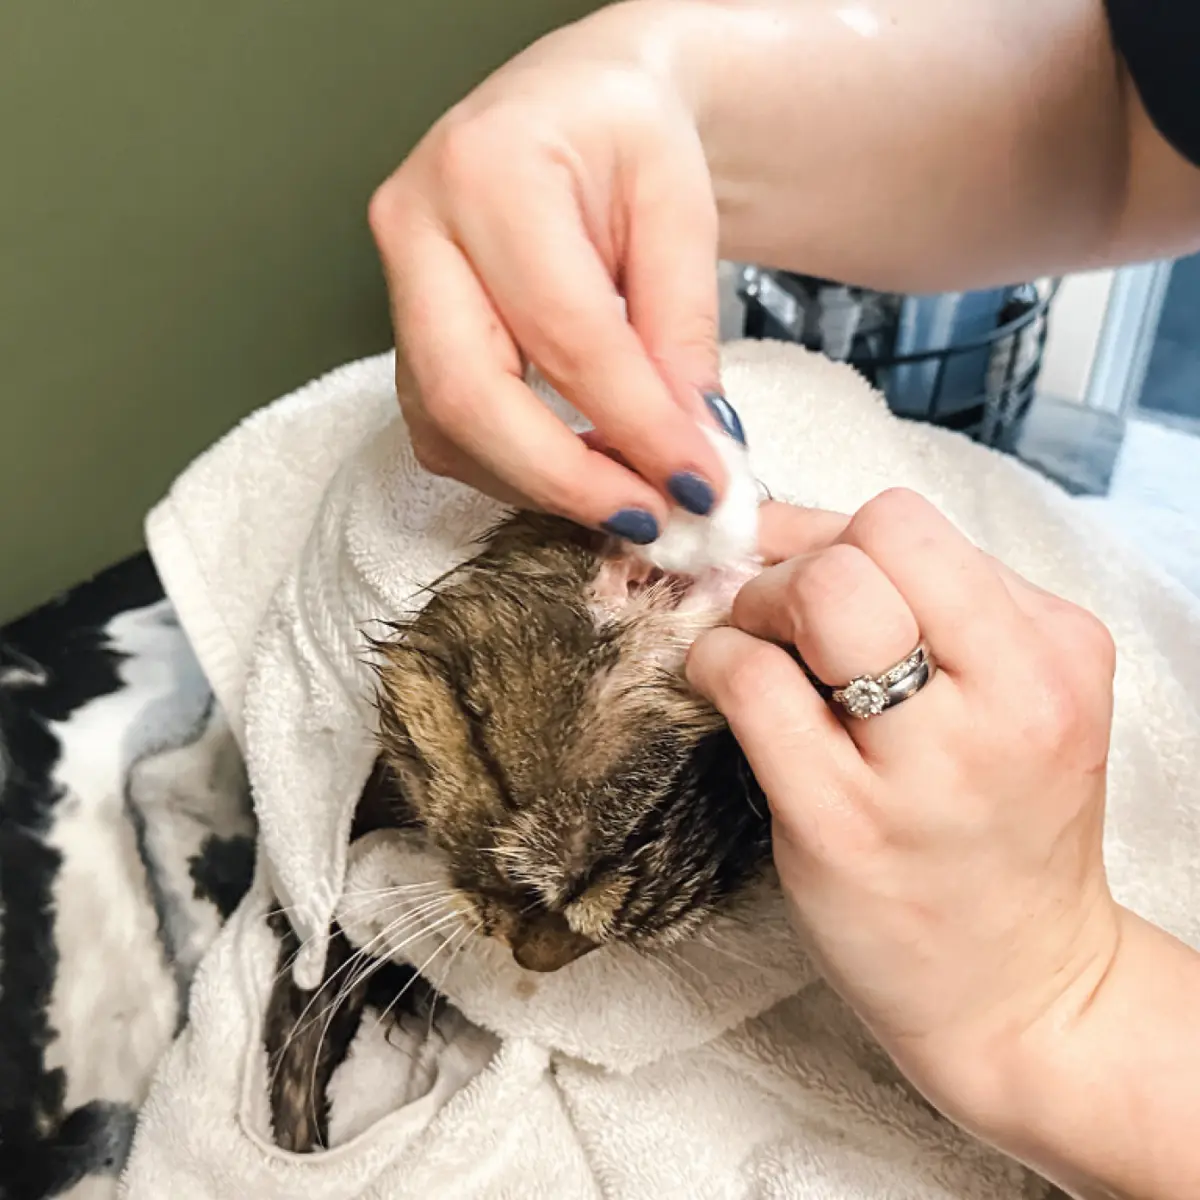
Fig 13) Start blow-drying away from the cat’s head and face to blast the bulk of the water off, then hold the nozzle close to the body so that the warm air and force from the HV dryer blows the loosened hair out. Use a similar angle and “pushing” motion as the water nozzle.

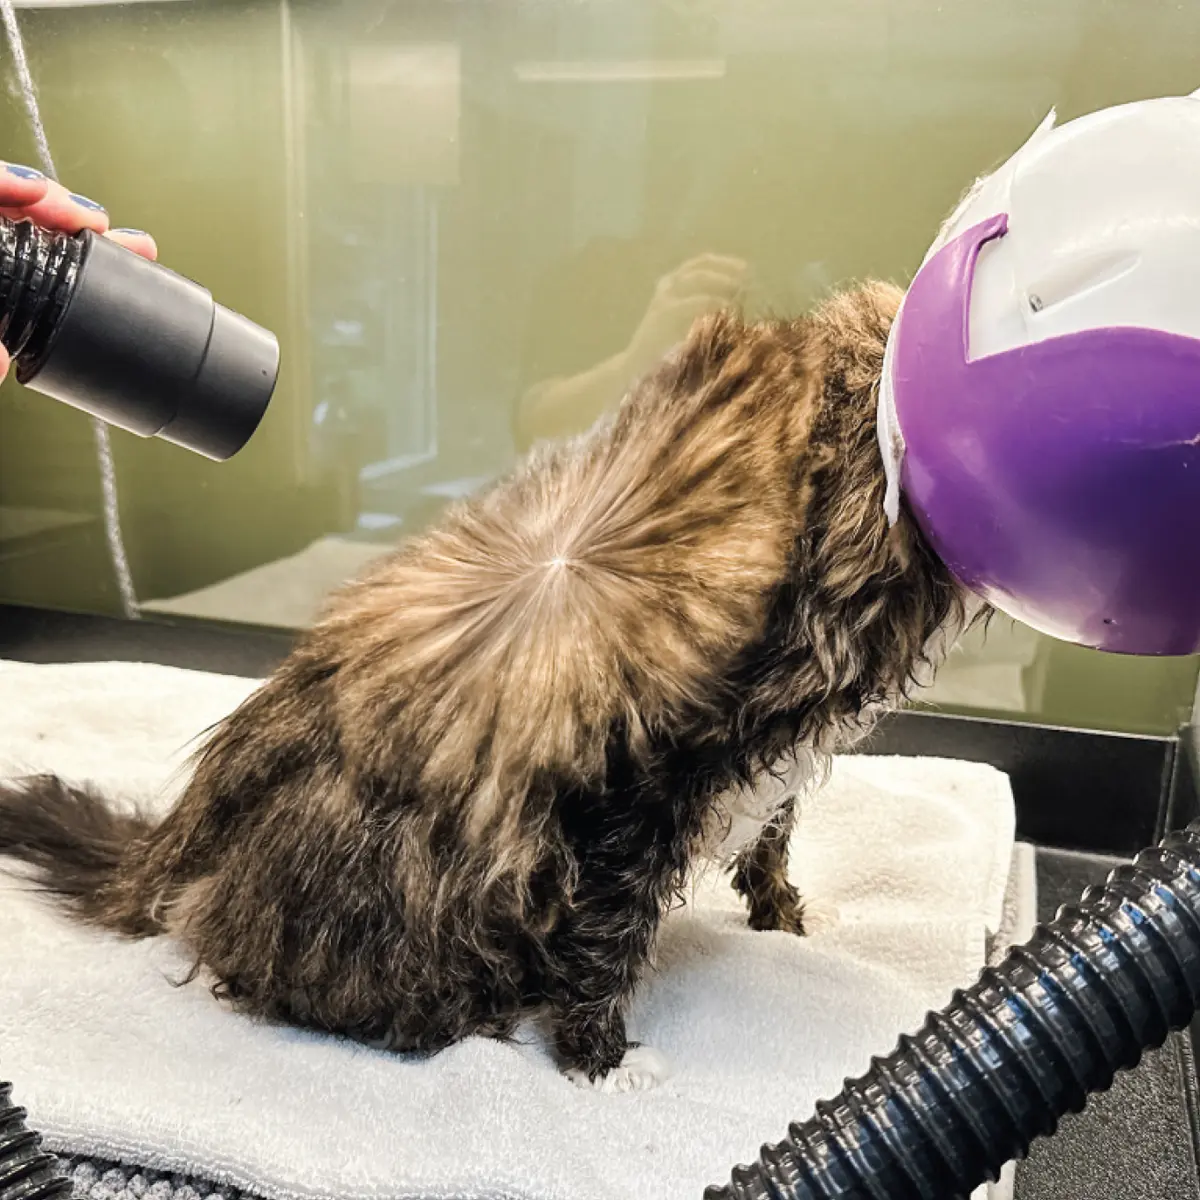

Fig 15) To keep the rear end clean, you can do a bit of extra trimming of the fluffy hair on the haunches. Hold the cat across your lap and use a ½” comb and vacuum attachment to trim the hair along the back of the rear legs.
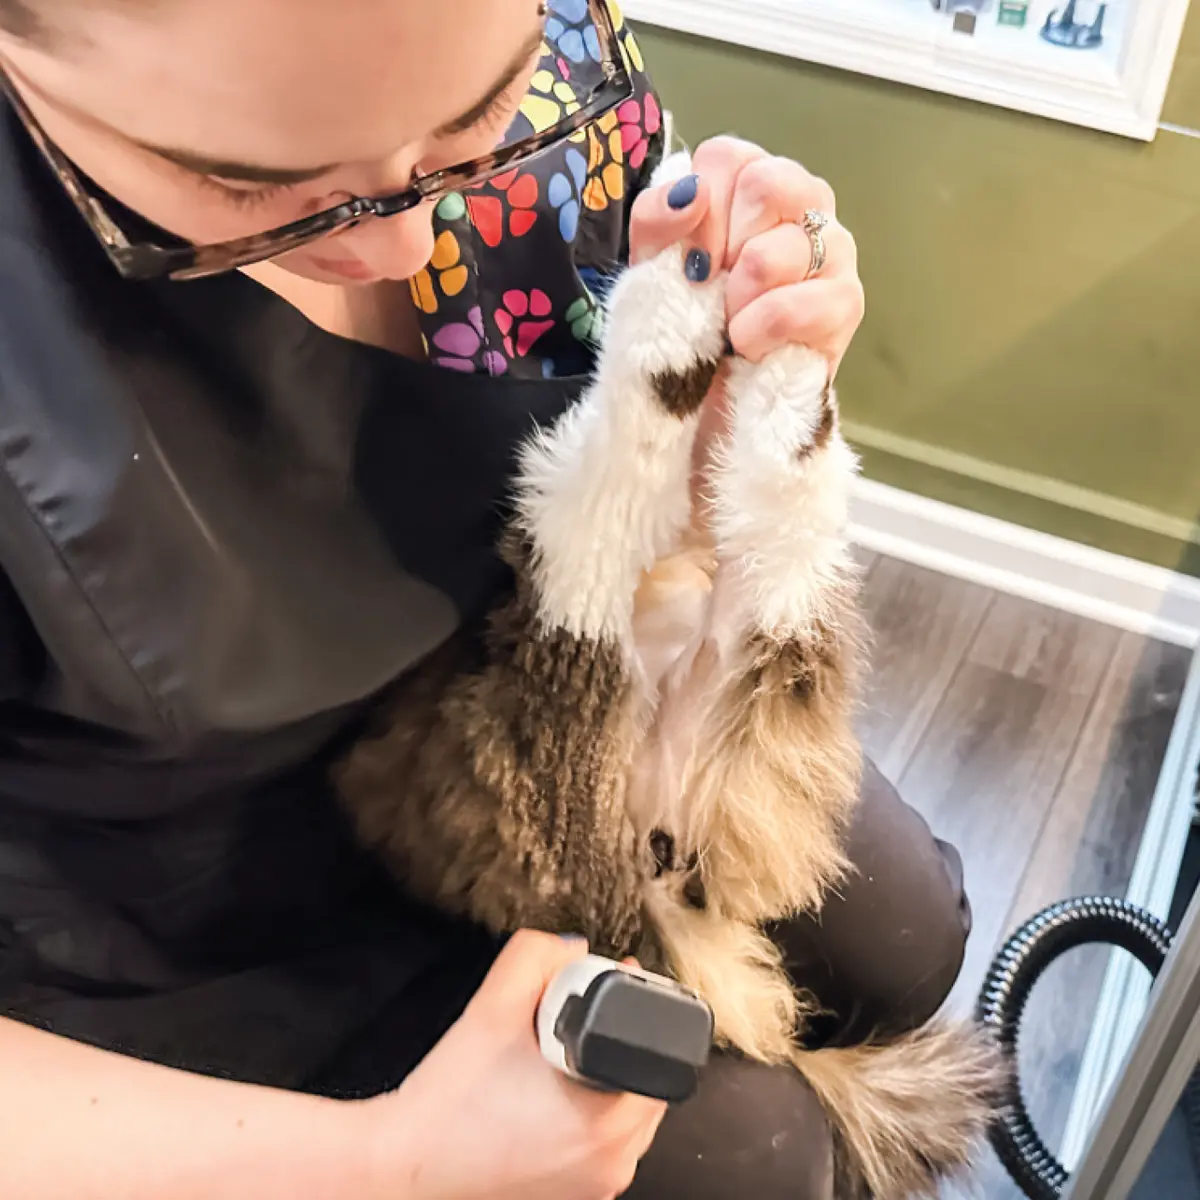
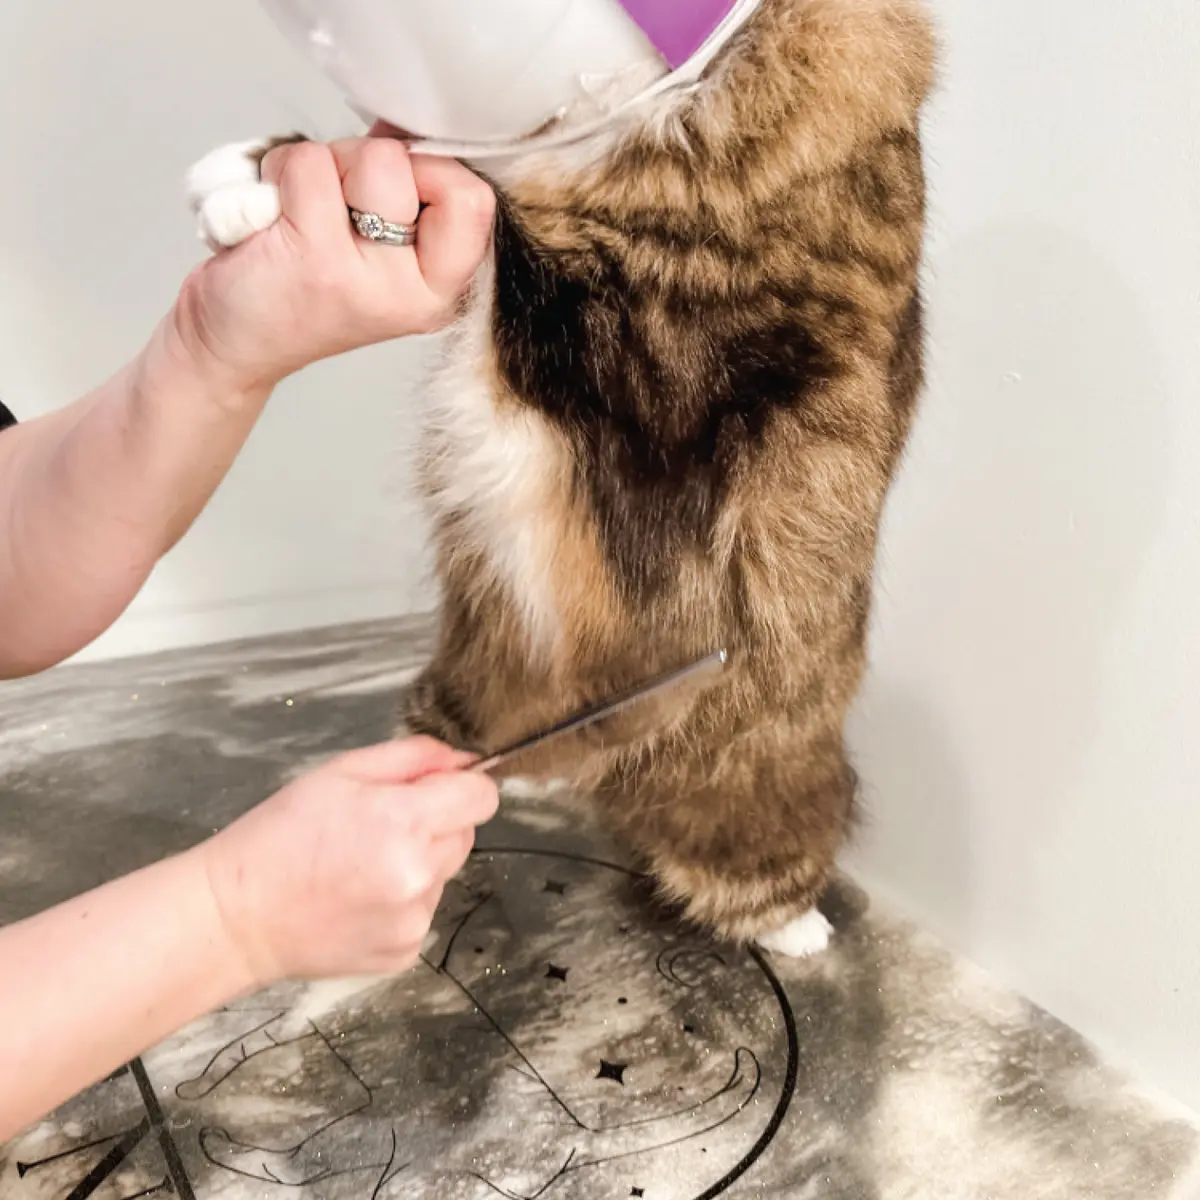
Fig 16) Once fully dried, use a large metal comb to comb in the direction the hair grows. For wiggly cats or cats known to swat, gently hold the front paws and lift so that the cat is standing. With their weight shifted to the back paws, it is easier to comb the armpits, belly, tuck-up and front of the rear legs.
Fig 17) Continue with a large metal comb to comb all over, and then use a de-shedding comb to repeat. You’ll be able to use less swipes with the comb to get more loose hair out and the finer comb won’t snag on any larger clumps.
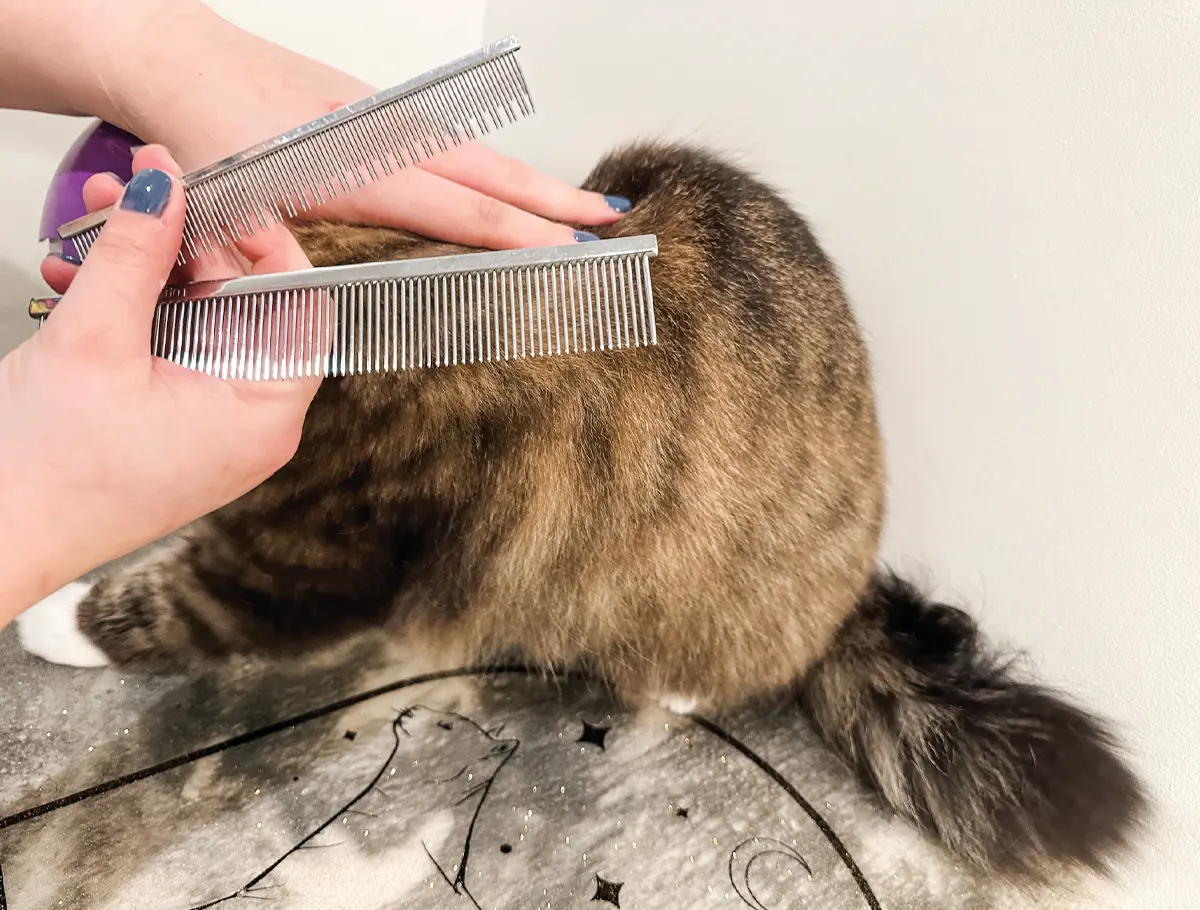
Fig 19) Once the mat is isolated, hook the comb underneath the mat and place your other hand on the skin above where the mat is. Holding the skin firm, use one quick motion to tug the clump of dead hair loose and remove the mat. Mats larger than 1” in diameter may be too large to use this technique and may need to be shaved out instead.
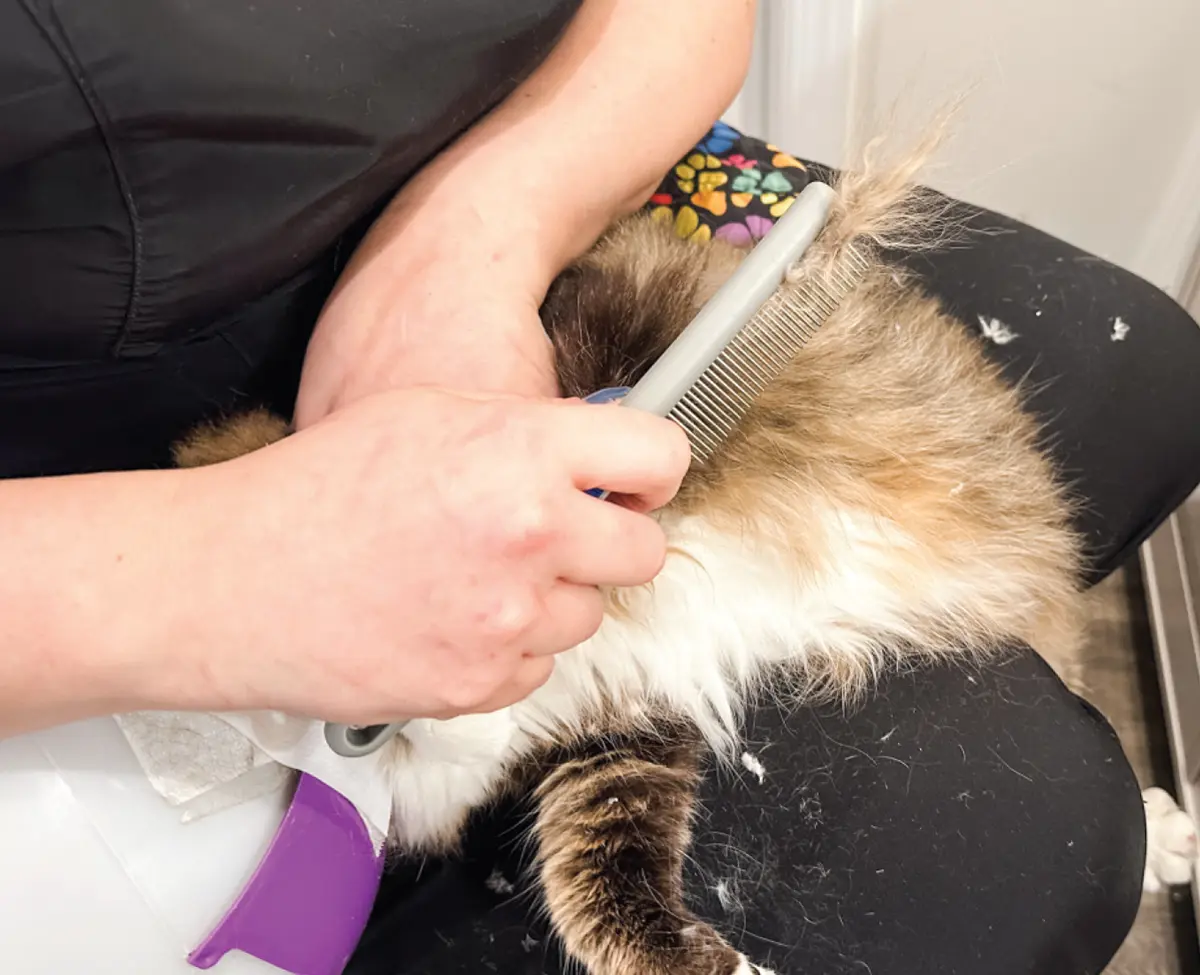

Fig 21) Once the combs can glide smoothly through the hair without catching, a de-shedding tool can be used on the back and sides. Only use gentle tools that will not cut hair or irritate skin, and always use a very light hand and brush in the direction the hair grows.