
by Blake Hernandez
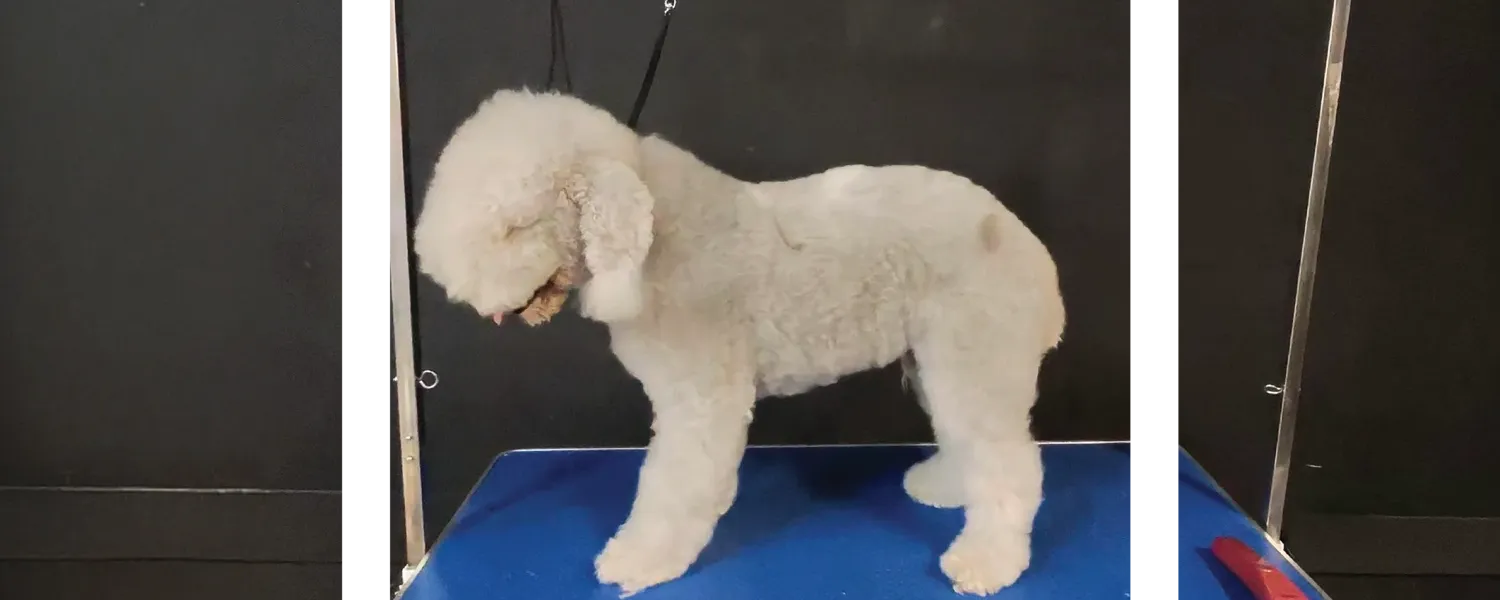
 edlington Terriers are a rare breed with a hardcore following. Their trims are super unique and often leave those who are not familiar with them wondering if they are looking at a dog or a sheep. The following will outline a breed standard trim for this distinctive and captivating breed.
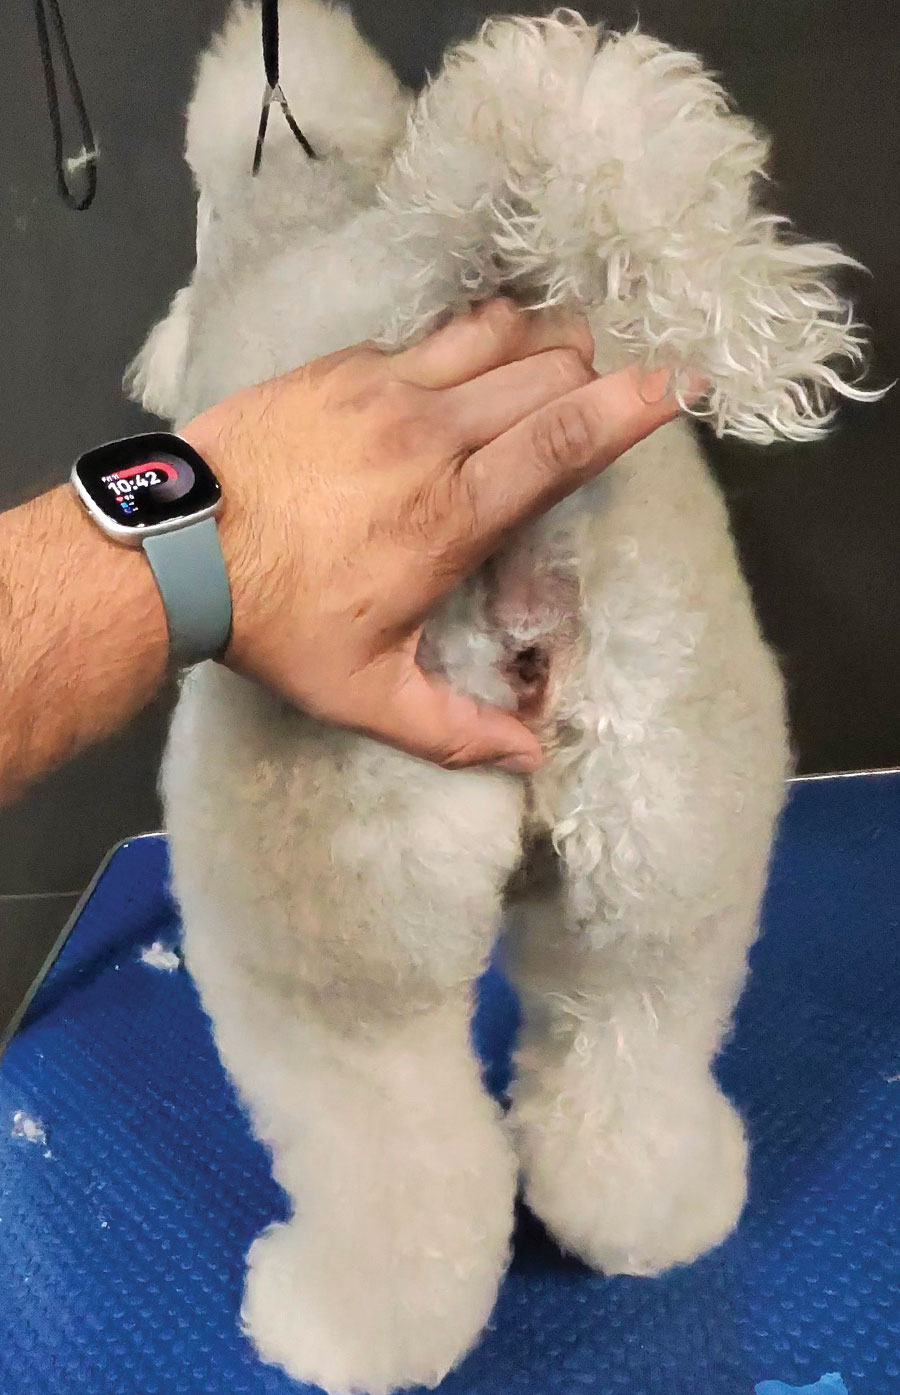
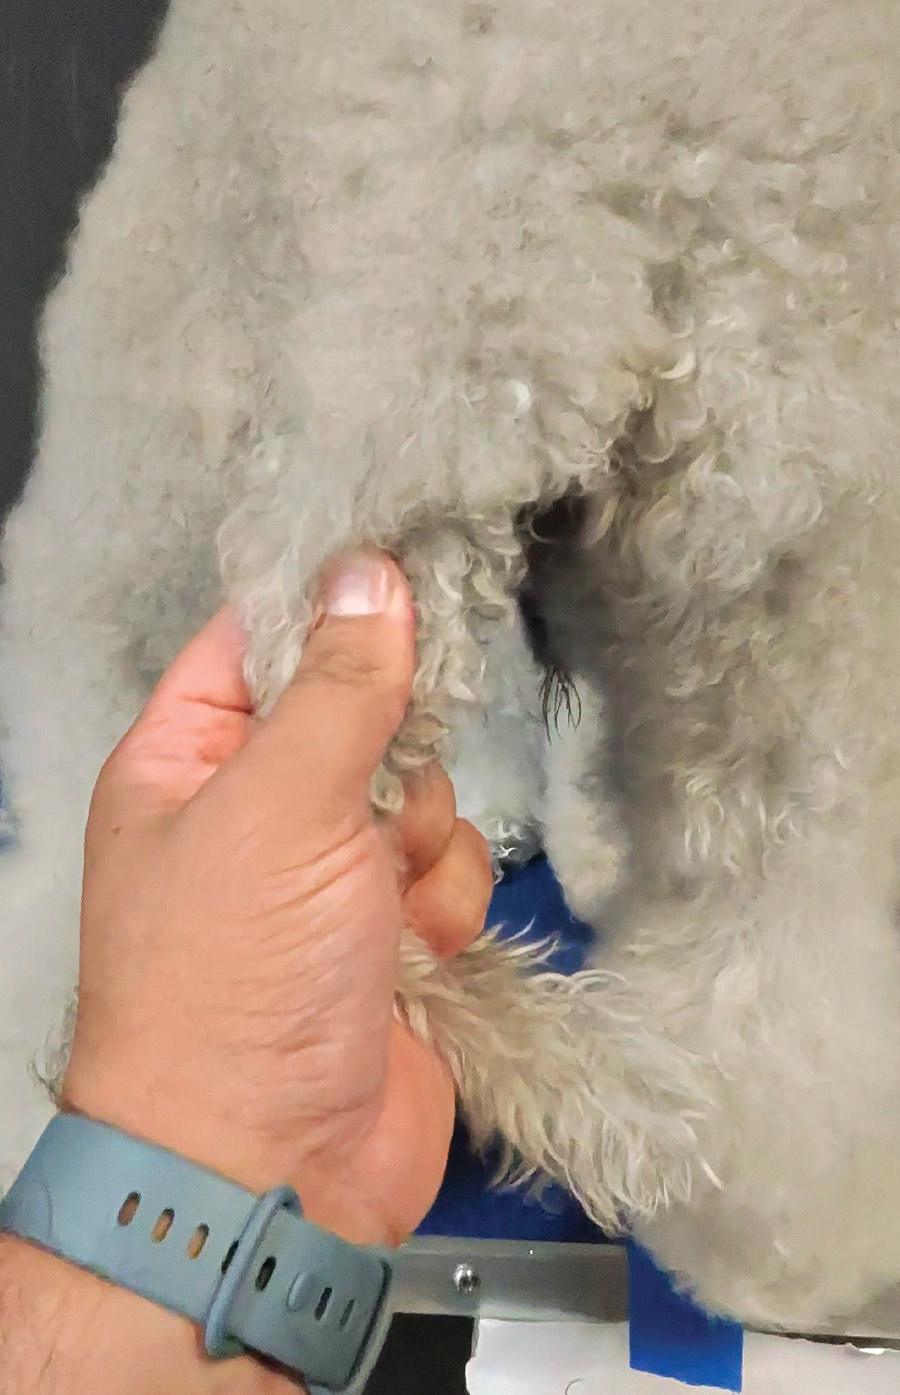
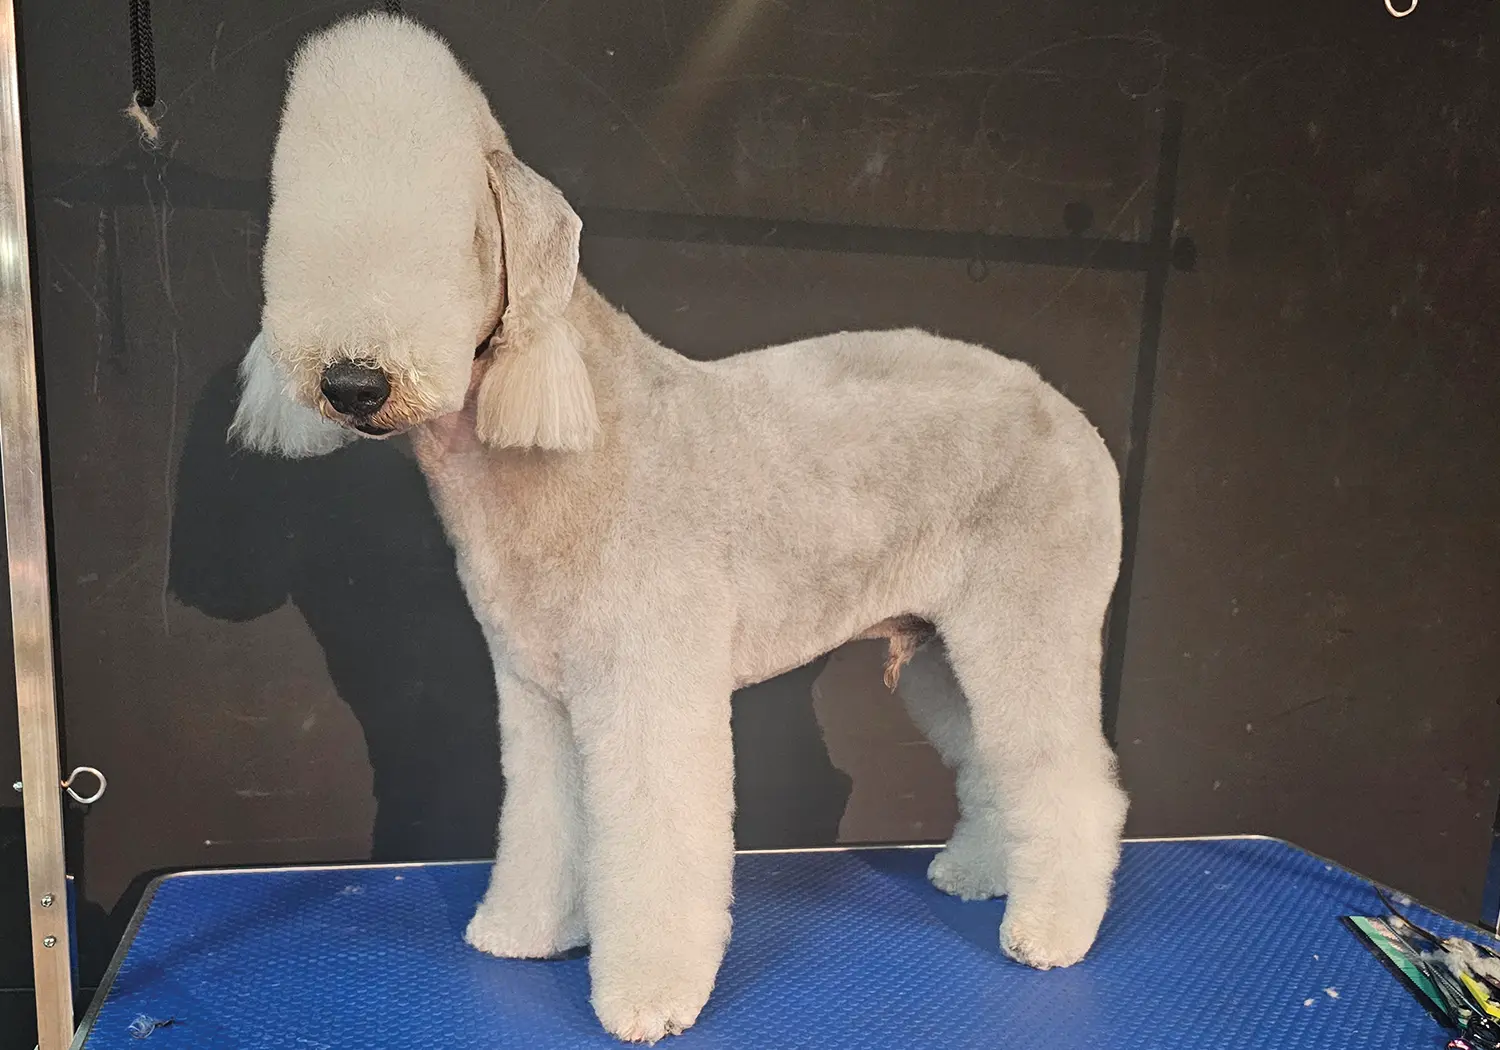
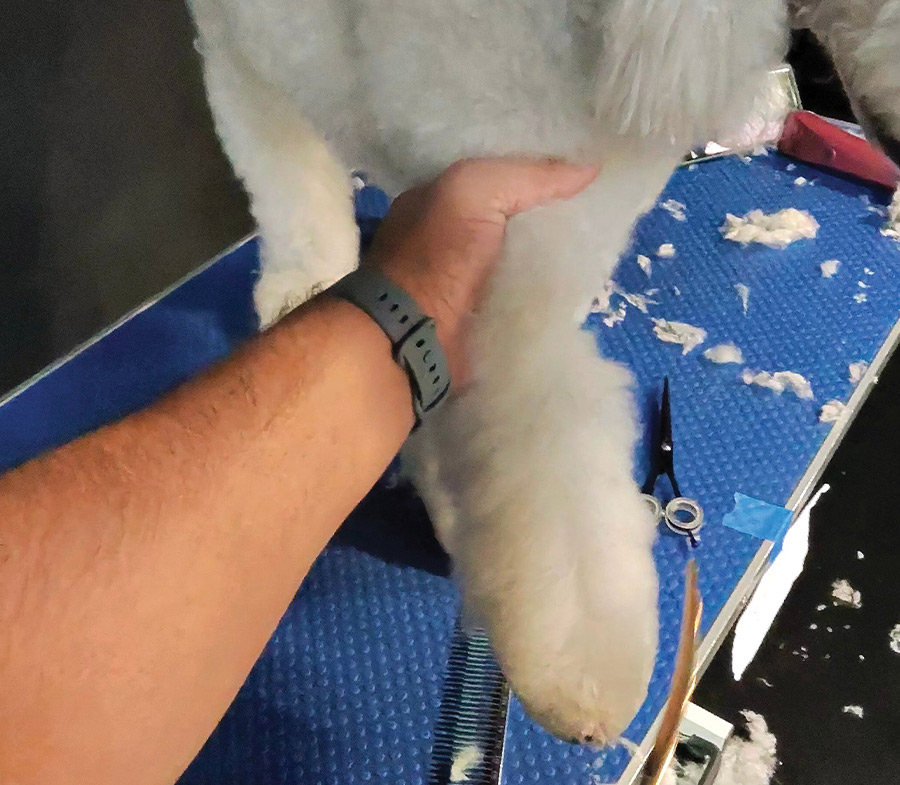
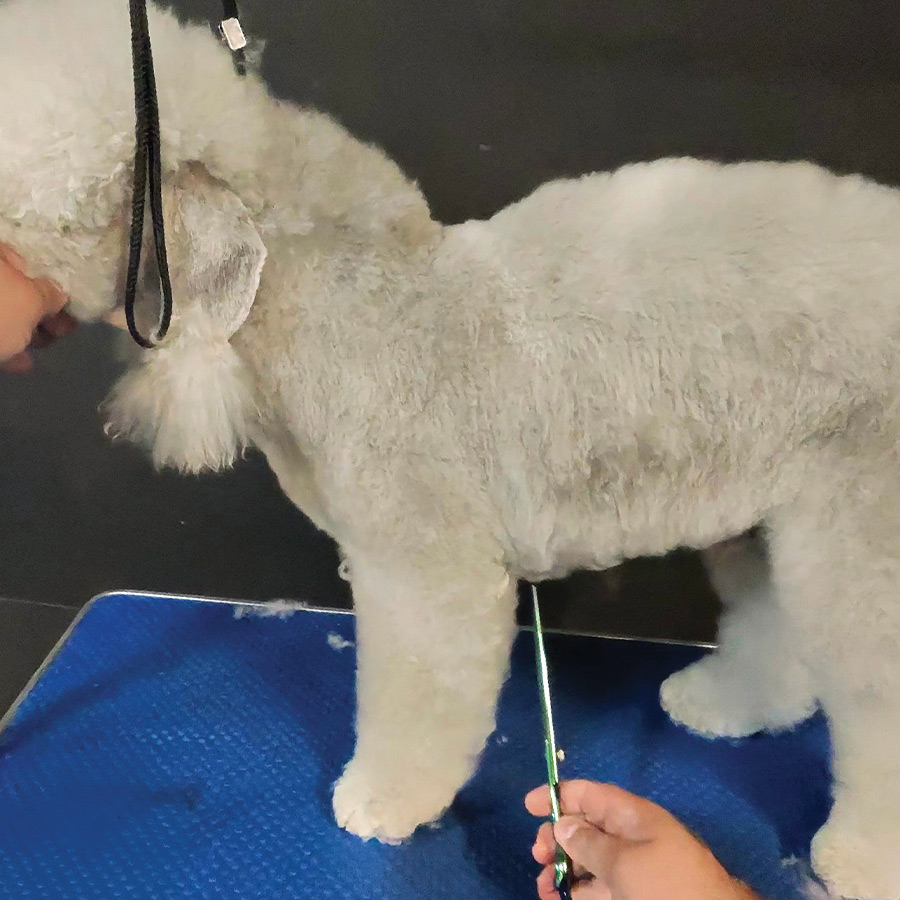
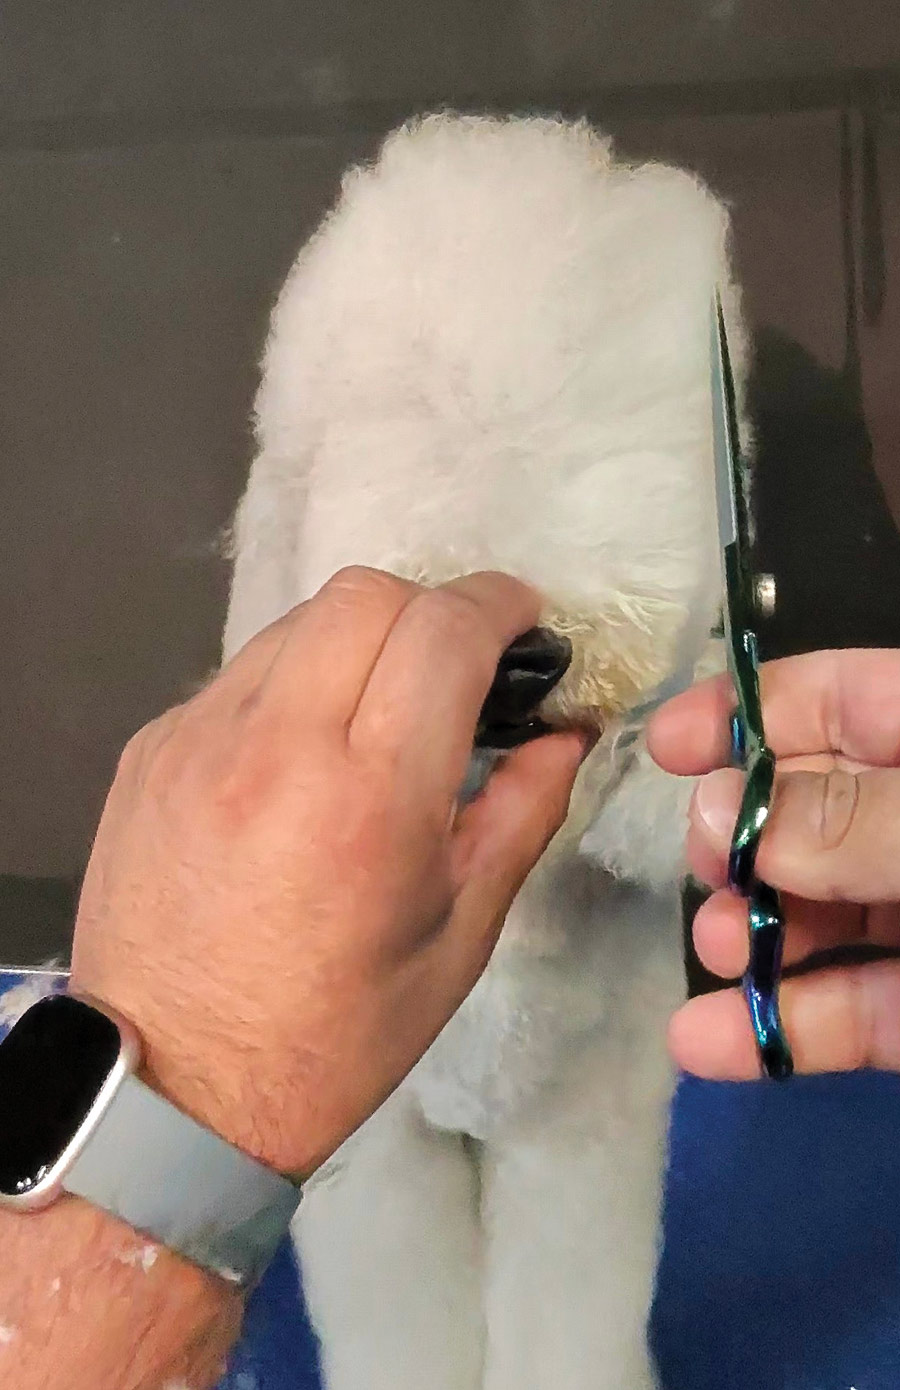
After shaving the sanitary, lift the tail to reference where the bottom of their reproductive organs begin.
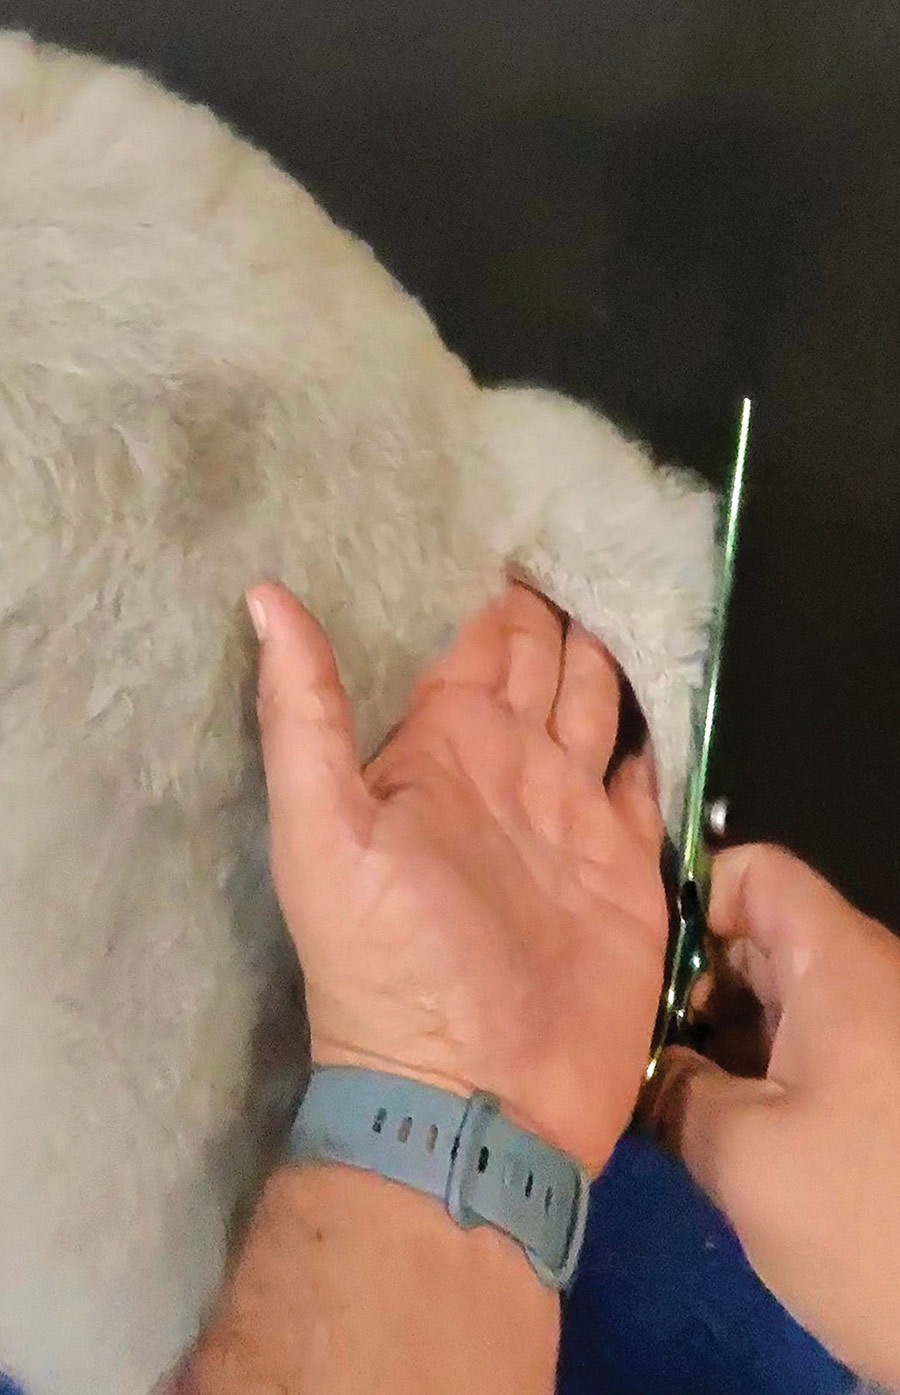
With the tail down, place your thumb at that spot and shave the tail from there to the tip.
Scissor from the point where you started clipping, continuing upward to connect the tail into the back of the dog’s roached area.
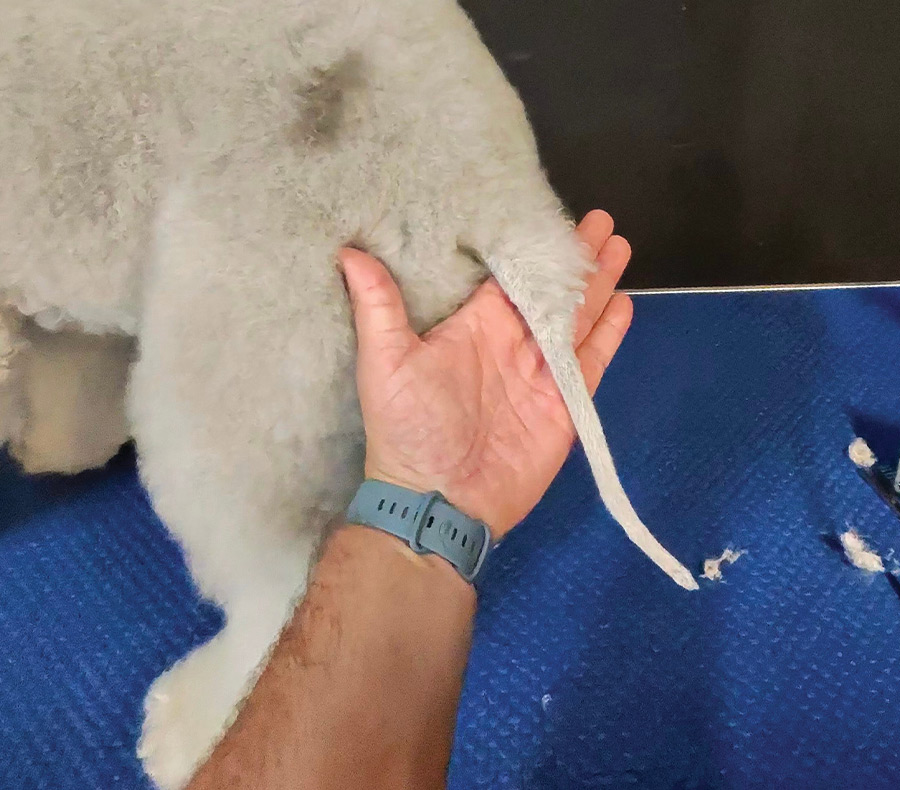
The fur left at the top of the tail should be in the shape of a “V.”
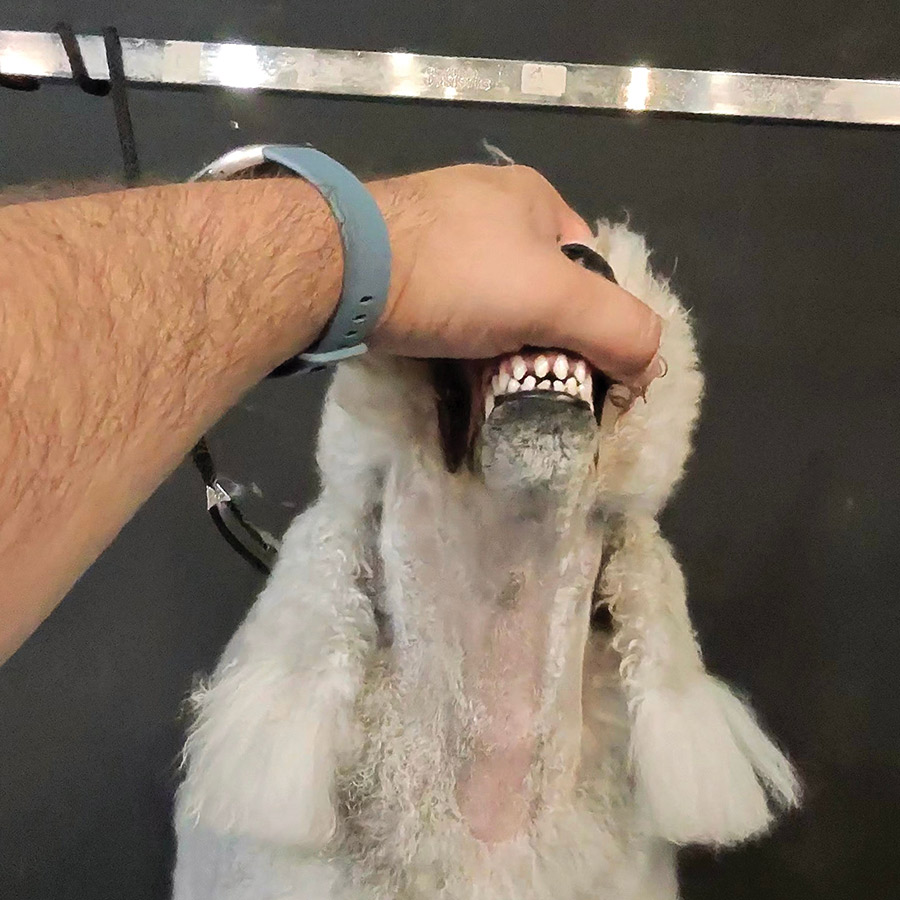
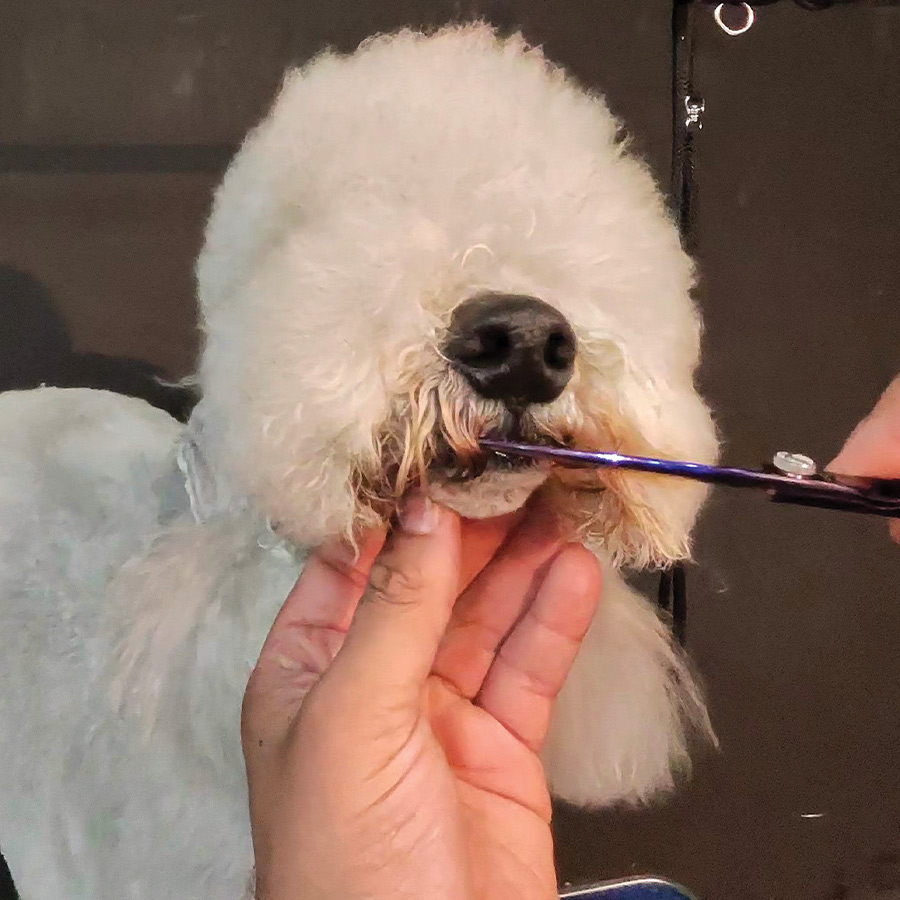
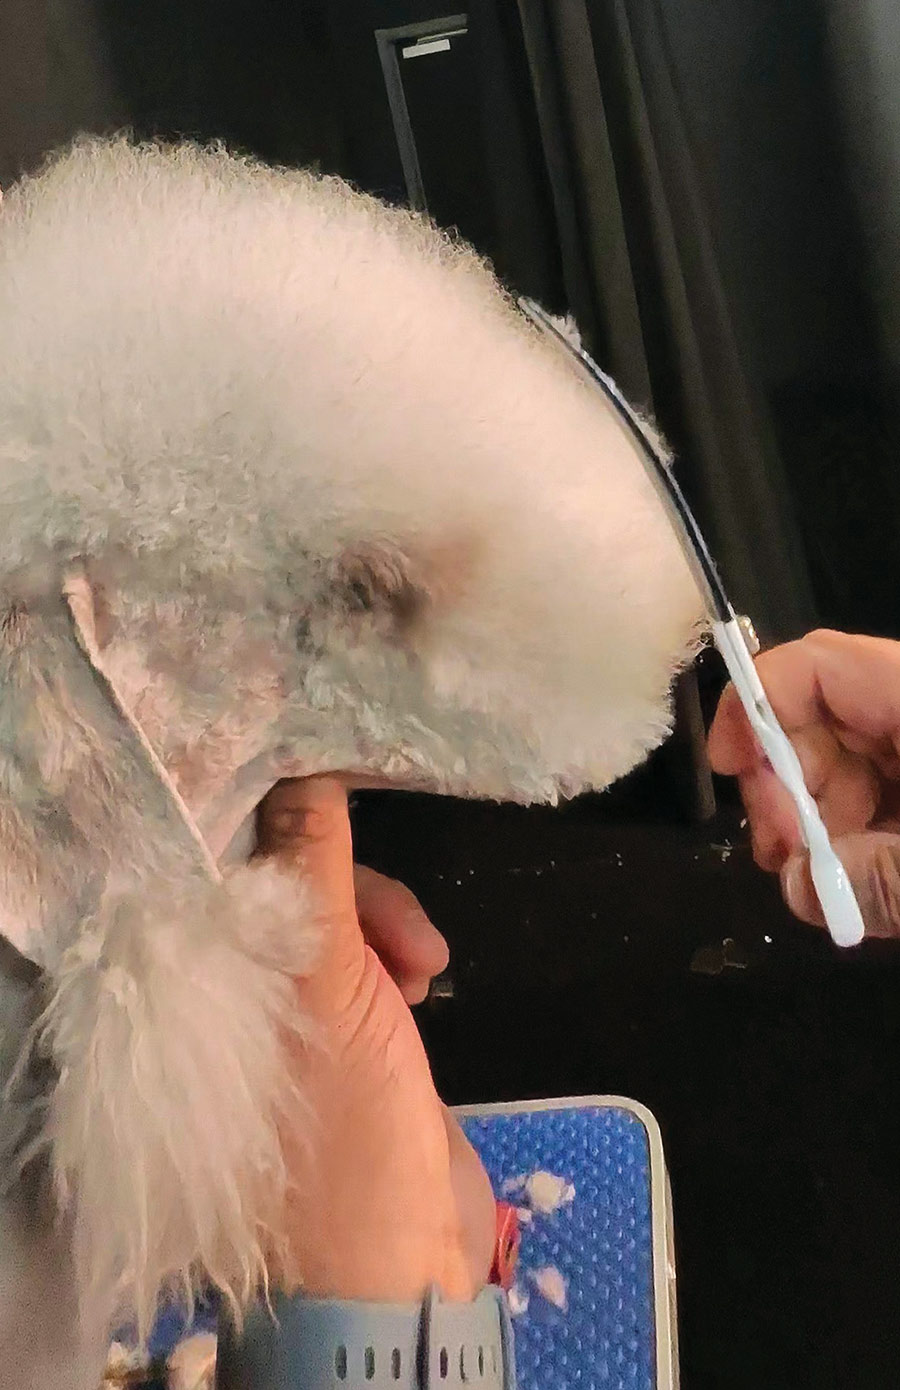
Shave the face with a #30 for a pet or #40 for show from the top corner of the ear to the corner of the eye.

The shave work should go down in a “U” shape and include the entire chin.
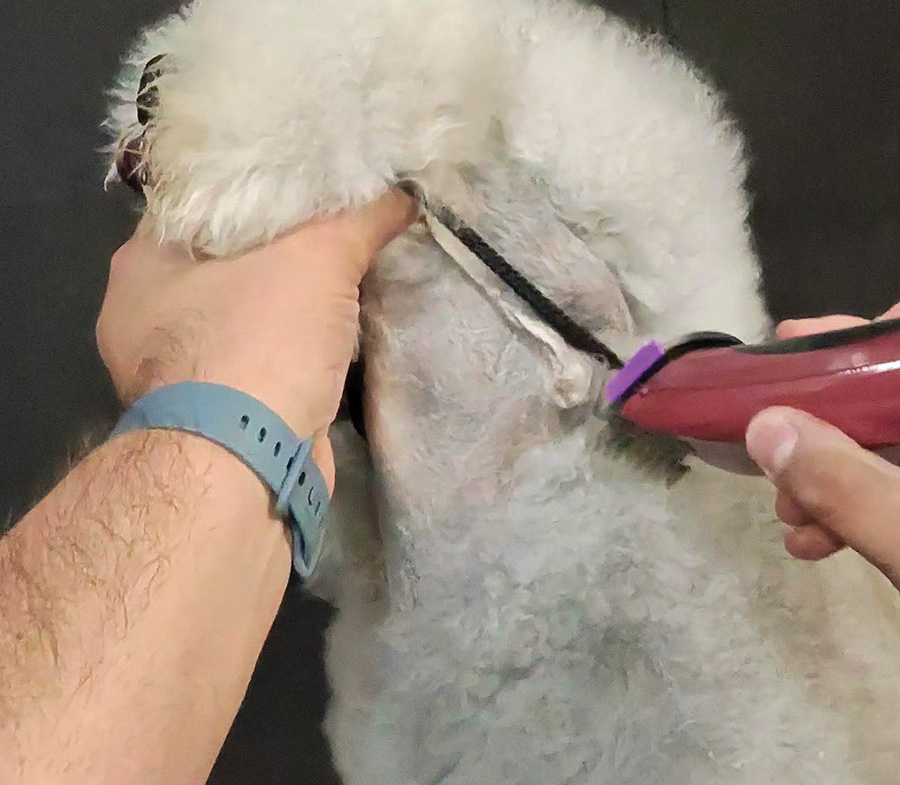
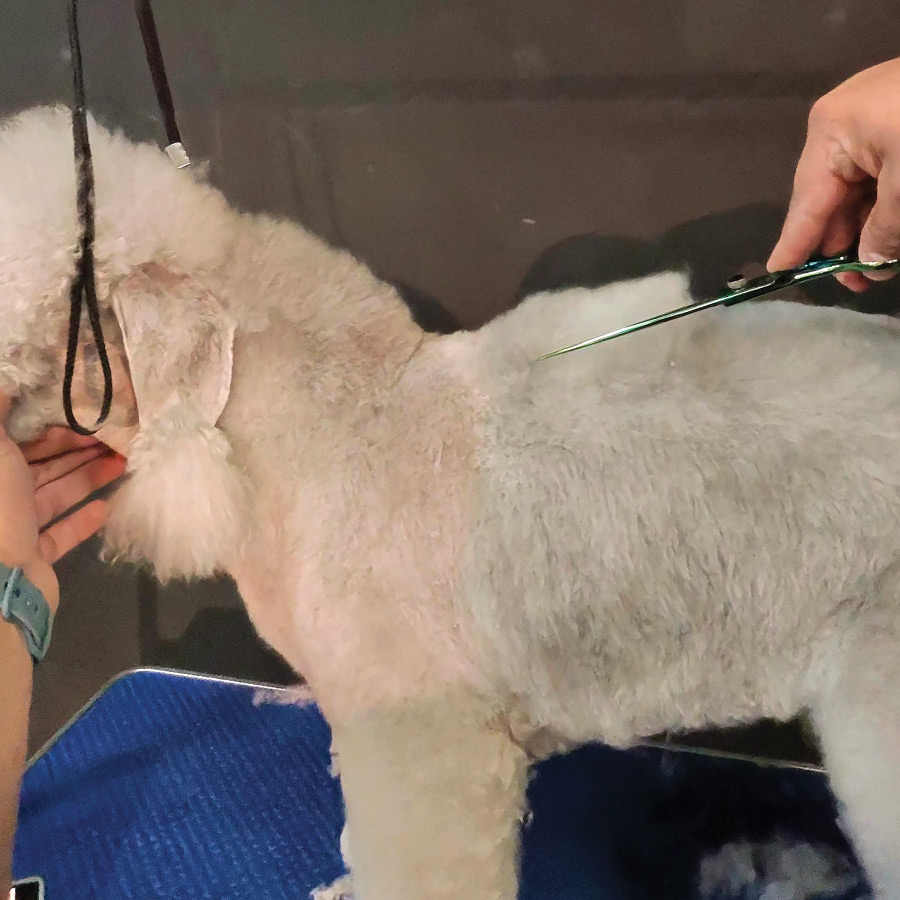
In order to give the dog length of neck and help enhance the roach, take a short guard comb down to where the dog’s shoulder blades meet on the spine.
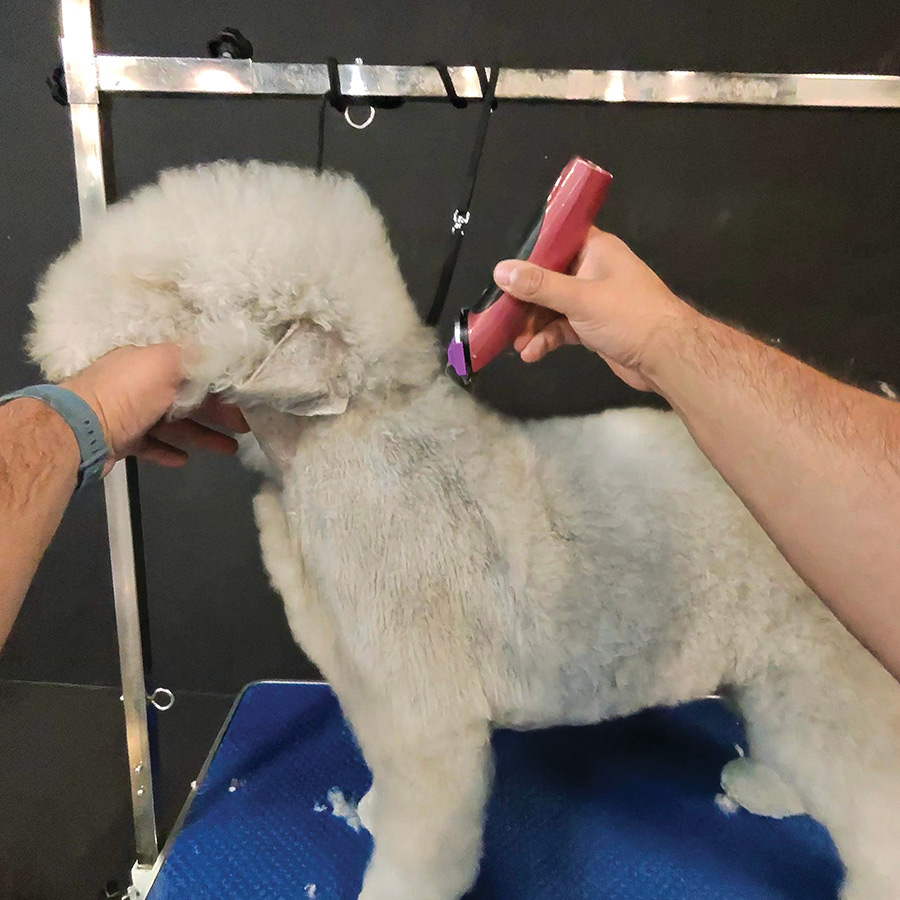
From underneath the ear to the shoulder blades, use the same short guard comb to create a more narrow and finer front.
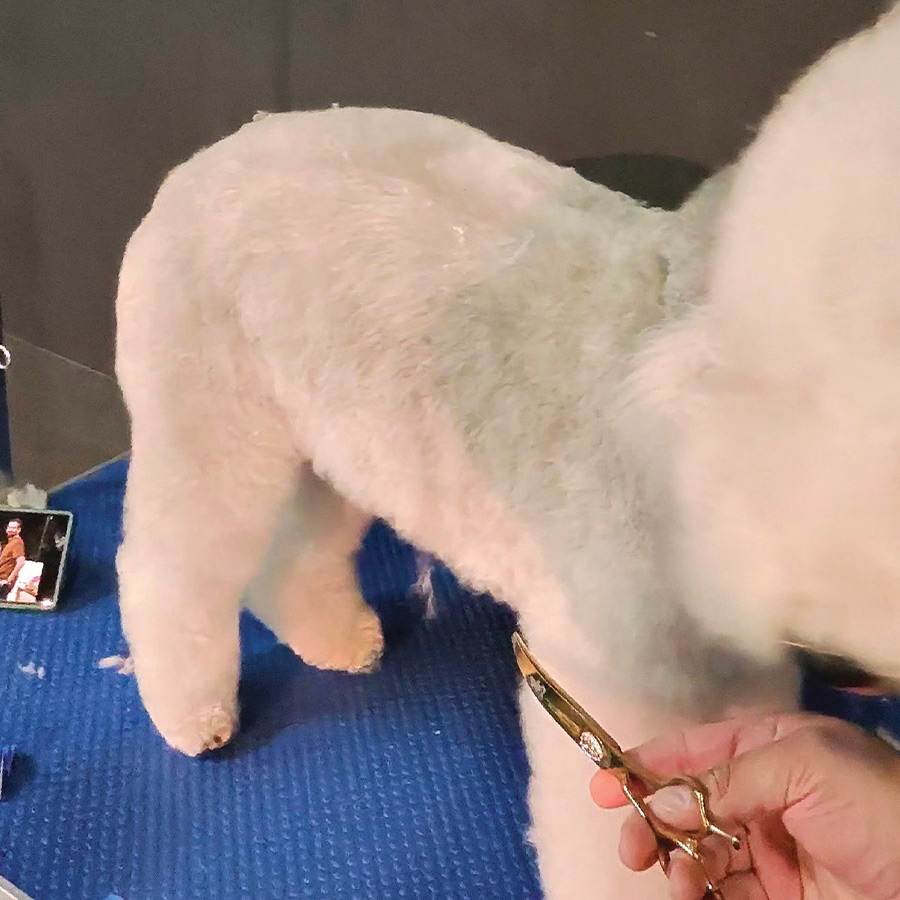
Before you can scissor the legs, you must first scissor the feet. Bedlingtons have a “hare” foot, which should look longer than your standard, round teddy foot.
Now you can scissor the legs into parallel lines. Bedlingtons are not to have “sweeping” coat, so be sure to not leave the legs too heavy.
Do the same for the back legs, making sure to look at them from all angles.
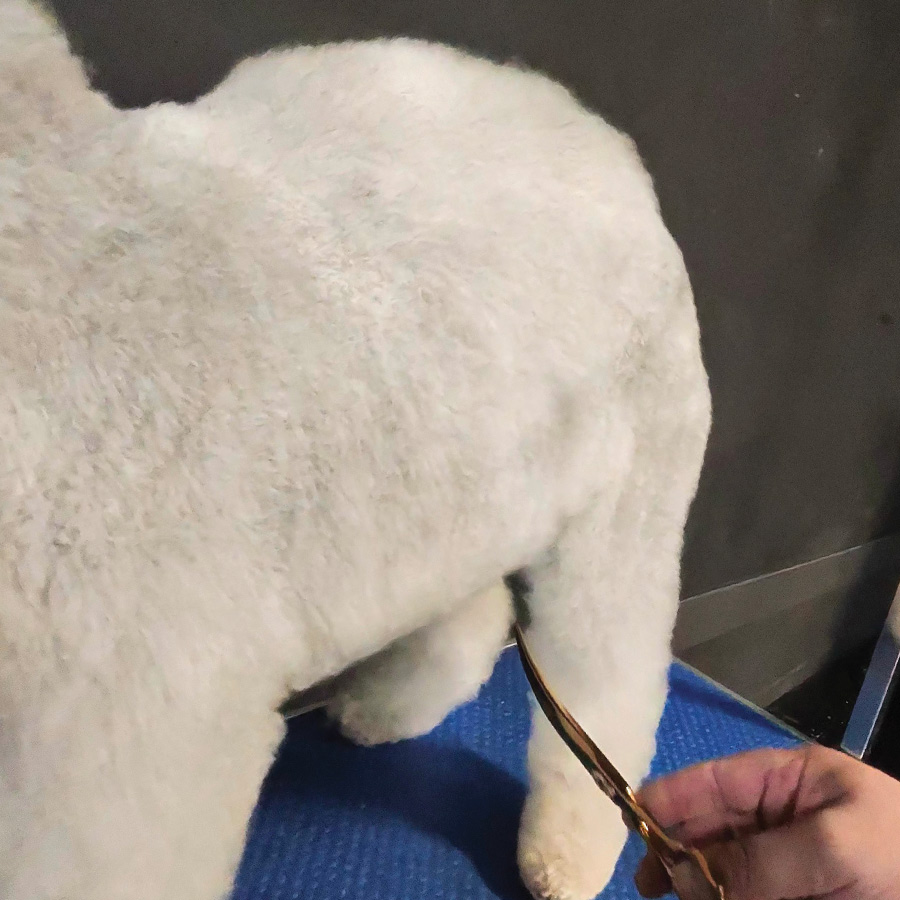
When putting a finish on the legs, be very mindful that your elbows are tucked and that you continue to scissor into parallel lines.
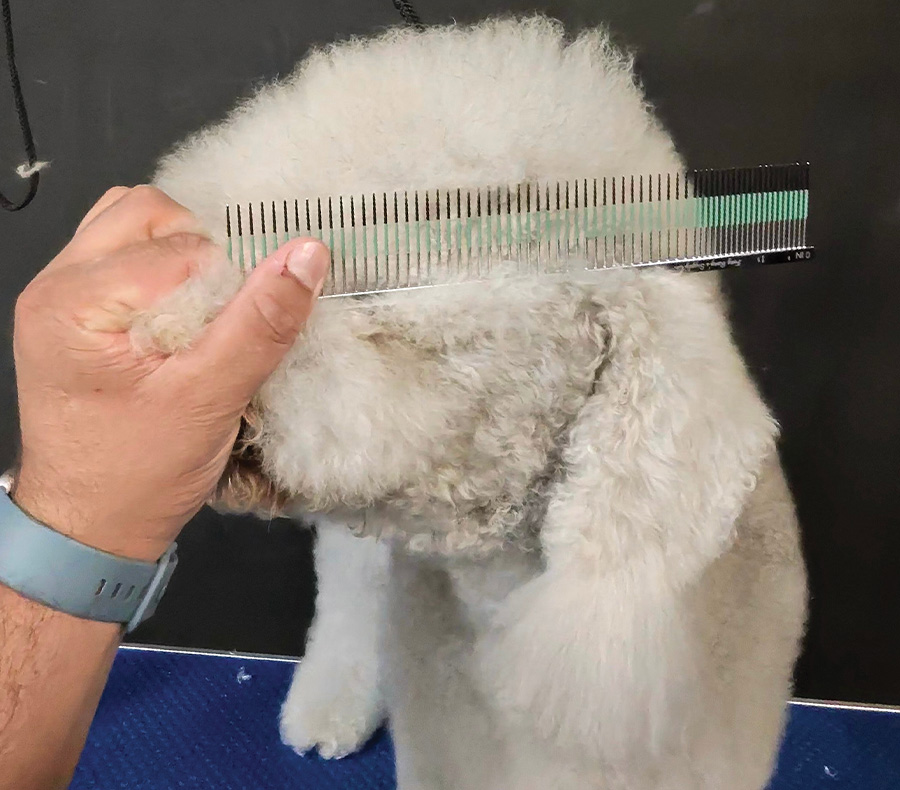
Now scissor from the “V” on the tail up into the top of the roach with a larger curved scissor.
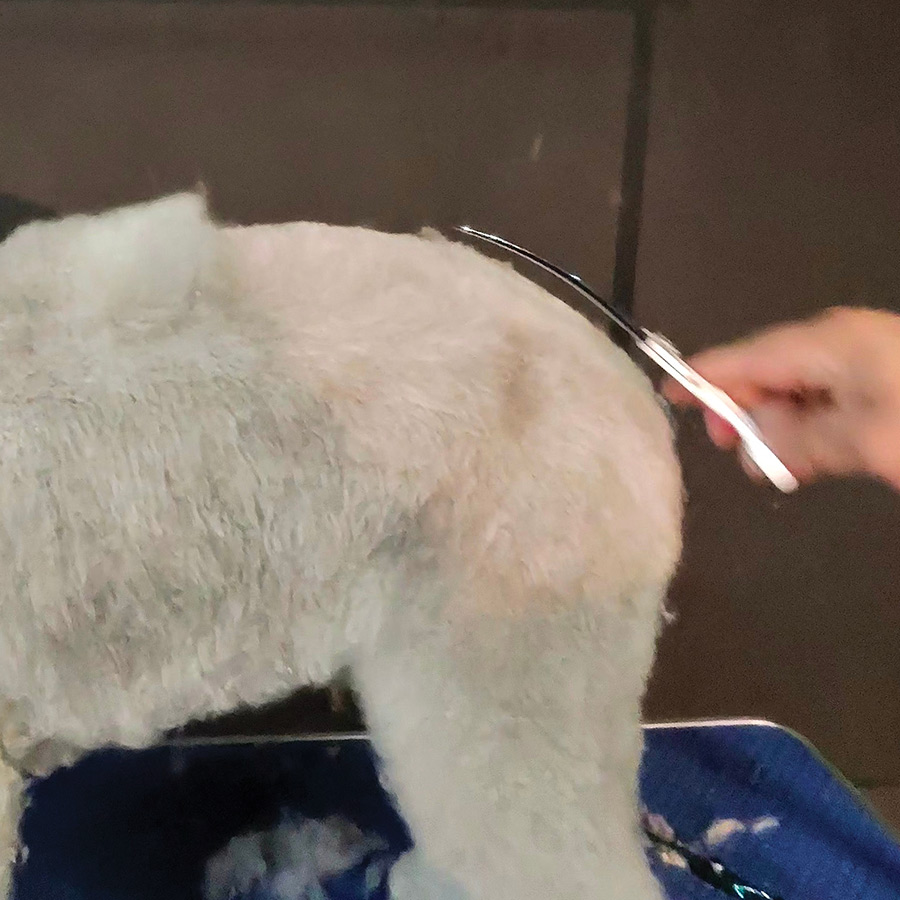
Once you reach the top of the roach, switch to a straight scissor and create a silhouette going into the dip at the withers.
When scissoring the head, start from the lip line with a straight scissor to begin setting the head up with symmetry.
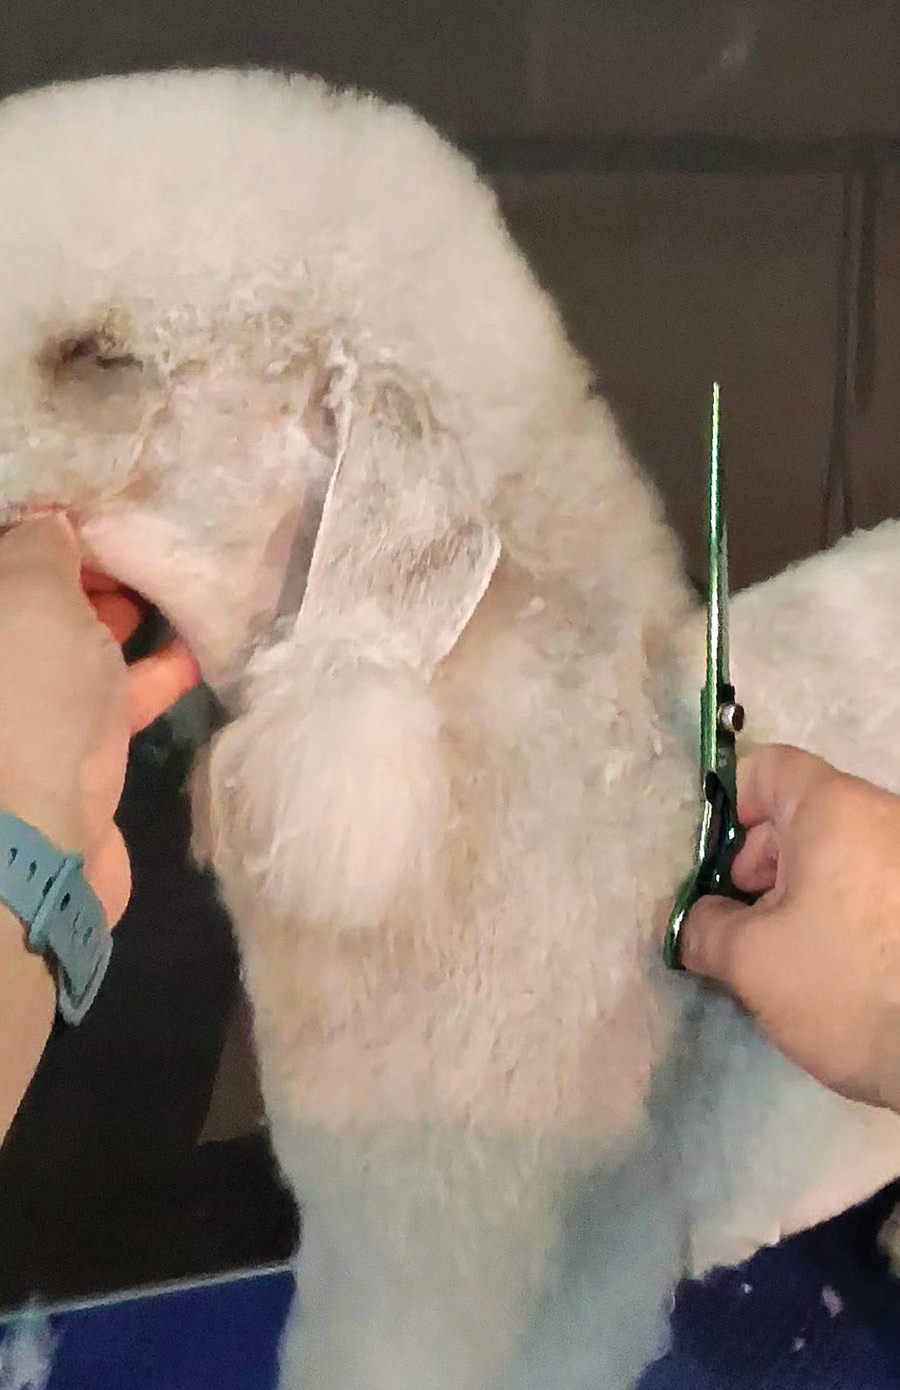
Scissor in line with the dog’s bone from the eye to the ear.
The profile of the head should have a nice curvature, which can be achieved with a curved shear.
Tilt the straight scissor slightly inward to smooth the neck into all the previously done work.