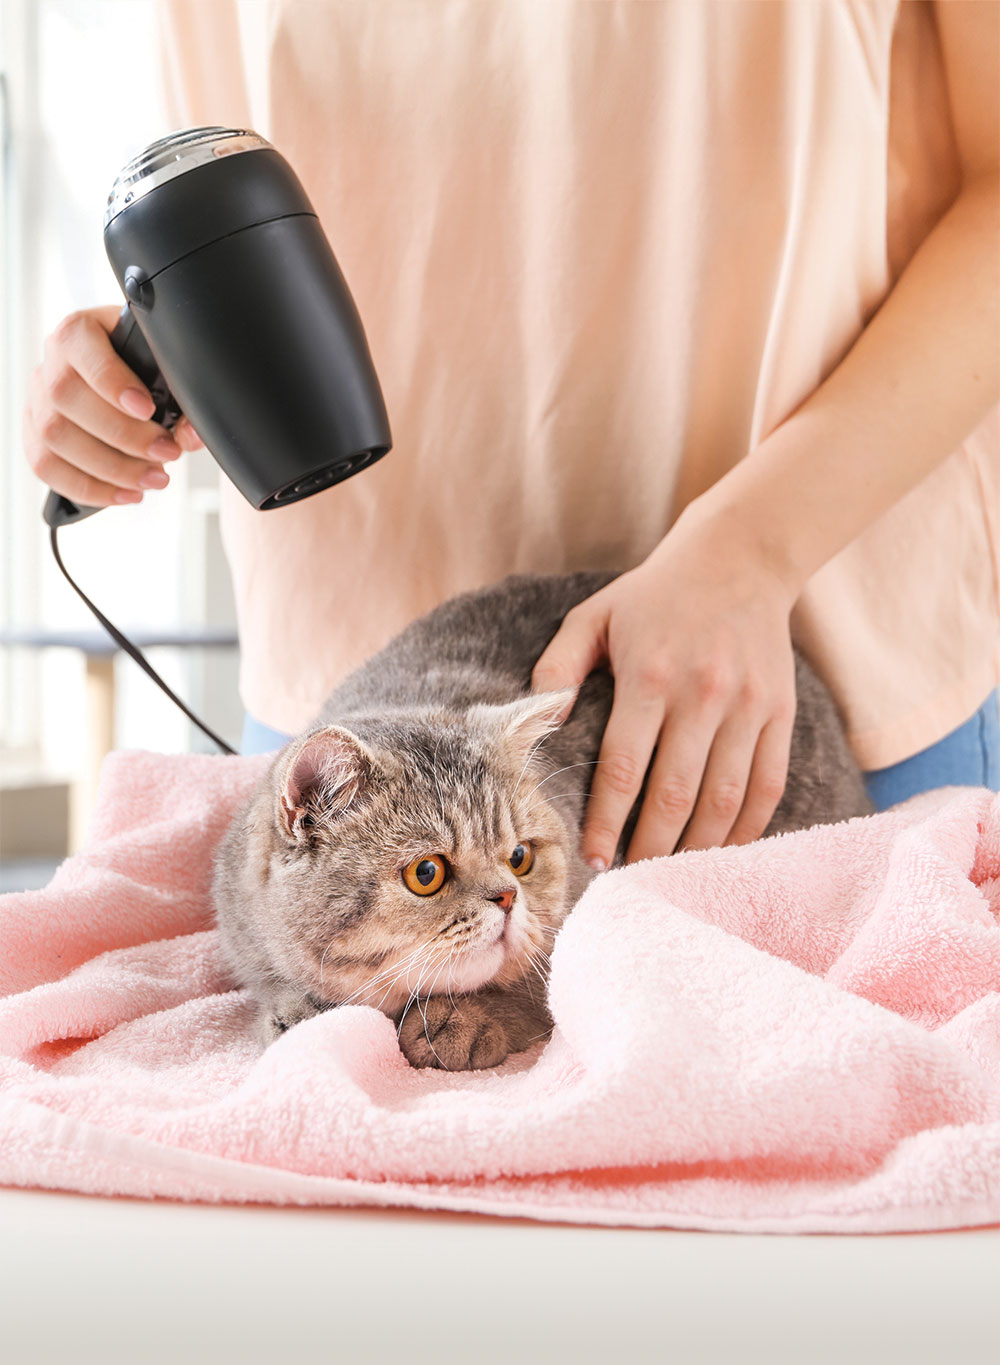
 ust like in dogs, it is important to avoid sending cats home wet or damp after grooming. However, unlike dogs, the drying process usually isn’t as straightforward and can easily lead to overwhelmed and stressed-out cats.
In this article, we’ll explore the various drying methods, how to select the appropriate drying methods for each cat, and discuss strategies to make blow-drying a low-stress experience for cats and improve the quality of the finished groom.
Should We Blow-Dry Cats?
Time is an important factor to consider when grooming cats. Many cats have a “turkey timer,” meaning they will run out of patience, thus ending the groom on their own terms. Because of this, we have to be efficient when choosing which techniques and services are the best fit for each cat.
A quiet, low-powered dryer may be easier to introduce to some cats, but it can take substantially longer to fully dry a long or thick coat, making it a poor choice to do the bulk of the drying. A combination of methods is often the best to balance noise level, cat tolerance and time needed to thoroughly dry all the way to the skin.
HV Blow-Dryer
However, using a lower-powered dryer means it will take a good bit longer to fully dry the cat compared to an HV dryer, and will require brushing or combing to fully remove the excess dead hair and any minor mats. Some cats may not tolerate the additional brushing or the additional time needed with this style of dryer, so it is best to use these for final fluff-drying or limited-area finish-drying like heads and tails.


- Start Young. If possible, introduce kittens to blow-drying and grooming early. Younger cats adapt more quickly to new experiences, including the sounds and sensations associated with blow-drying.
- Control a Calm Environment. Before you start, ensure the grooming area is quiet and free from other stressors. Limit interruptions and uncontrolled loud noises like dogs barking, doors slamming shut, phones ringing, etc.
- Use Head/Ear Coverings. Part of introducing new, louder noises can be muffling those sounds to make some cats feel safer. A small towel, Happy Hoodie, or even an e-collar or muzzle can prevent air from blowing directly into their ears or face. Even sweet, compliant cats may benefit from one of these options in order to keep them happy while drying the majority of the body, legs, chest, belly and tail. Then only around the head and face are done without the additional muffling.
- Practice Desensitization. Before using the dryer on the cat, let it get used to the sound. Turn the dryer on a few feet away from the cat, allowing it to observe and listen from a safe distance. Gradually bring it closer, making sure to adjust based on the cat’s reactions.
- Mind the Temperature. Always use a low heat setting to avoid overheating or burning the cat’s skin. The sensation should be warm and soothing, not hot.
- Start on the Sides. I’ve found the most success in starting the drying process on the cat’s sides around the ribcage. This is far enough from the head and face to not freak them out, but also not close to the rear end, which can stimulate them to pee. Hold the HV nozzle close to the skin and work in small circles; not in jerky or fast movements.
- Work on Legs and Underside Early On. If a cat is going to lose patience during the blow-drying, the last thing you want to be working on are the areas that are more difficult to get to, like the legs and belly. Instead, follow the cat as they walk or shift around so that you can focus on the inner legs and belly as much as you can early on in blow-drying. You’ll most likely need to go back to those areas if the cat doesn’t want to be handled or moved to reach them.

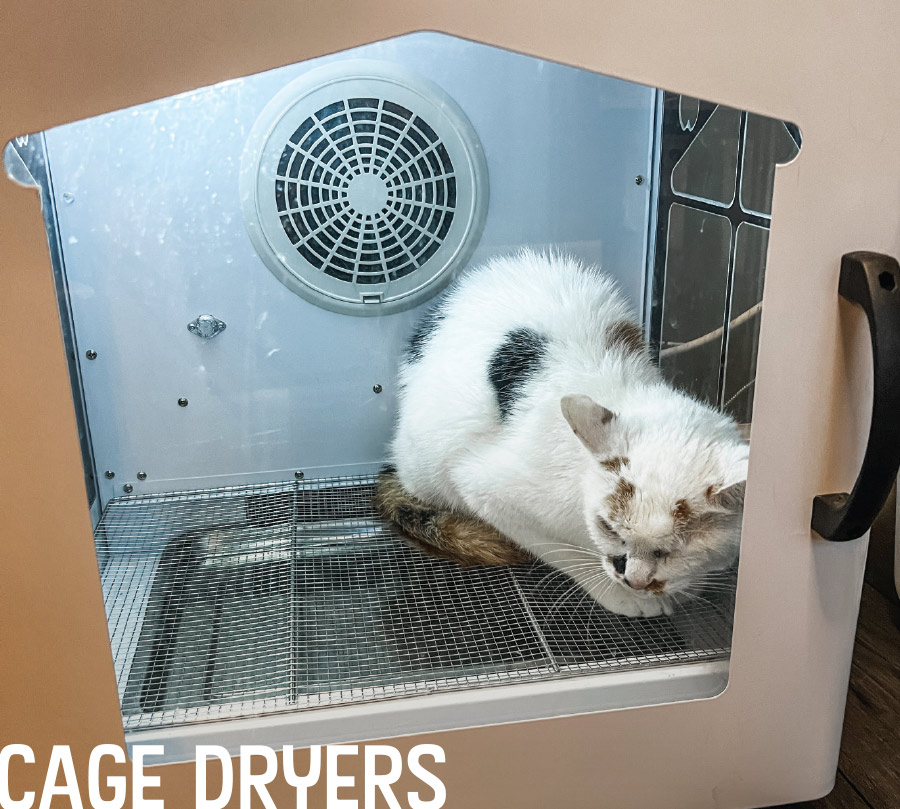
Occasionally, I won’t use the HV dryer around their head and face, instead letting them sit under a low fan for the last 10-15 minutes of drying in a cage dryer to finish around those areas, making sure to comb those areas a few times so the hair doesn’t clump together. Over several grooms, a cat can better be introduced to different drying methods and you’ll be able to finish around the head and face without causing too much stress.
For the legs and underside, I will either roll them gently onto their sides or lift up under their armpits or belly while the cat stands. I make sure the cat’s bodyweight is supported by their legs, which prevents the cat from lifting and tucking their legs so I am better able to blow-dry the crooks of those areas more thoroughly. Gently lifting one leg also lets me reach underneath to dry the inside of the opposite leg.
The flat or water-peeler-style nozzles are my favorite for cat legs and paws. I only use them on longer hair while holding the dryer a bit further from the skin so as not to whip the long hair around. Short, dense hair will take a surprising amount of time to dry, so do not neglect to get those areas dry all the way to the skin.
By incorporating these techniques and tips into your grooming routine, you can ensure that the blow-drying experience is safe and comfortable for both you and your feline clients.