
by Blake Hernandez
After
Before
The Poodlington trim is simply putting a Poodle into the best breed standard Bedlington trim that they can be in with their structure. I have had regular doodle clients keep their dogs in a “Doodlington,” and even a few Bichons that like to have an “Asian Fusiongton” headpiece. Once you work it into your repertoire, it is definitely a stand-out haircut.

Fig 1) I like to start by shaving that breed-characteristic rat tail. On pets, I use a #30.
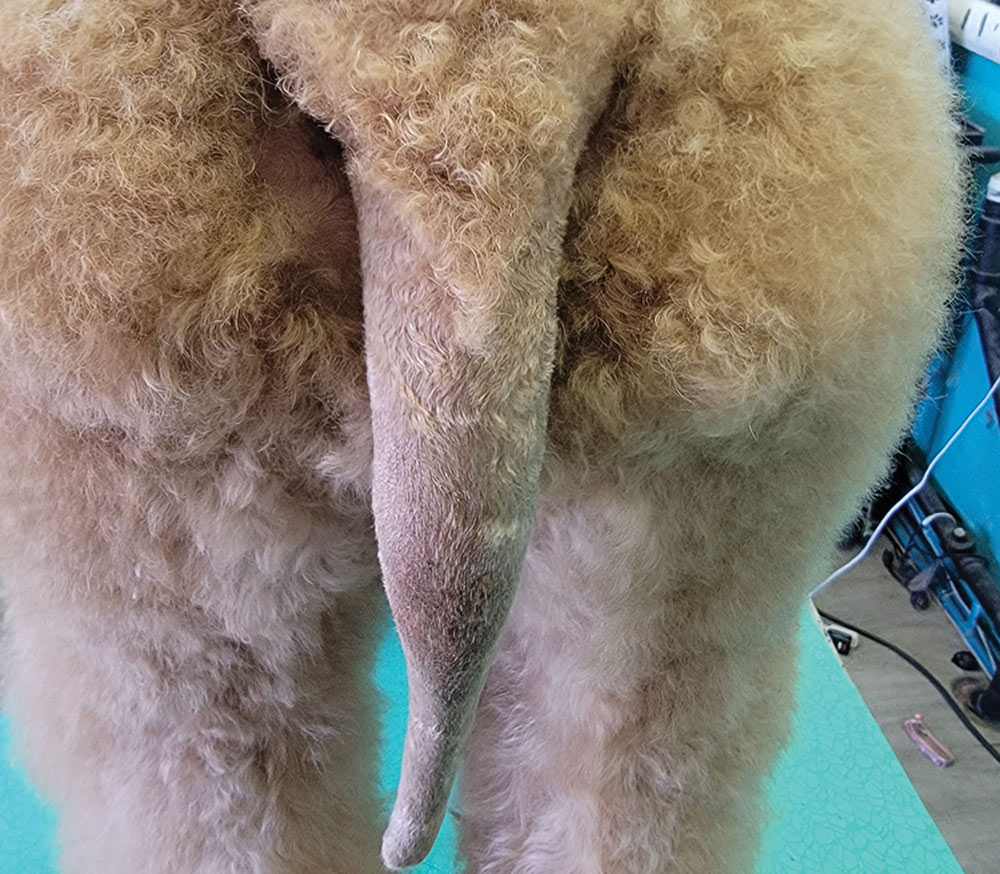
Fig 2) This is roughly the shape that you clip in (before any scissoring) to help connect your low tail set to the back of the dog’s roach area.
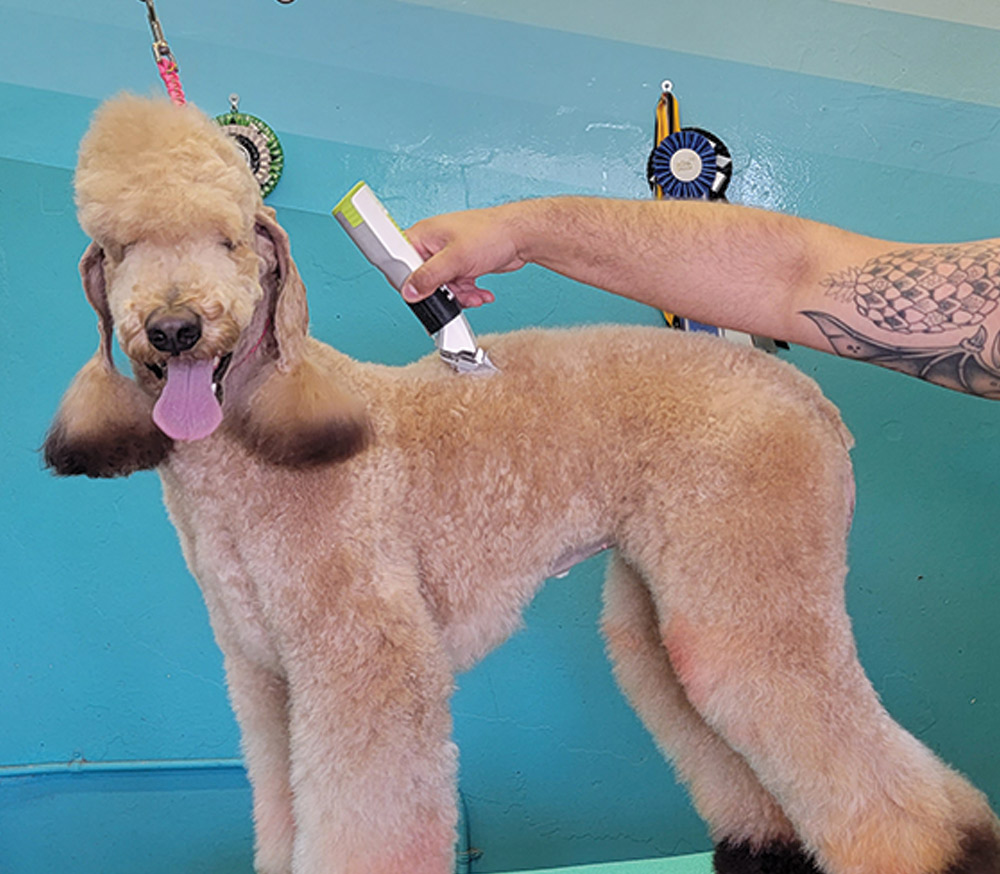
Fig 3) Because it’s a pet trim, I like to keep the roach pretty tame. I usually clip it to one inch so that I know it won’t be unmanageable.
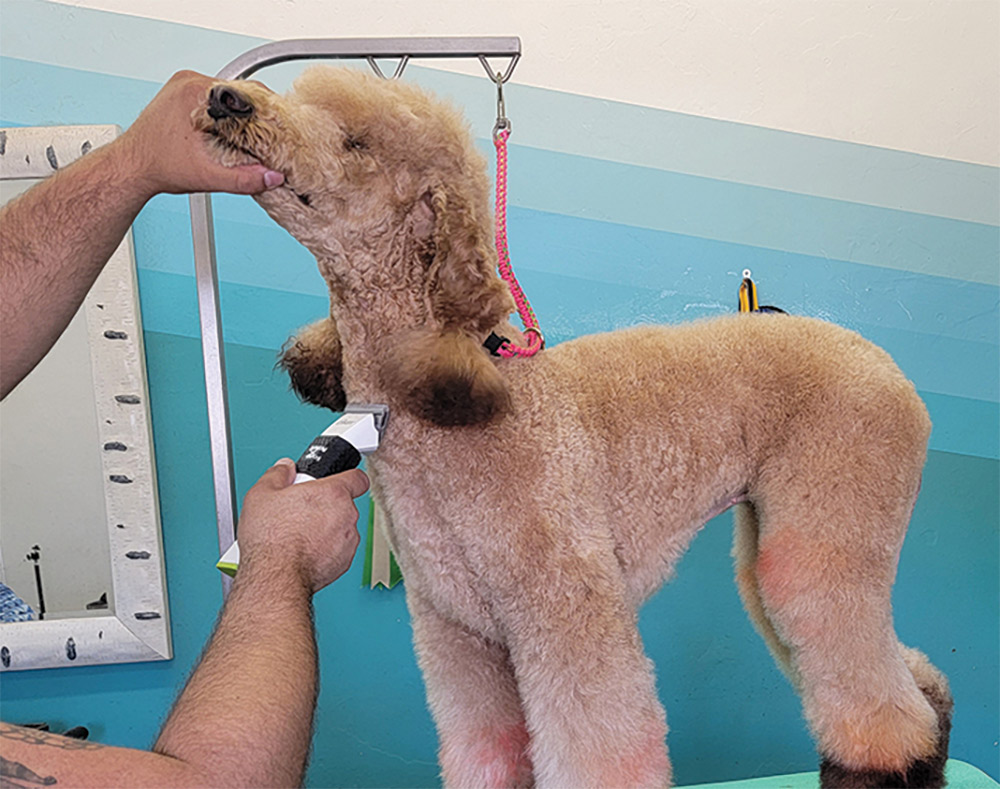
Fig 4) Bedlingtons have shaved necks and parts of their faces shaved as well, so I will go to the front and start with a “U” shave rather than a “V,” like we would on American Poodle clips. You will also need to shave the ears into tassels and trim the edges.

Fig 5) Right where the shoulders meet, I will take a #7 and bring it all the way down. This helps set the front of where your roach begins.
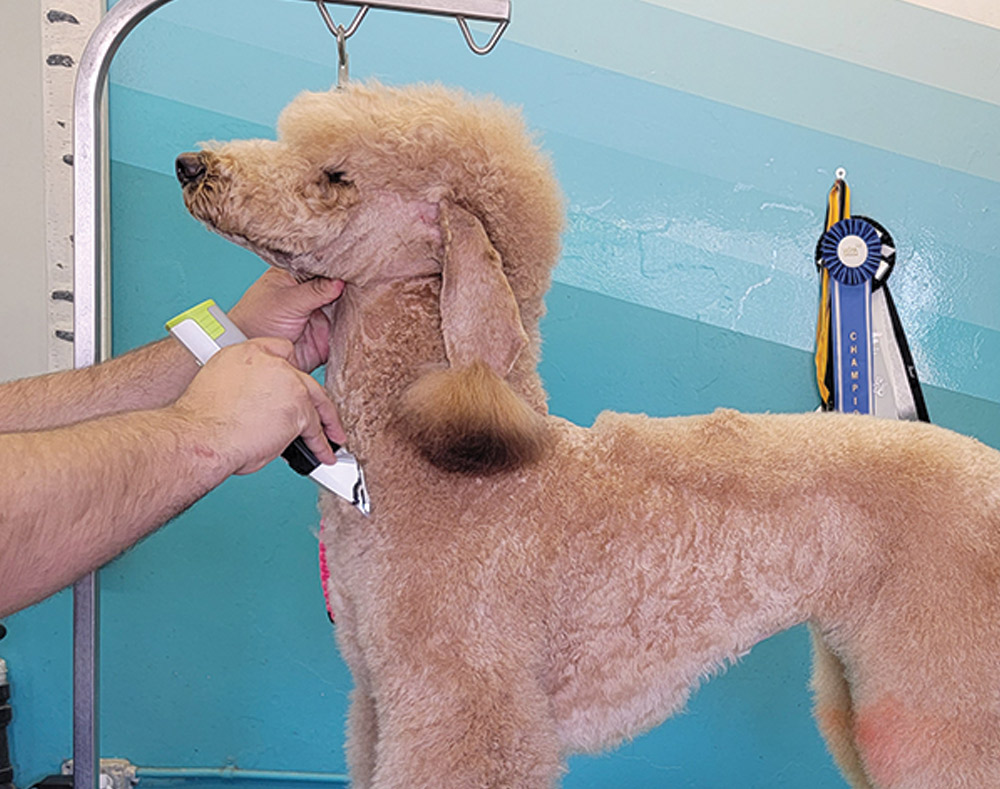
Fig 6) They have a long-legged “Terrier front” that is less angled and more flexible for their line of work. So, I clip the front of the chest very tight to give a straighter appearance in front of the dog down to the toes. On this dog, I used a 3/8″ guard comb.
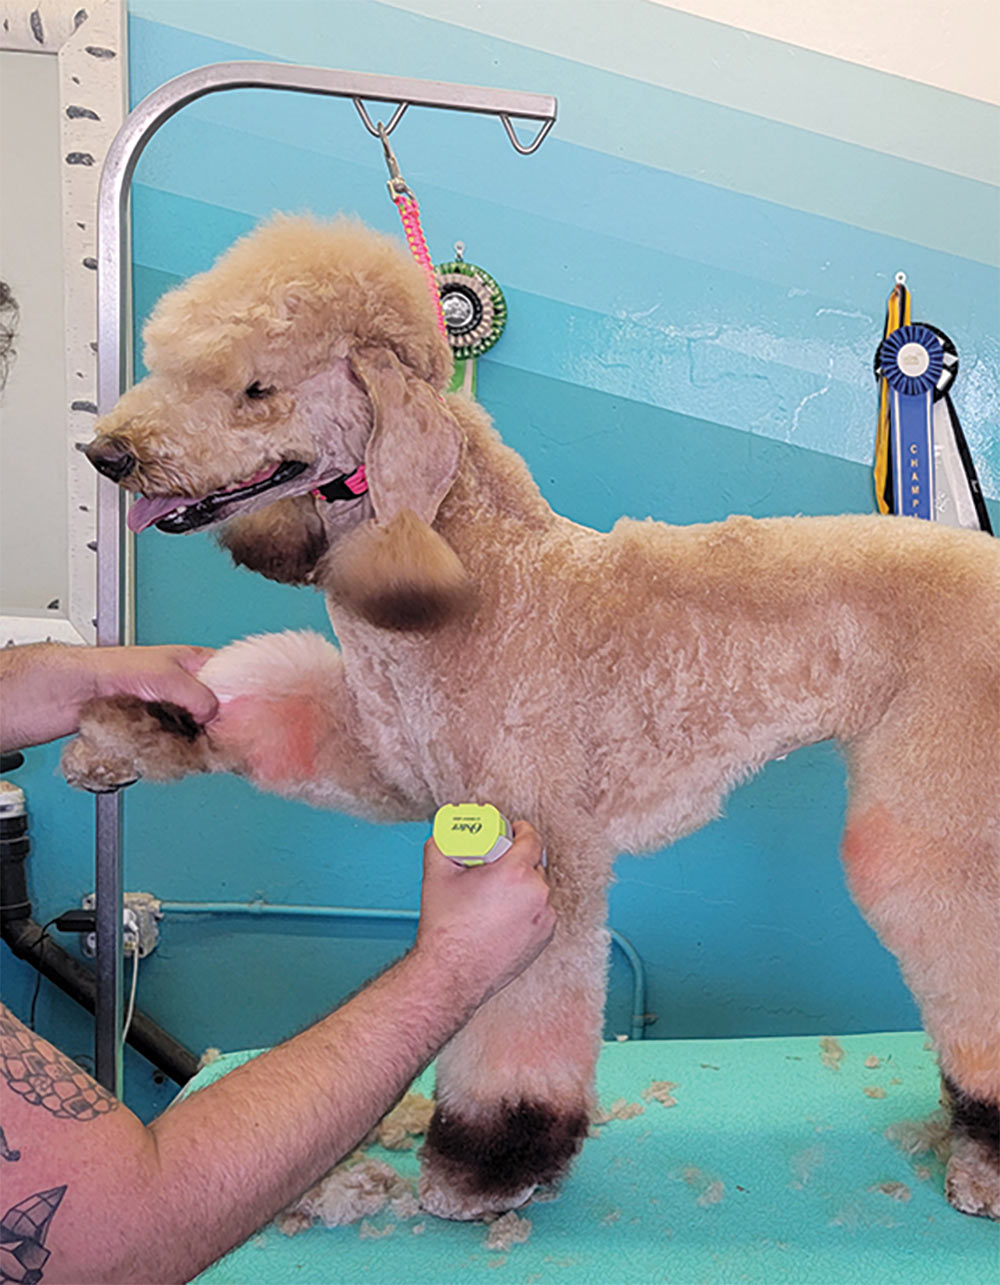
Fig 7) The biggest mistake people make on this trim is leaving too much flare and fluff on the legs. Bedlingtons are a lithe breed and need tight legs to accentuate their racy body. I like to just rough-clip them down with a one-inch guard so that I’m forced to do a tighter, form-fitting scissor finish.
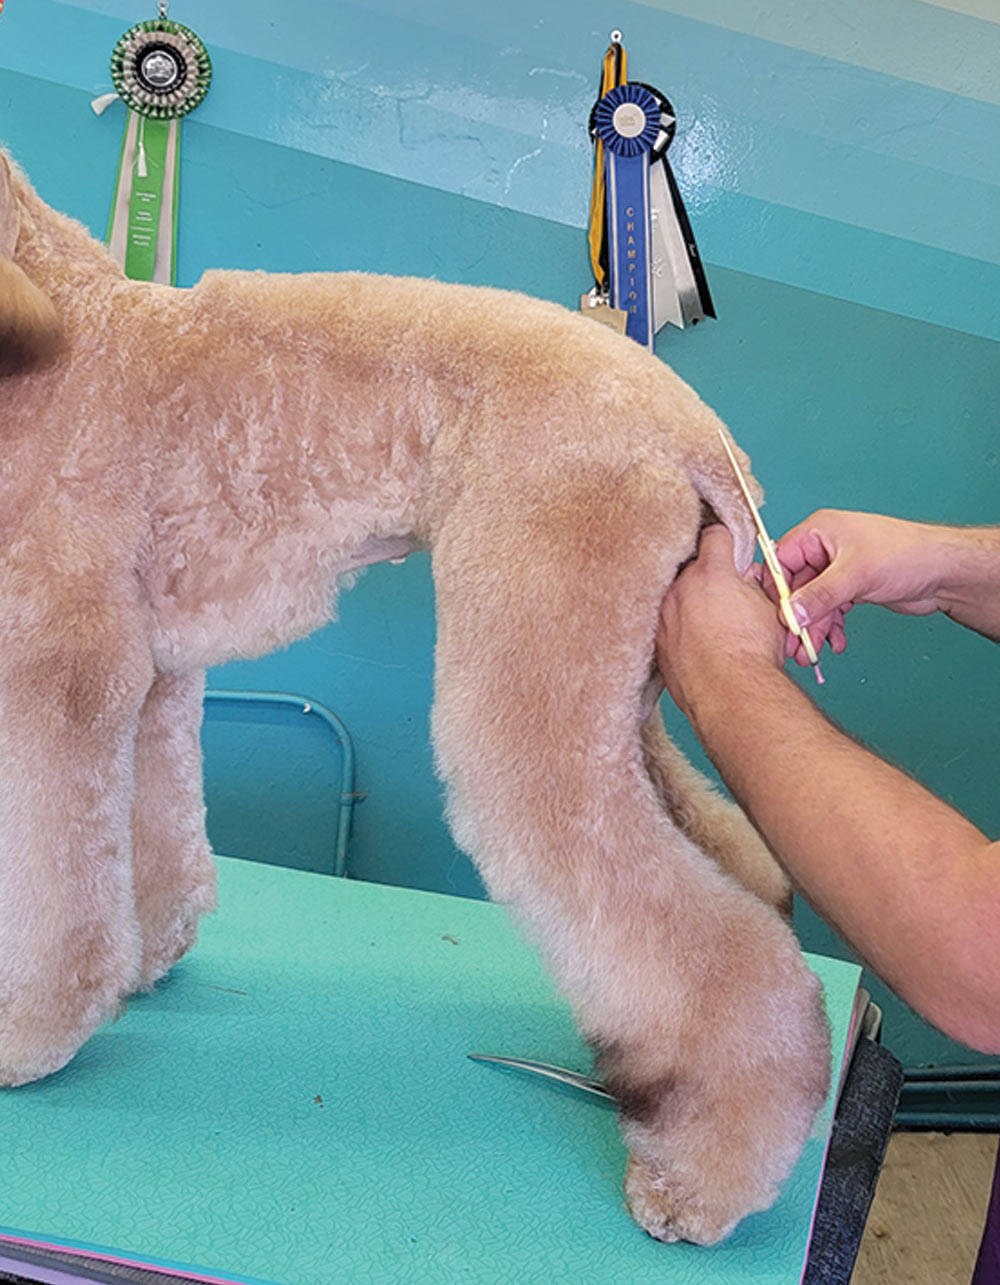
Fig 8) Now, with a straight or a very large curved scissor, I begin blending the tail shave line into the roundness over the dog’s back, or the “roach.”


Fig 9) I then address the highest point of their tuck-up, which should be directly beneath the highest point of the roach and as close to the skin as possible in order to increase the lithe and racy look.

Fig 10) Now that the body is set, I can begin scissoring that cleaner finish on the roughed-in legs.
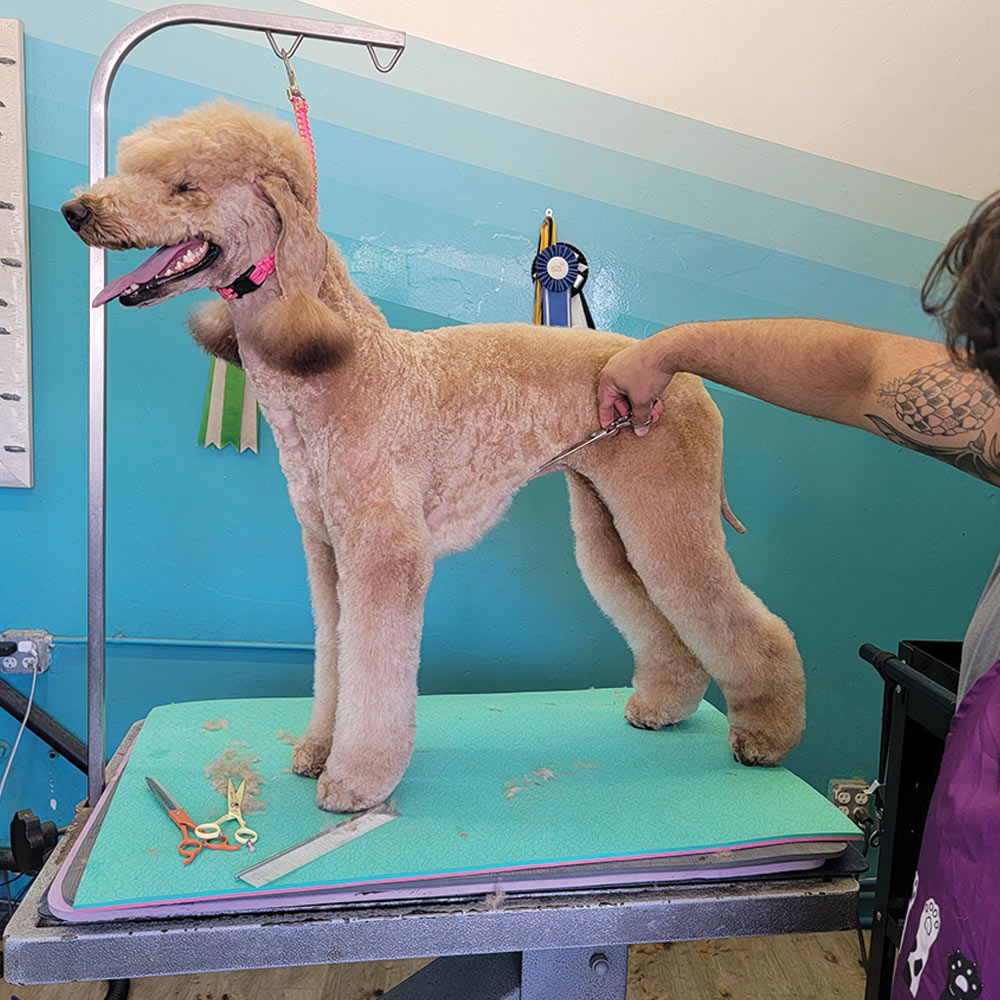
Fig 11) Starting from the tuck-up, it’s important to come down at a steep angle so that you can create a very deep chest.
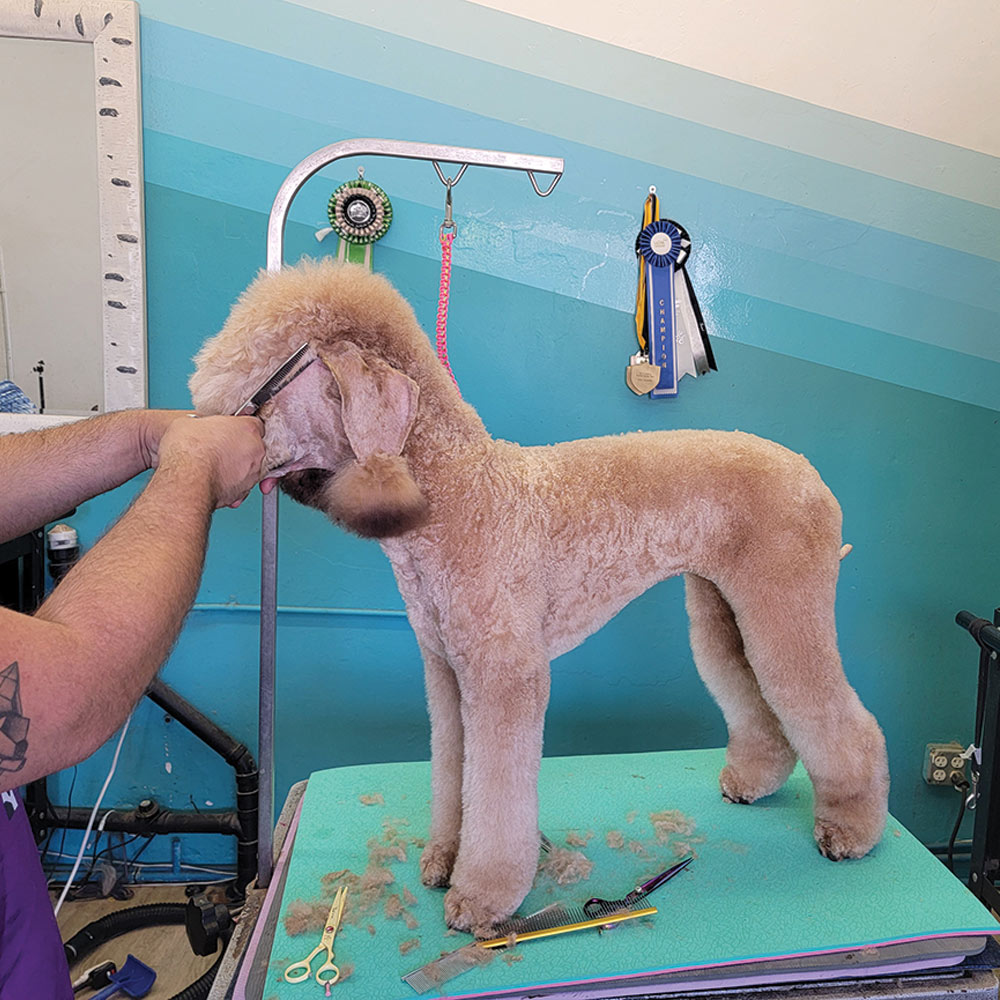
Fig 12) I then comb the topknot to one side and take it straight off with a straight shear. Absolutely no bevel from shave to topknot!
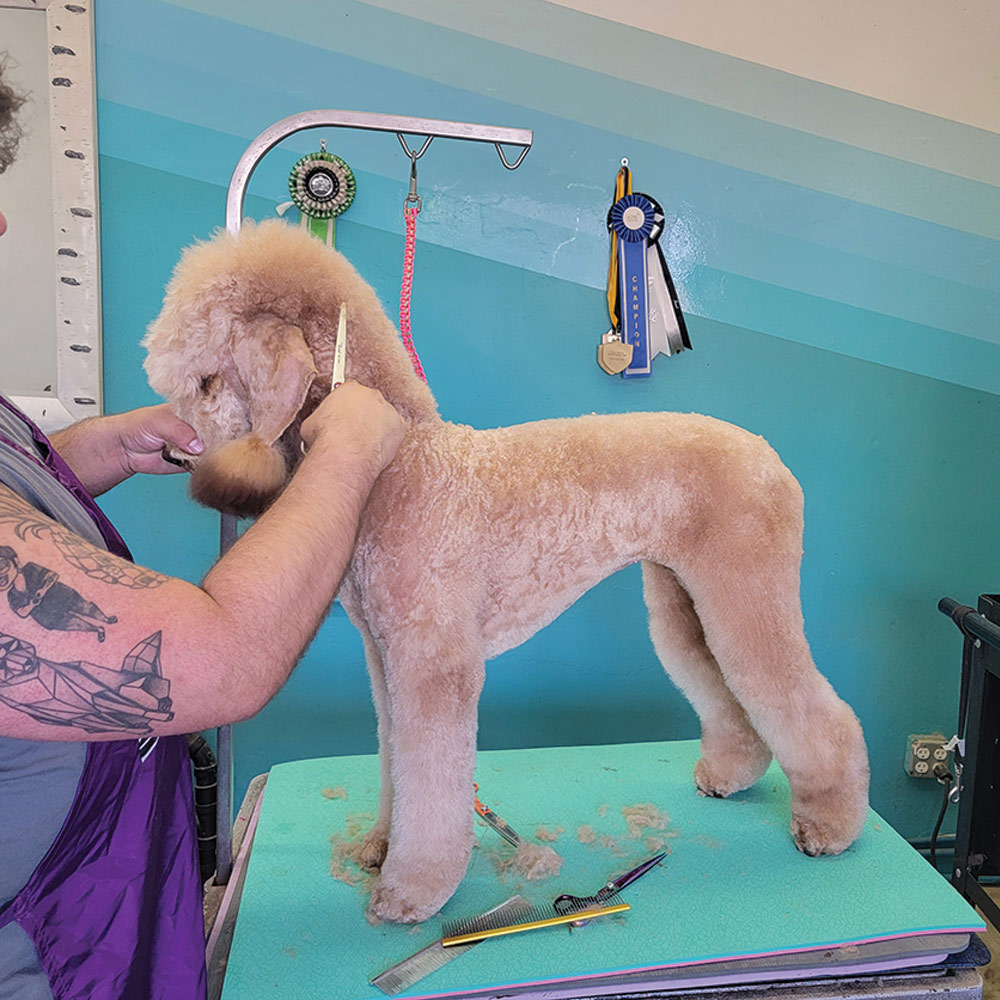
Fig 13) At this point, I like to take a large curved scissor and wrap the neck around from the sides into the profile.
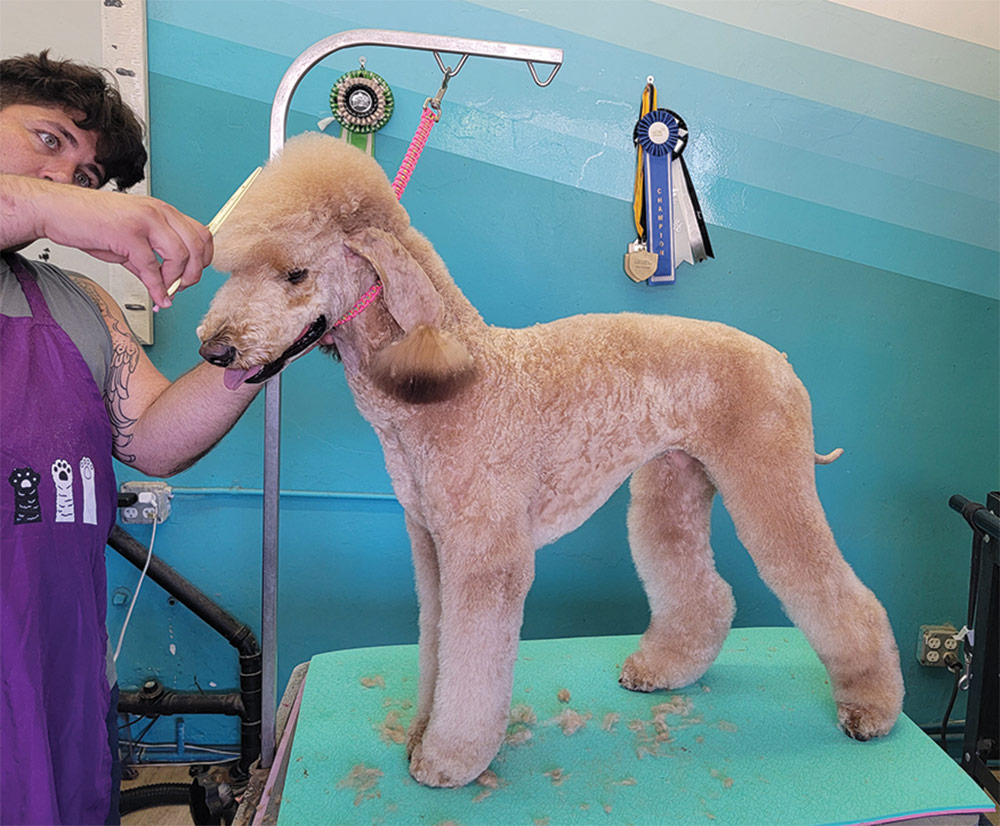
Fig 14) While this dog still has filling in to do on the muzzle, I will trim it as if it is there so it grows into pattern sooner. You can do a bird’s eye view of the headpiece and carve it into a straight-up topknot.

Fig 15) And finally, with a long straight shear, I make sure that everything from nose to occipital has the same line trimmed straight back.
I do love this trim as a whole, but I definitely encourage you to try just the headpiece on a freestyle client. It is quite the personality trim!


